Sapio Studio Tutorial for CTV Meeting
On Your Mark Get Set GOOOOOO
22 Mar 2022Other people have followed this tutorial with some success:
Common sticking points include:
- Not building latest sapio binary before starting
- Not building latest sapio-studio project before starting
- Not having the correct clang version (>=12)
- brew installing clang somewhere else (try /opt/homebrew, but also /usr/local/Cellar)
- Set up a signet node.
Build this branch https://github.com/JeremyRubin/bitcoin/tree/checktemplateverify-signet-23.0-alpha
You’ll likely want settings like this in your bitcoin.conf too:
[signet]
server = 1
txindex=1
signetchallenge=512102946e8ba8eca597194e7ed90377d9bbebc5d17a9609ab3e35e706612ee882759351ae
rpcport=18332
rpcworkqueue=1000
fallbackfee=0.0002
addnode=50.18.75.225
minrelaytxfee=0
- You’ll need to create a new wallet, if you’ve not done it before
./bitcoin-cli -signet createwallet sapio-studio-tutorial # If you've done this before fine
./bitcoin-cli -signet getnewaddress
-
Get coins to your address https://faucet.ctvsignet.com/ / DM me for more
- Follow the install instructions on https://learn.sapio-lang.org/ch01-01-installation.html You can skip the the sapio-studio part / pod part and just do the Local Quickstart up until “Instantiate a contract from the plugin”.
- run cargo build –release from the root directory to build the sapio-cli.
Start Up Sapio Studio
- Get Yarn
- Install Sapio Studio
git clone --depth 1 git@github.com:sapio-lang/sapio-studio.git && cd sapio-studio yarn install - Start react server
yarn start-reactLeave that running in tab
- Start electron server
yarn start-electron
Once it launches this is what you should see:
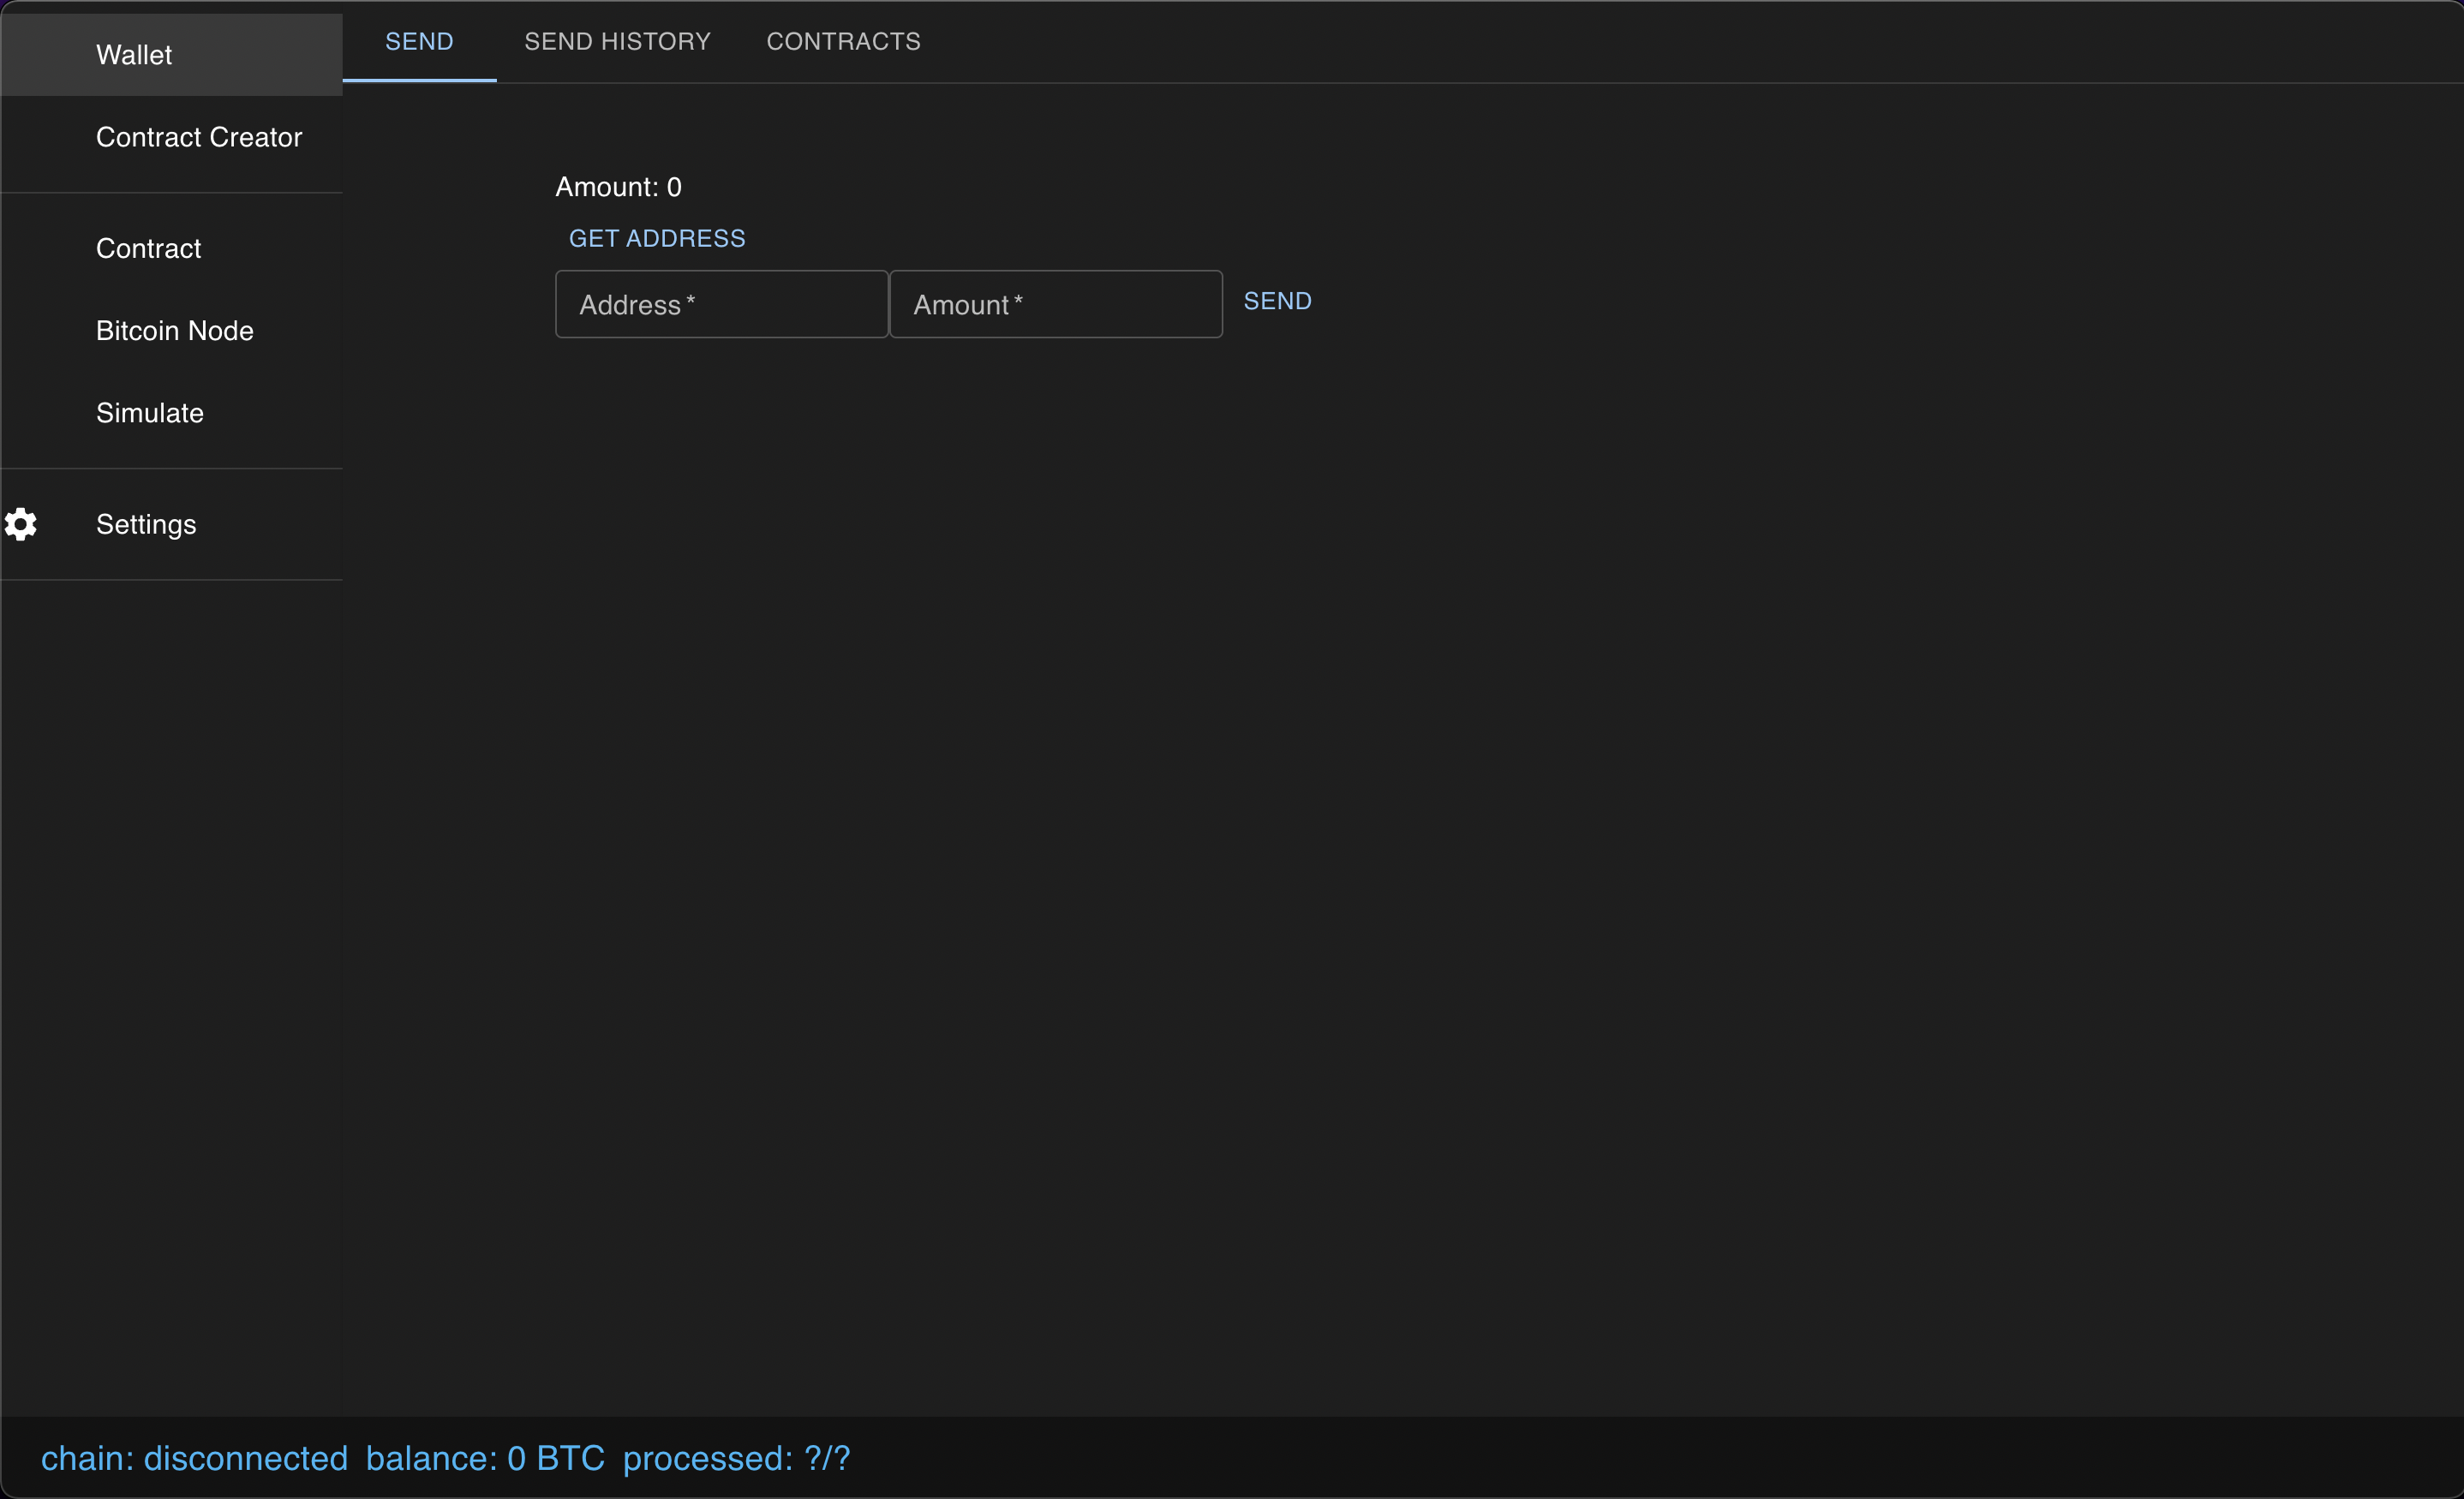 Go ahead and click on settings to configure the sapio cli for the first time.
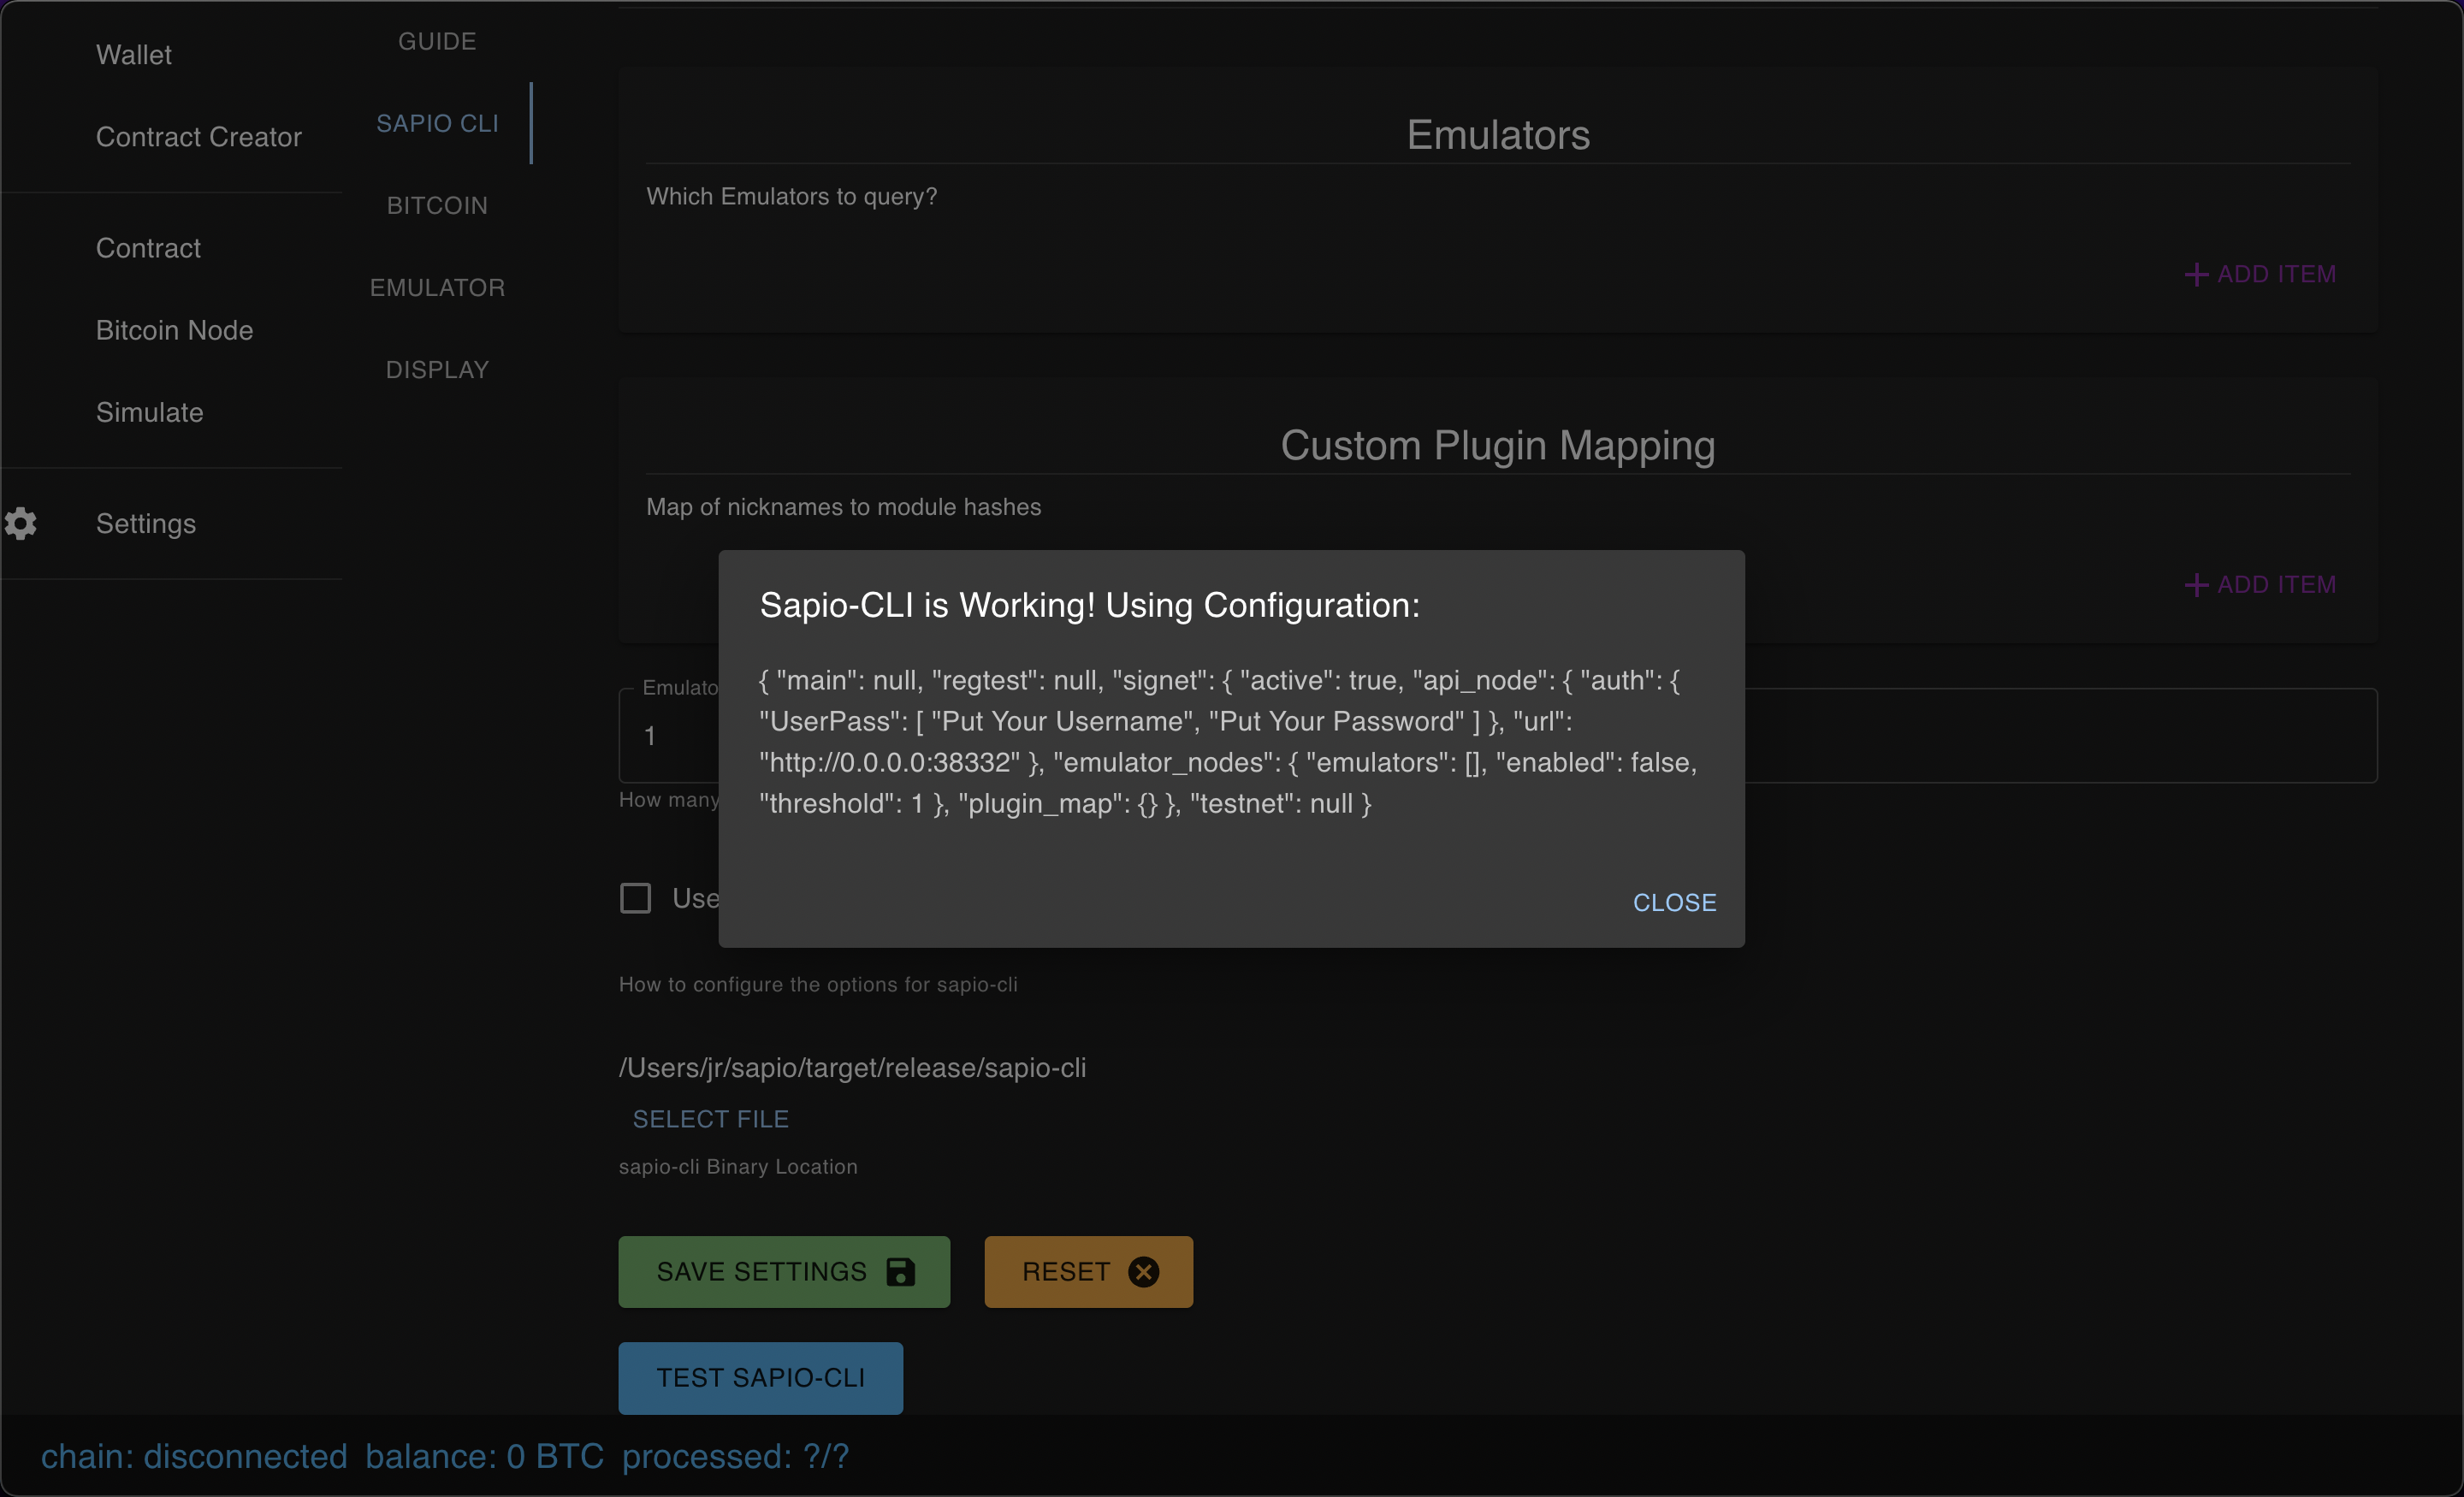
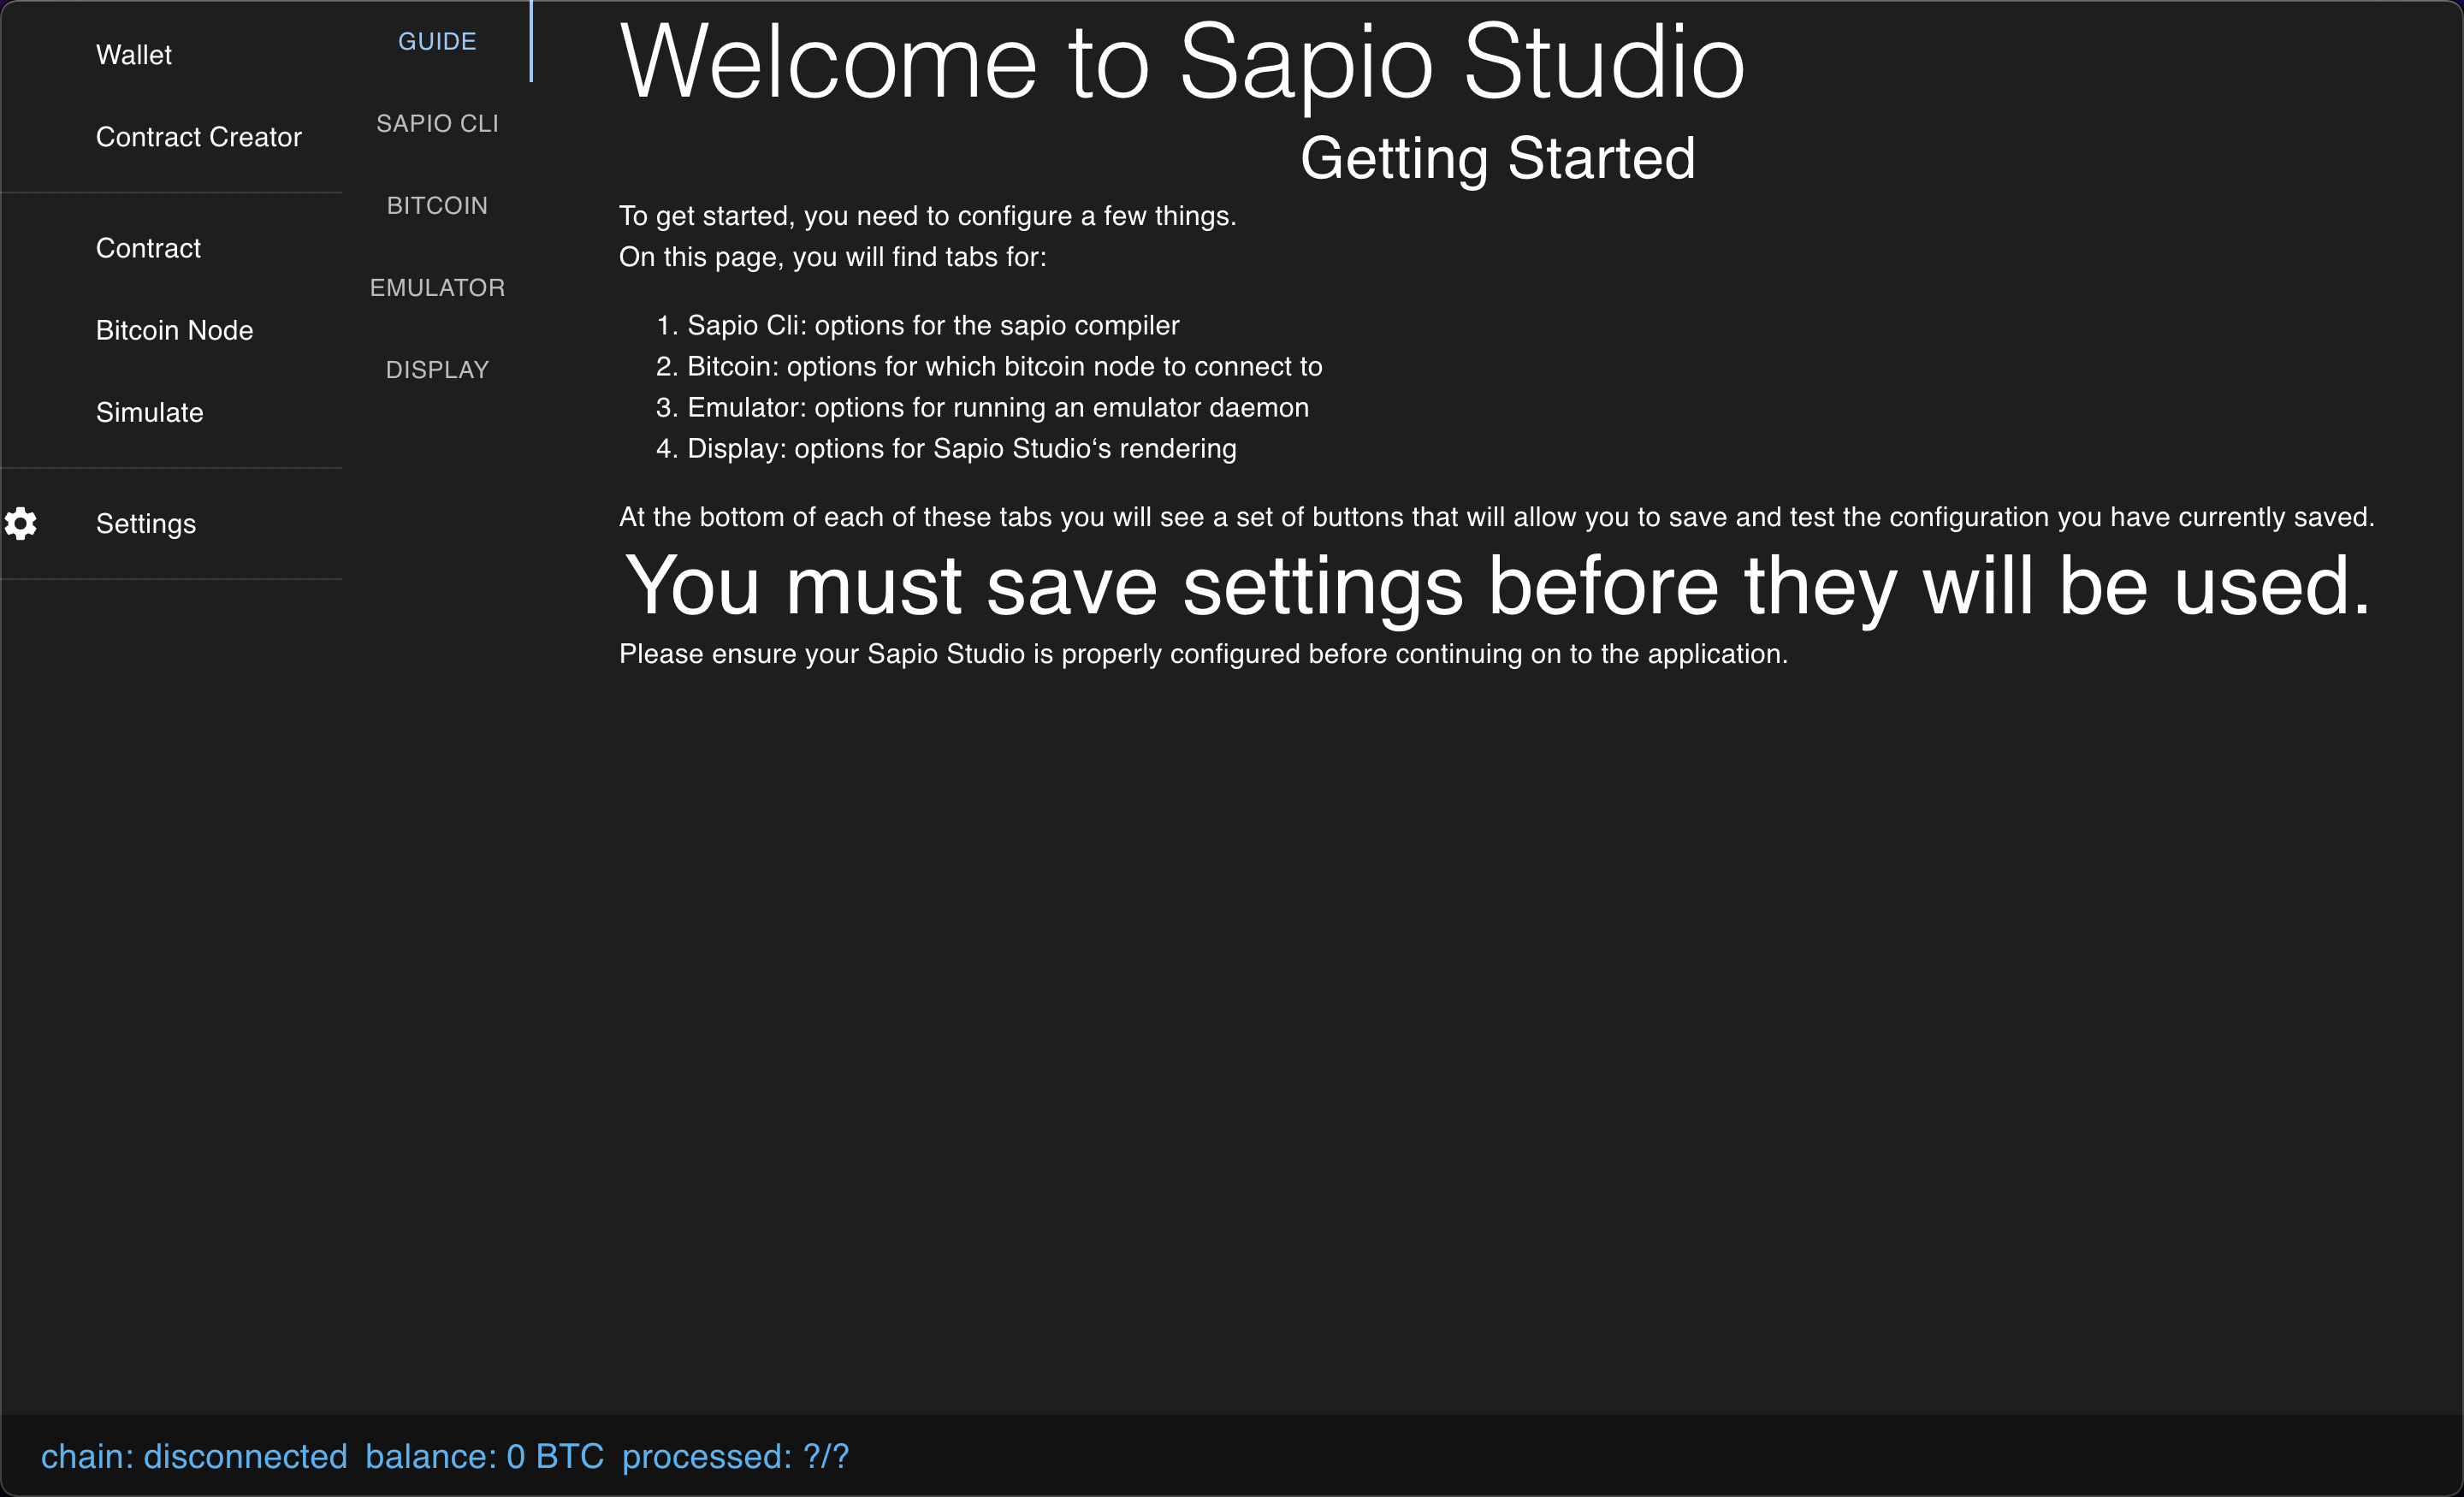 First, let’s configure our sapio-cli. Go head and do “Configured Here” and leave
everything blank. Click on the select file and point sapio studio to your (freshly done) release build of sapio-cli.
Click Save Settings.
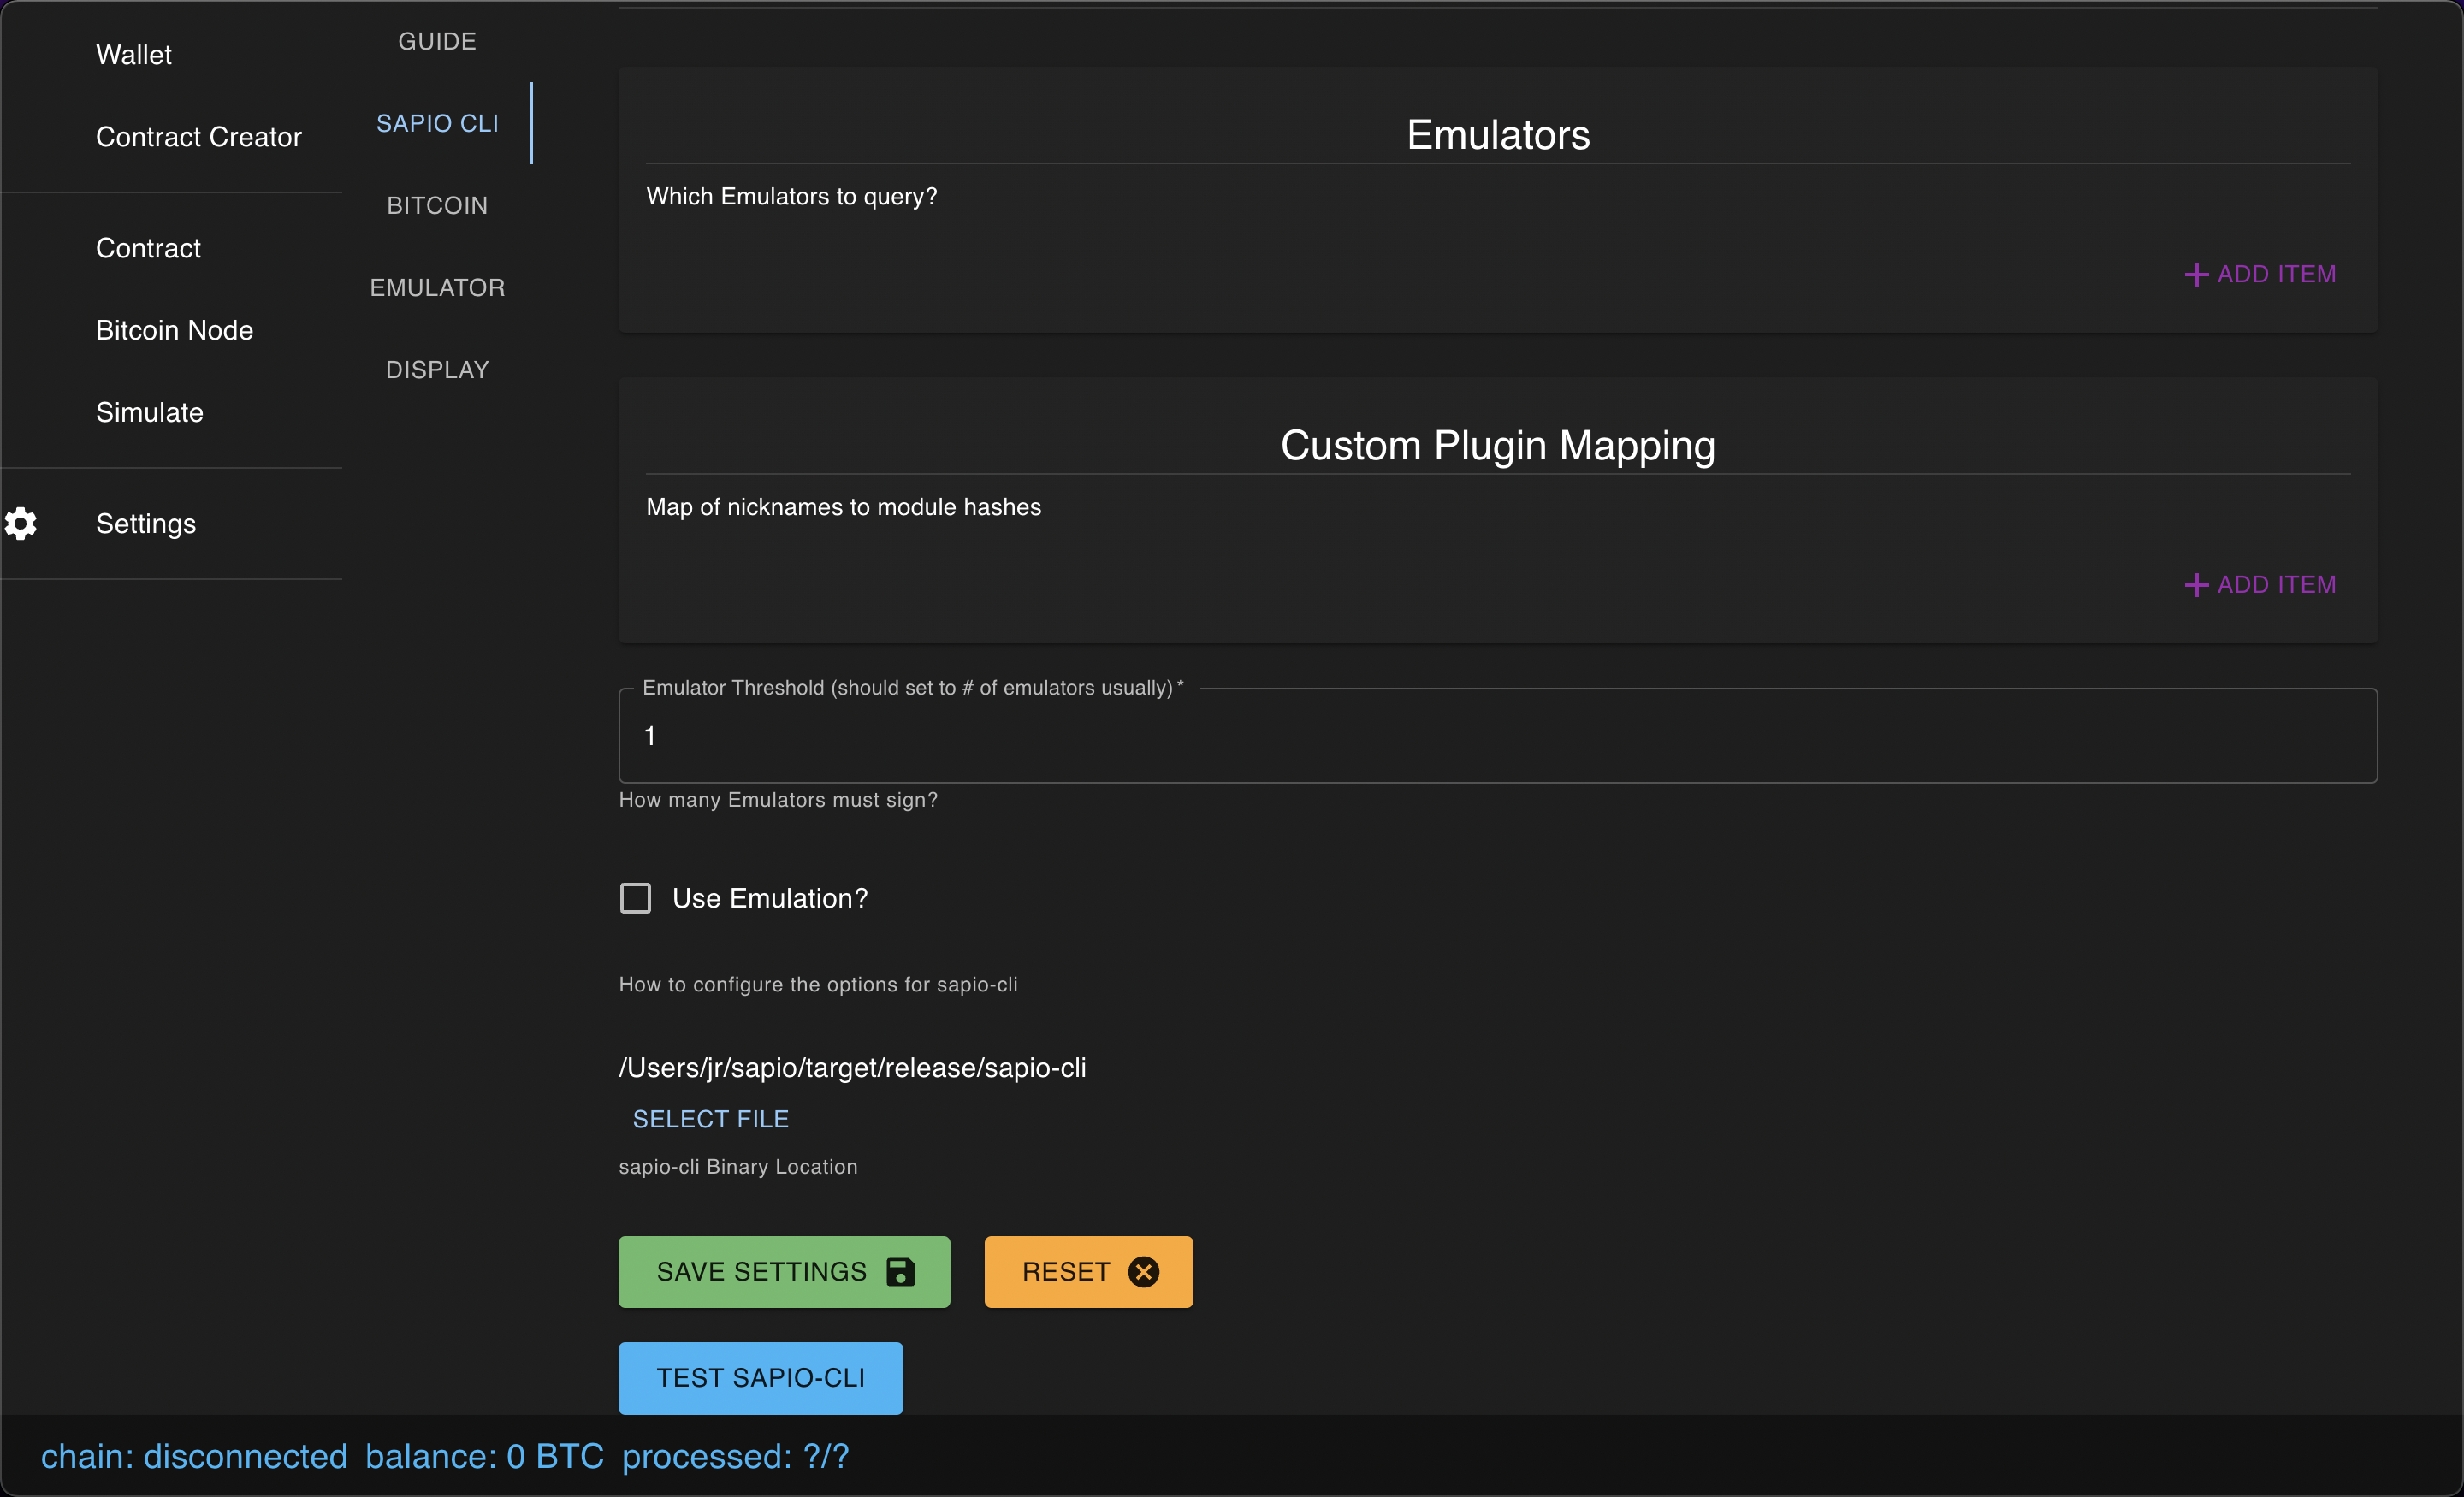
Now, you should see the following confirmation.
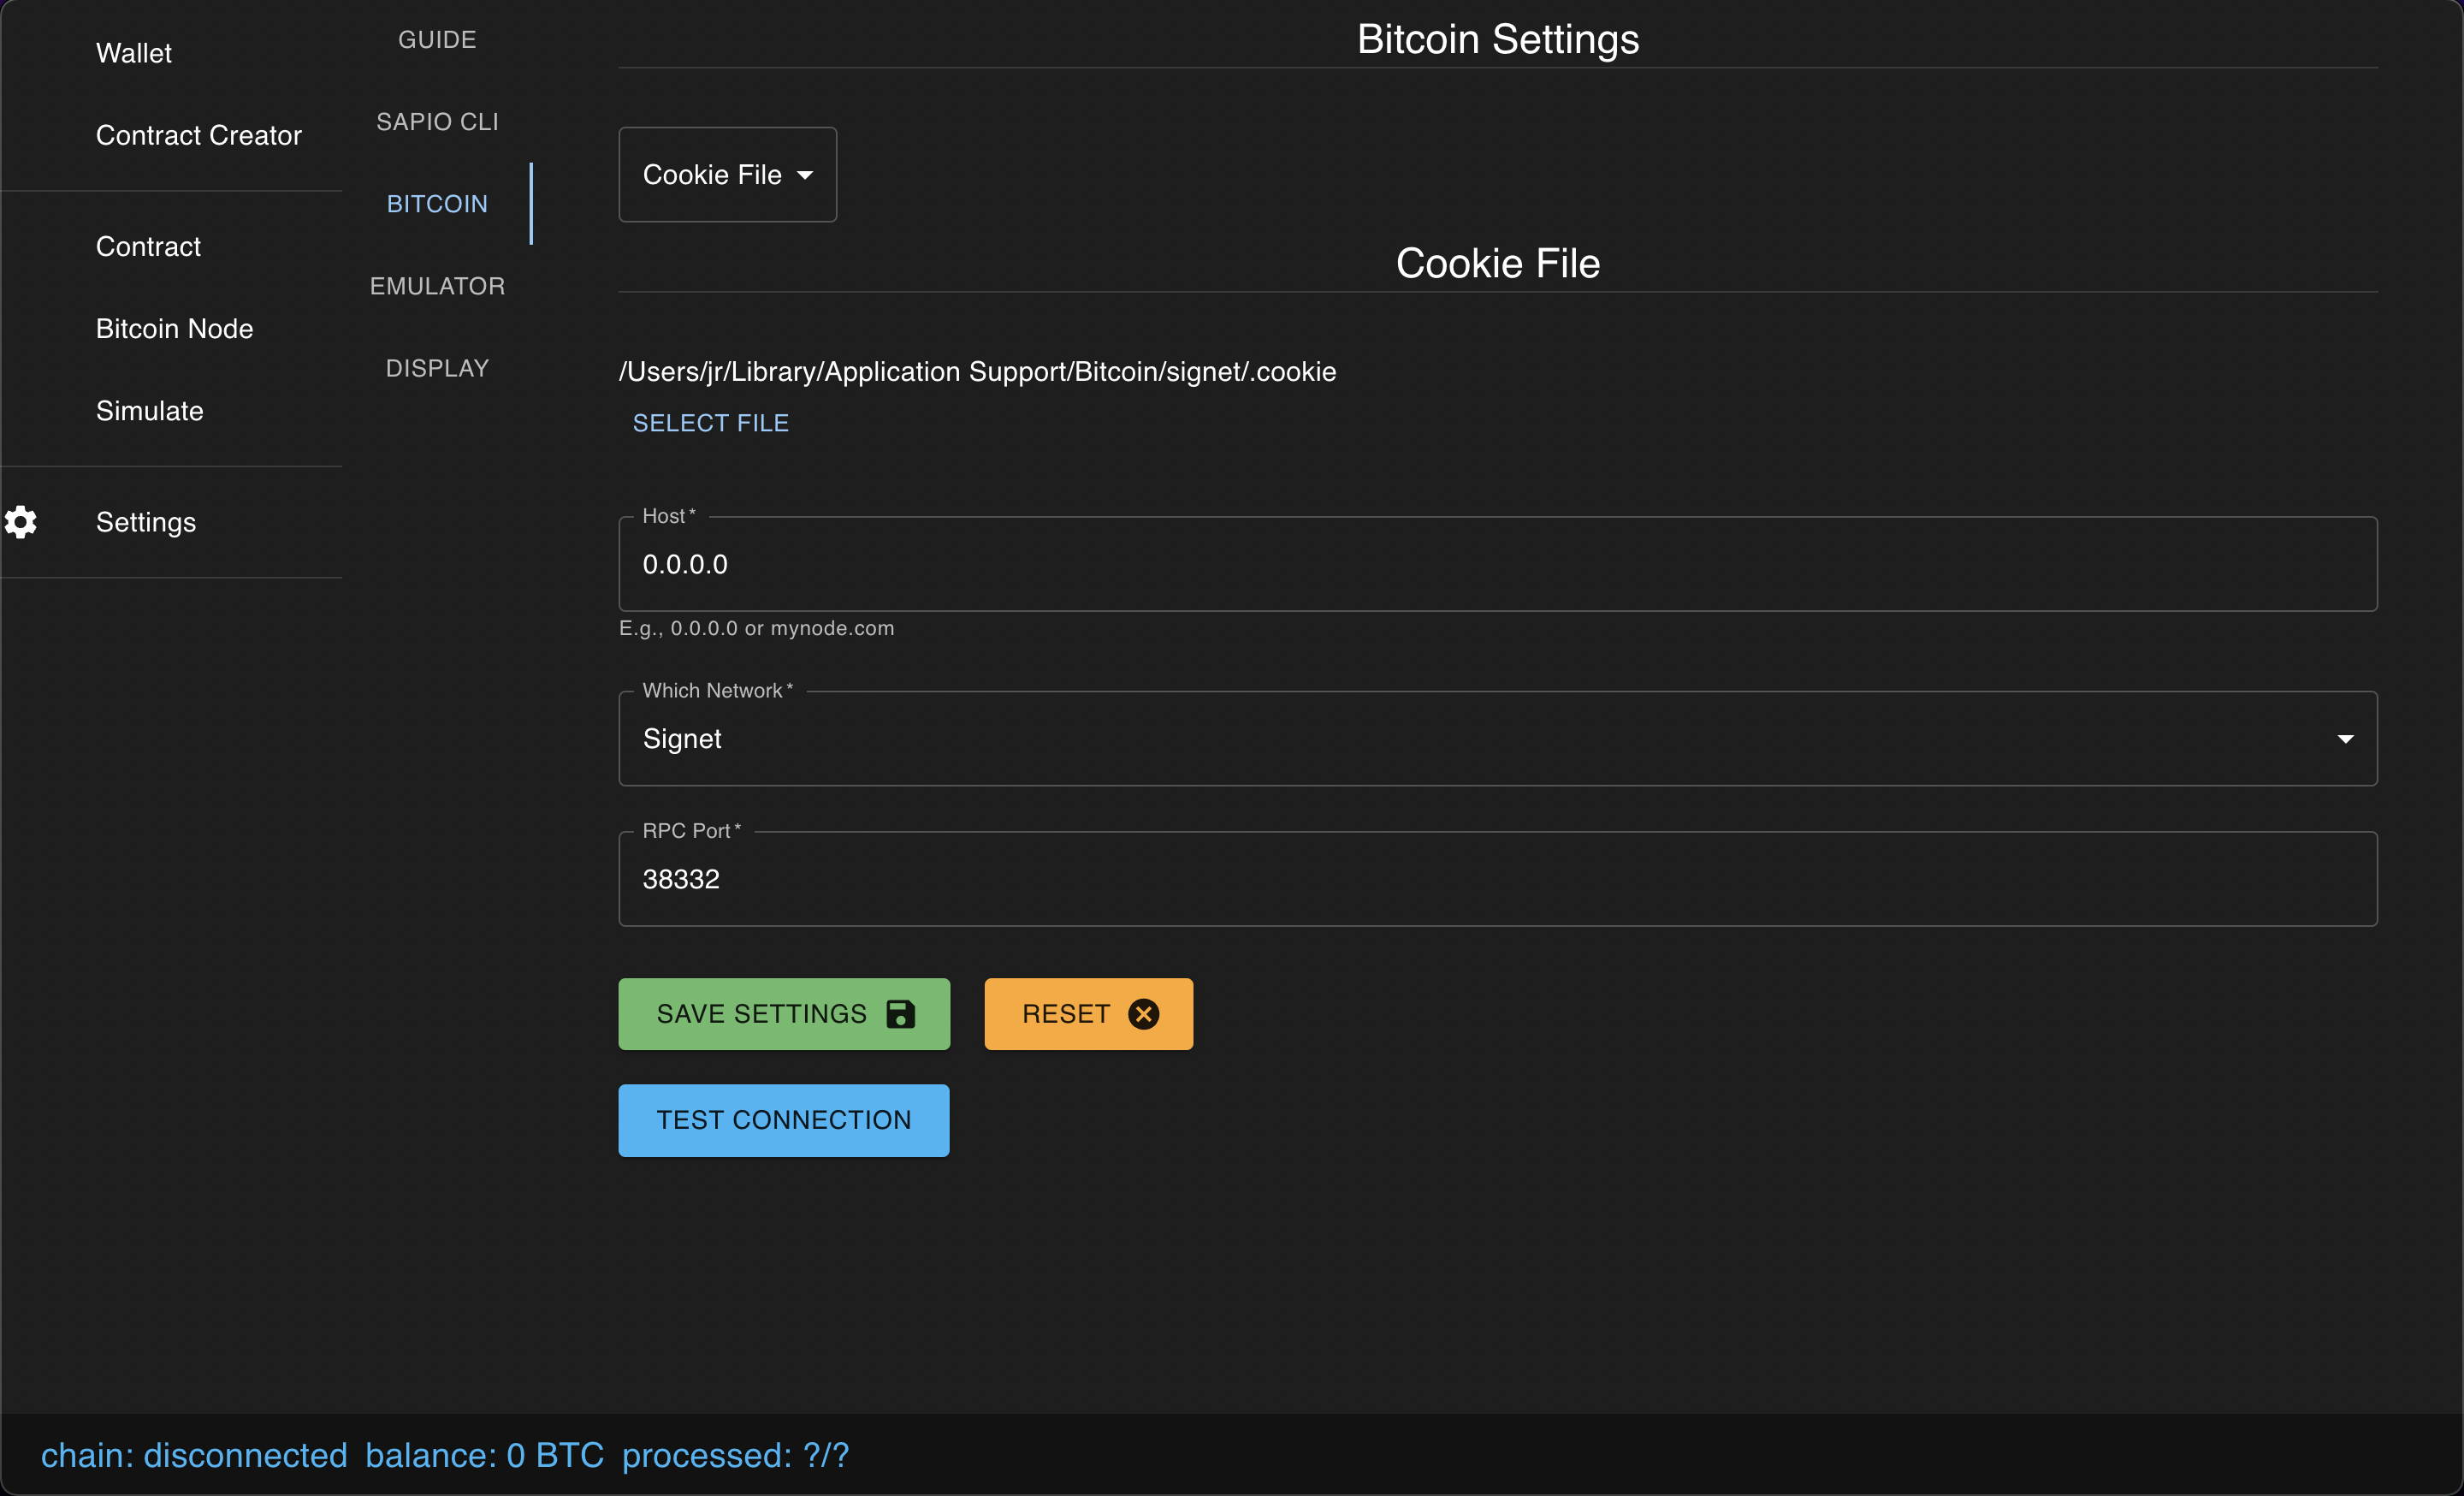
Next let’s configure your node. Clikc select file and point it to your
.cookie file and then configure the node as Signet & set the RPC port to whatever you used. Save it.
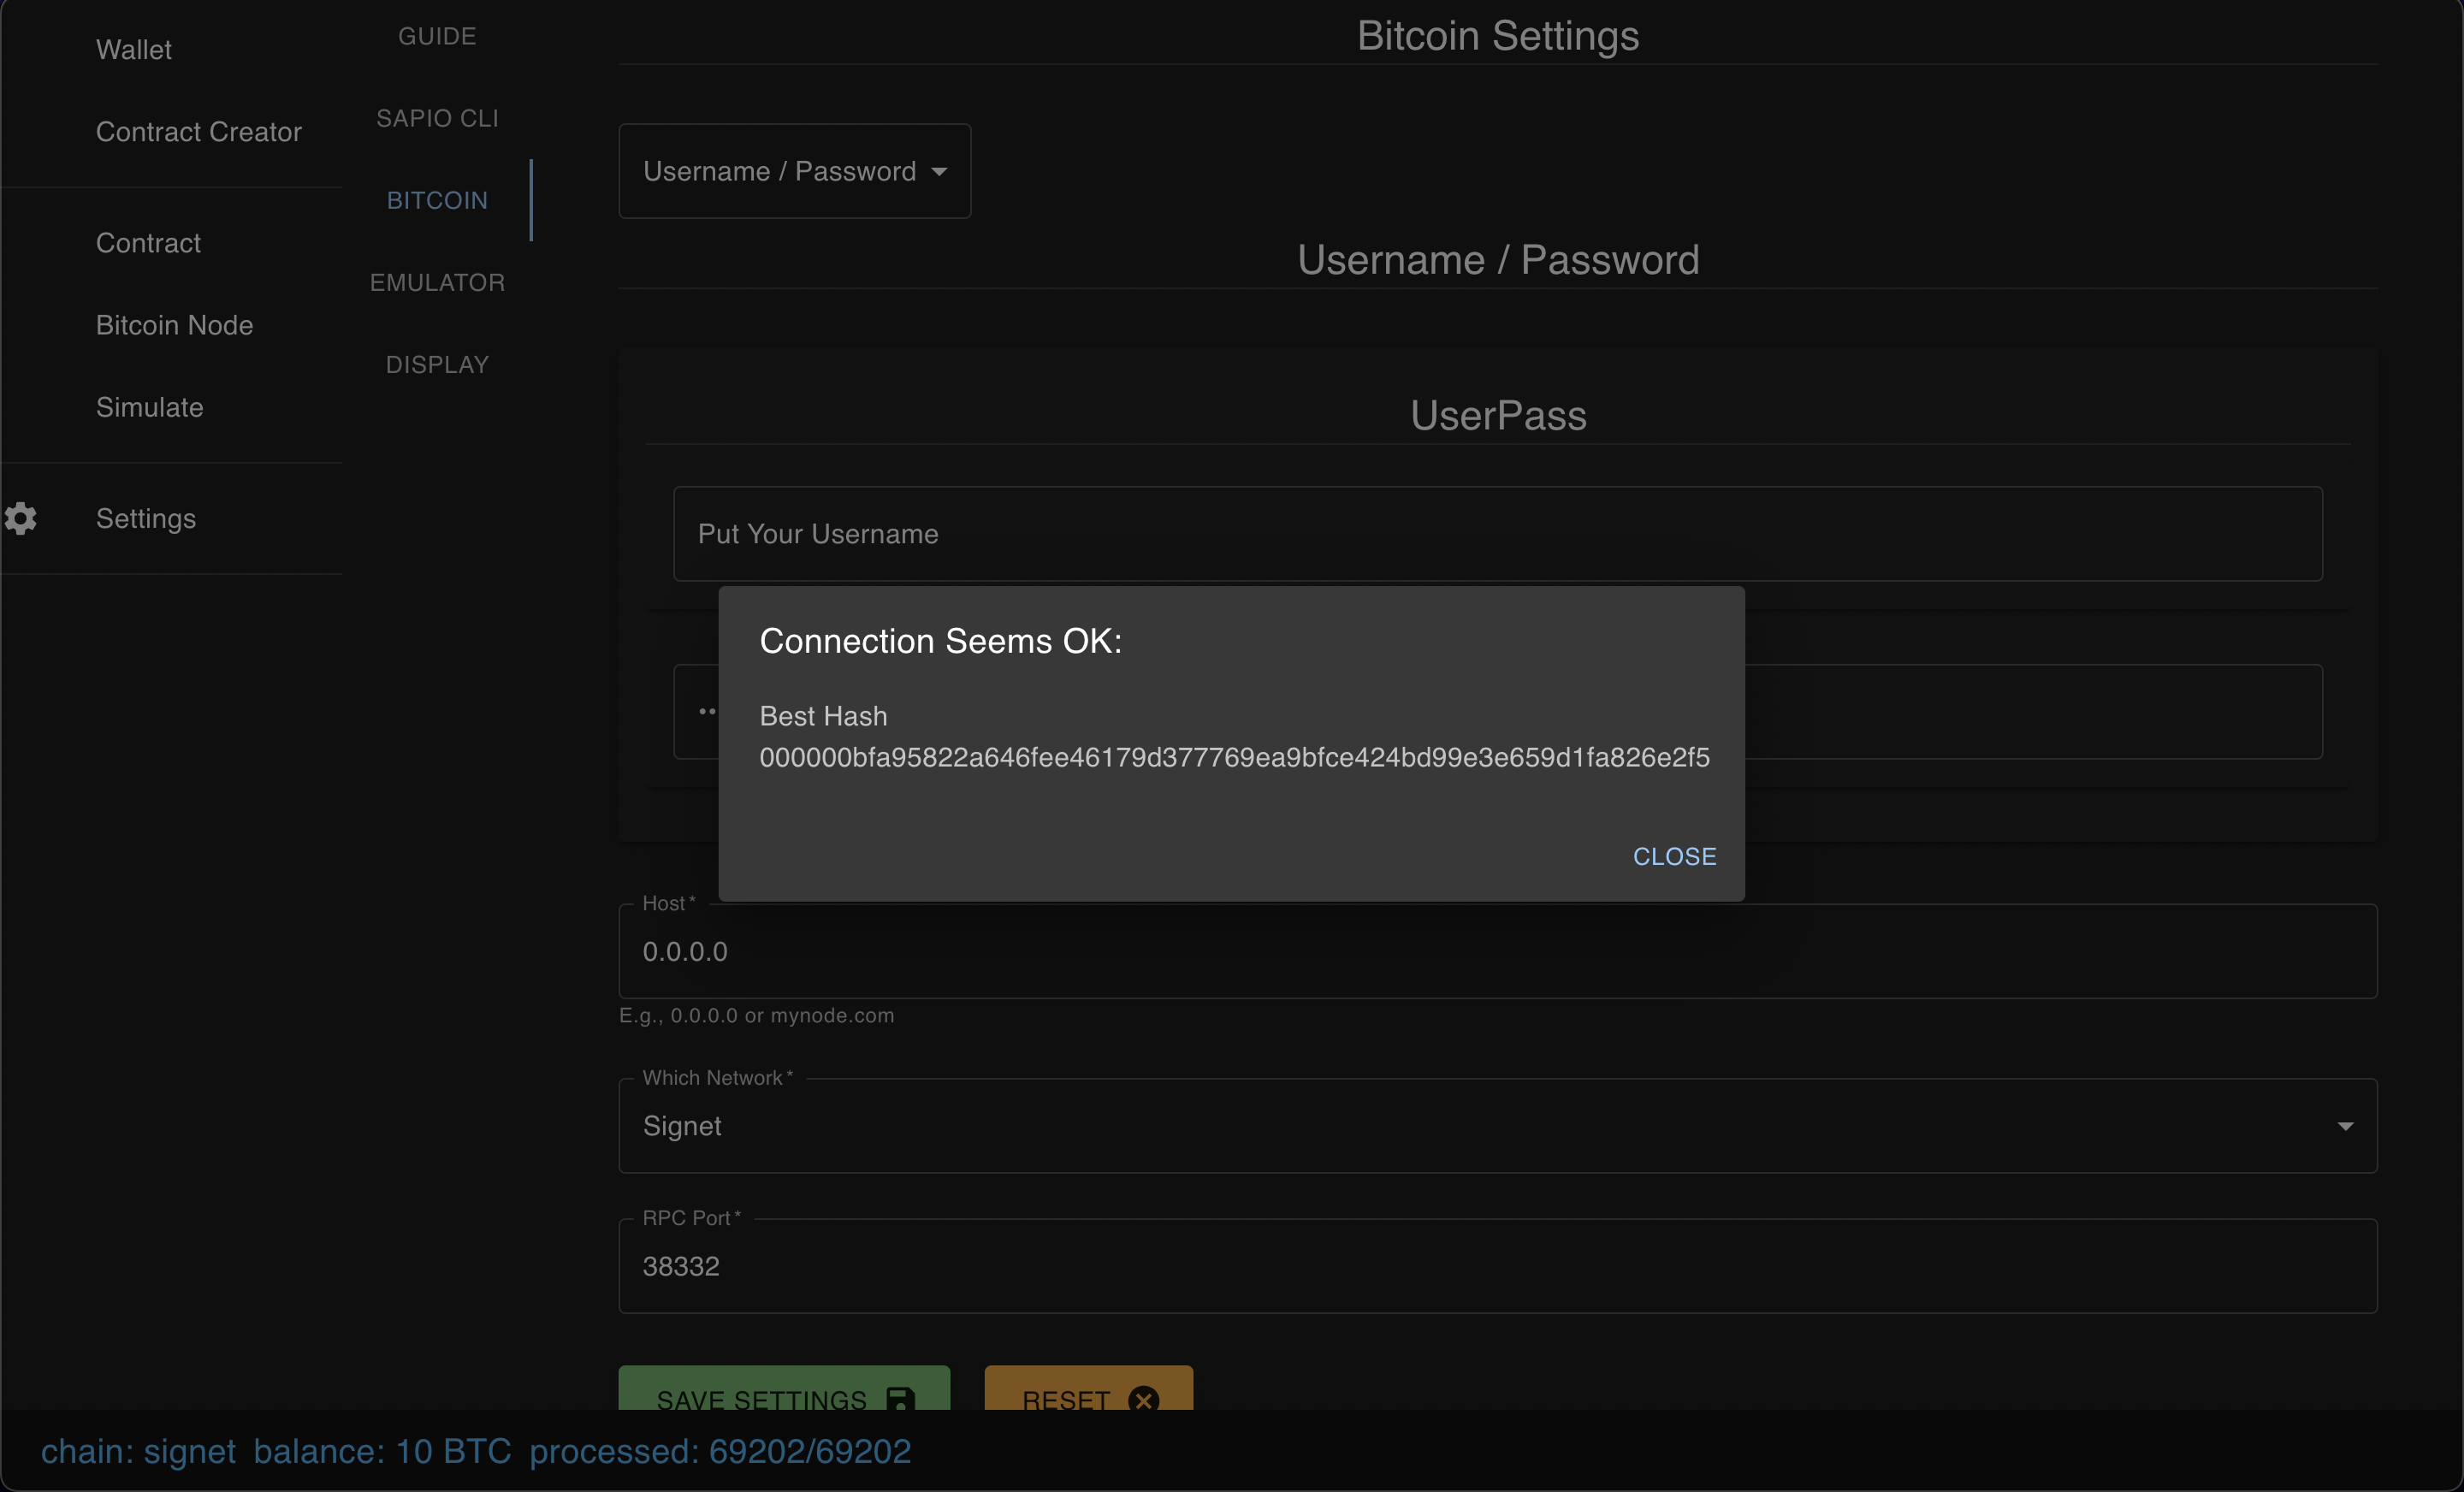
Click test connection – it should tell you… something.
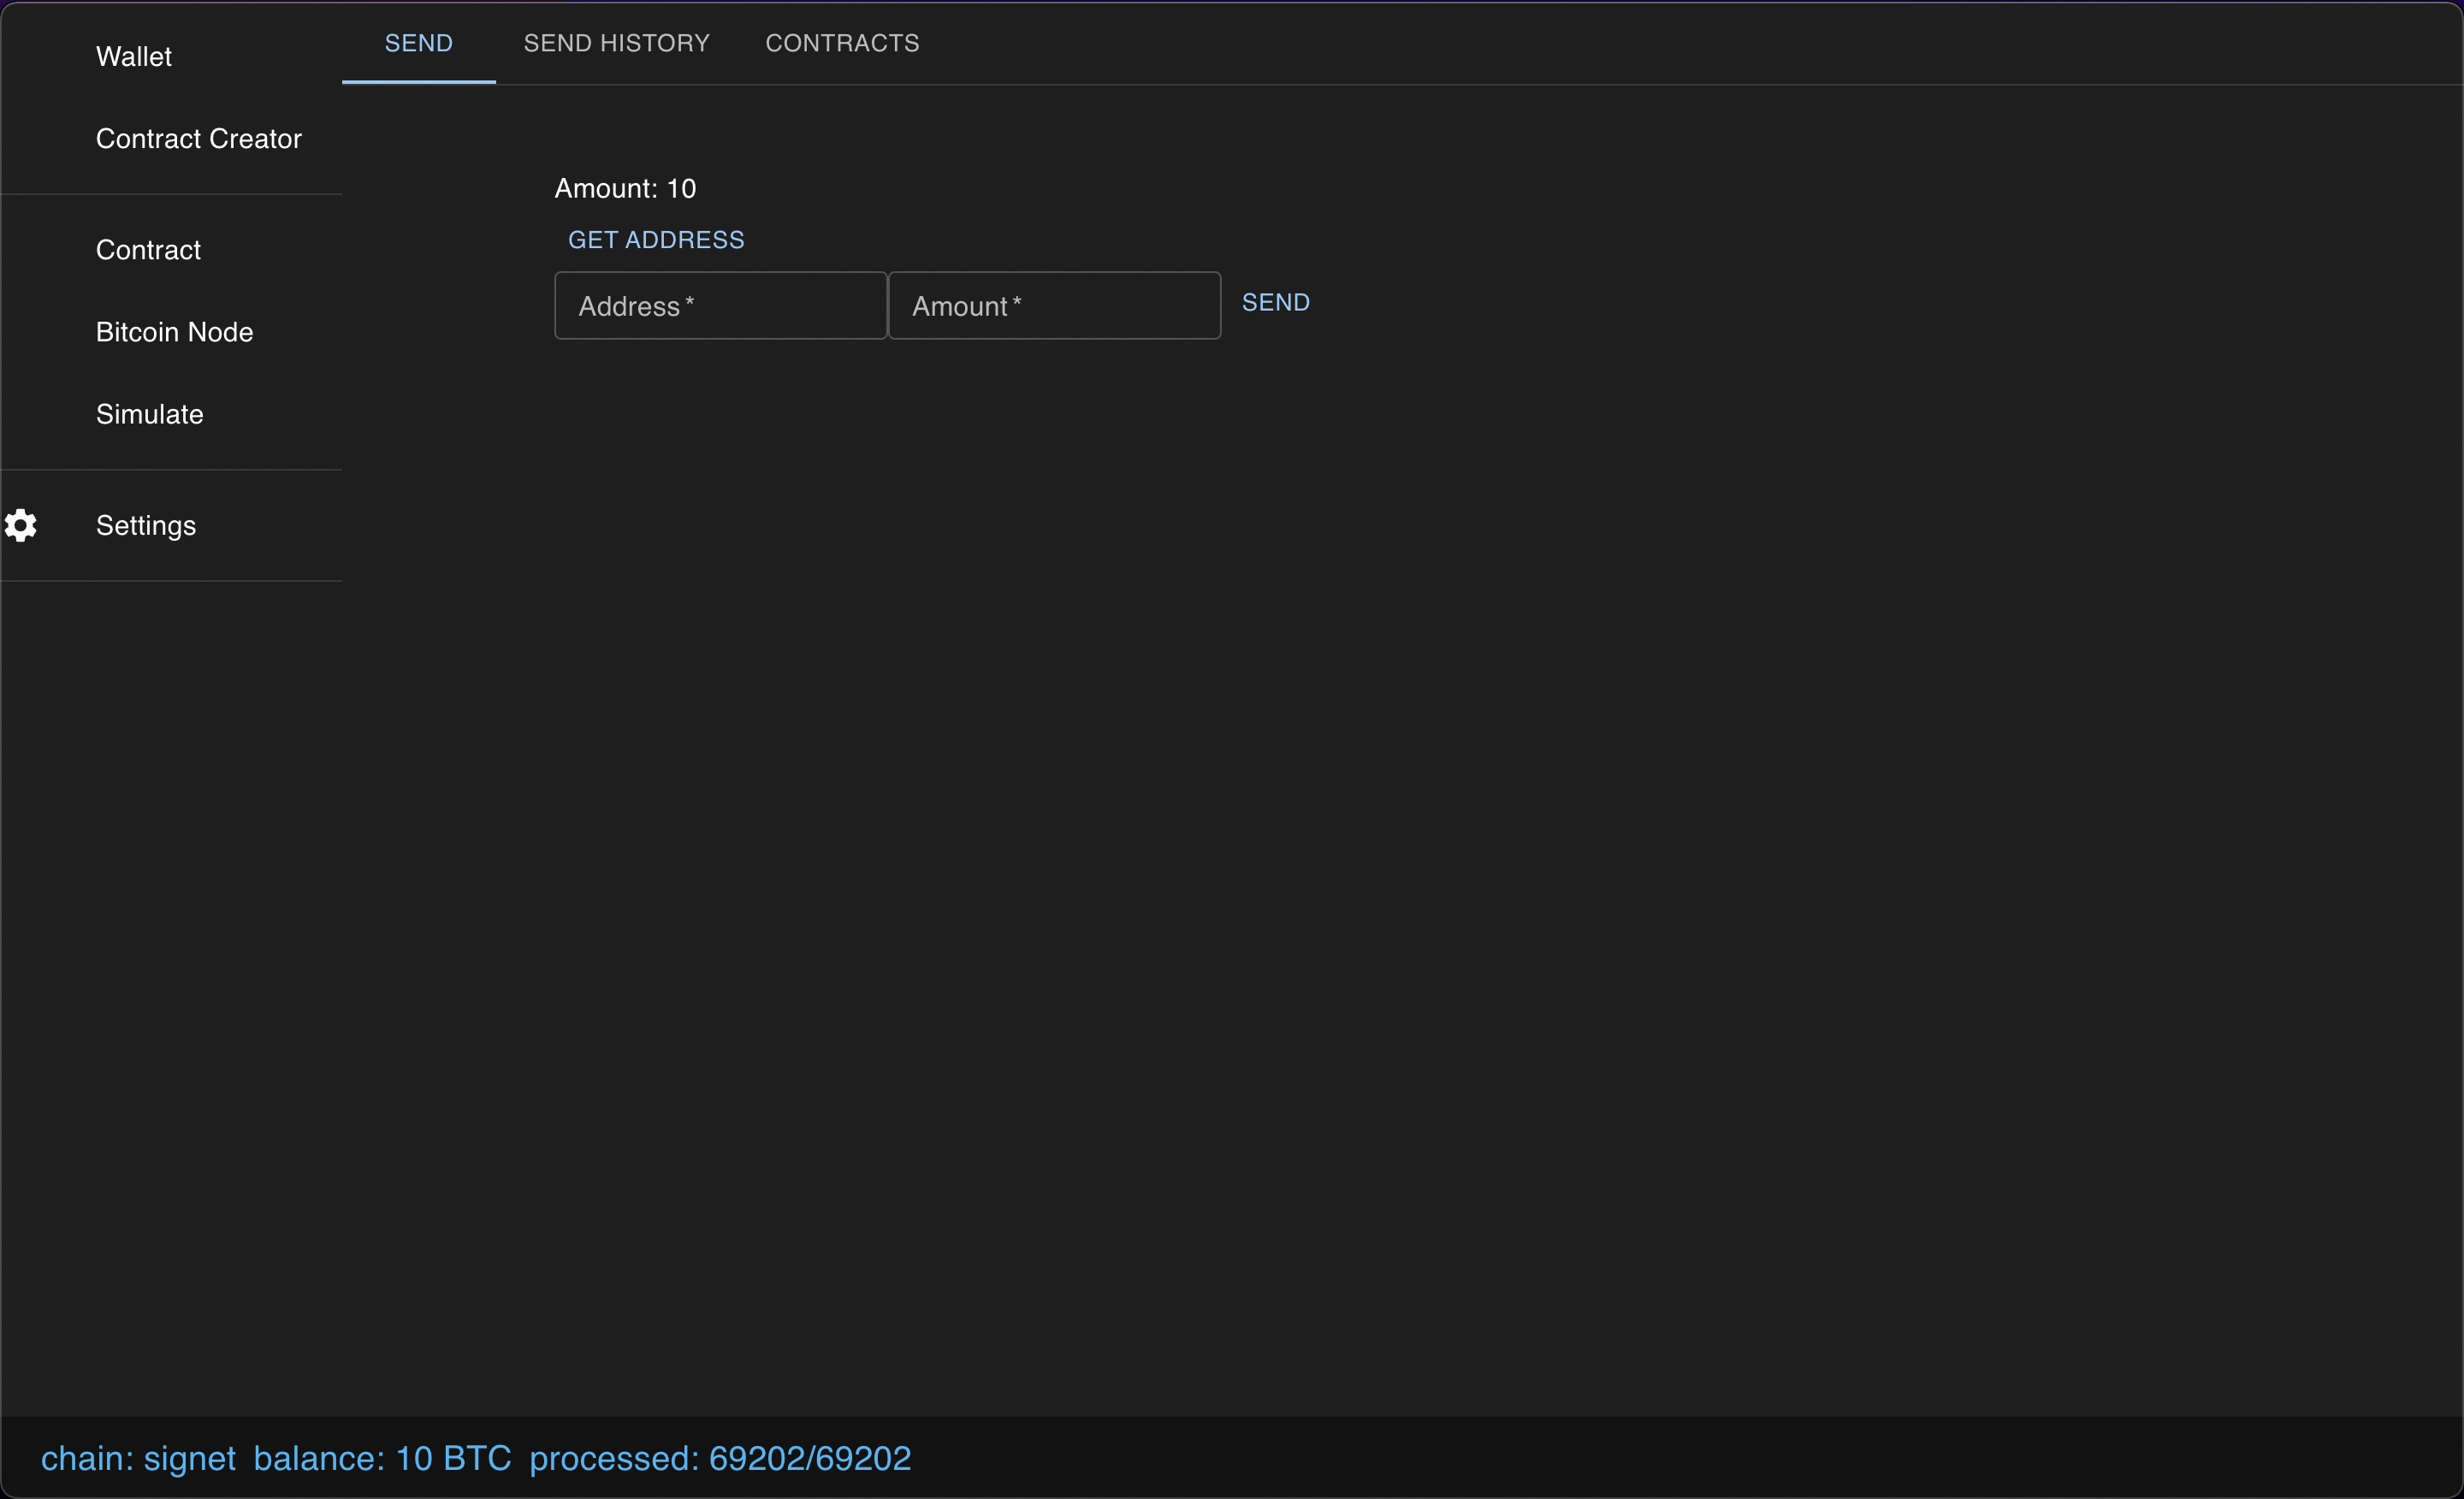
Navigate back to wallet. You should see some balance or something (assuming you did the faucet).
Next, click “Load WASM Plugin” and find your plugin-example/target/wasm32-unknown-unknown/debug/*.wasm files. Go ahead and pick the jamesob vault one.
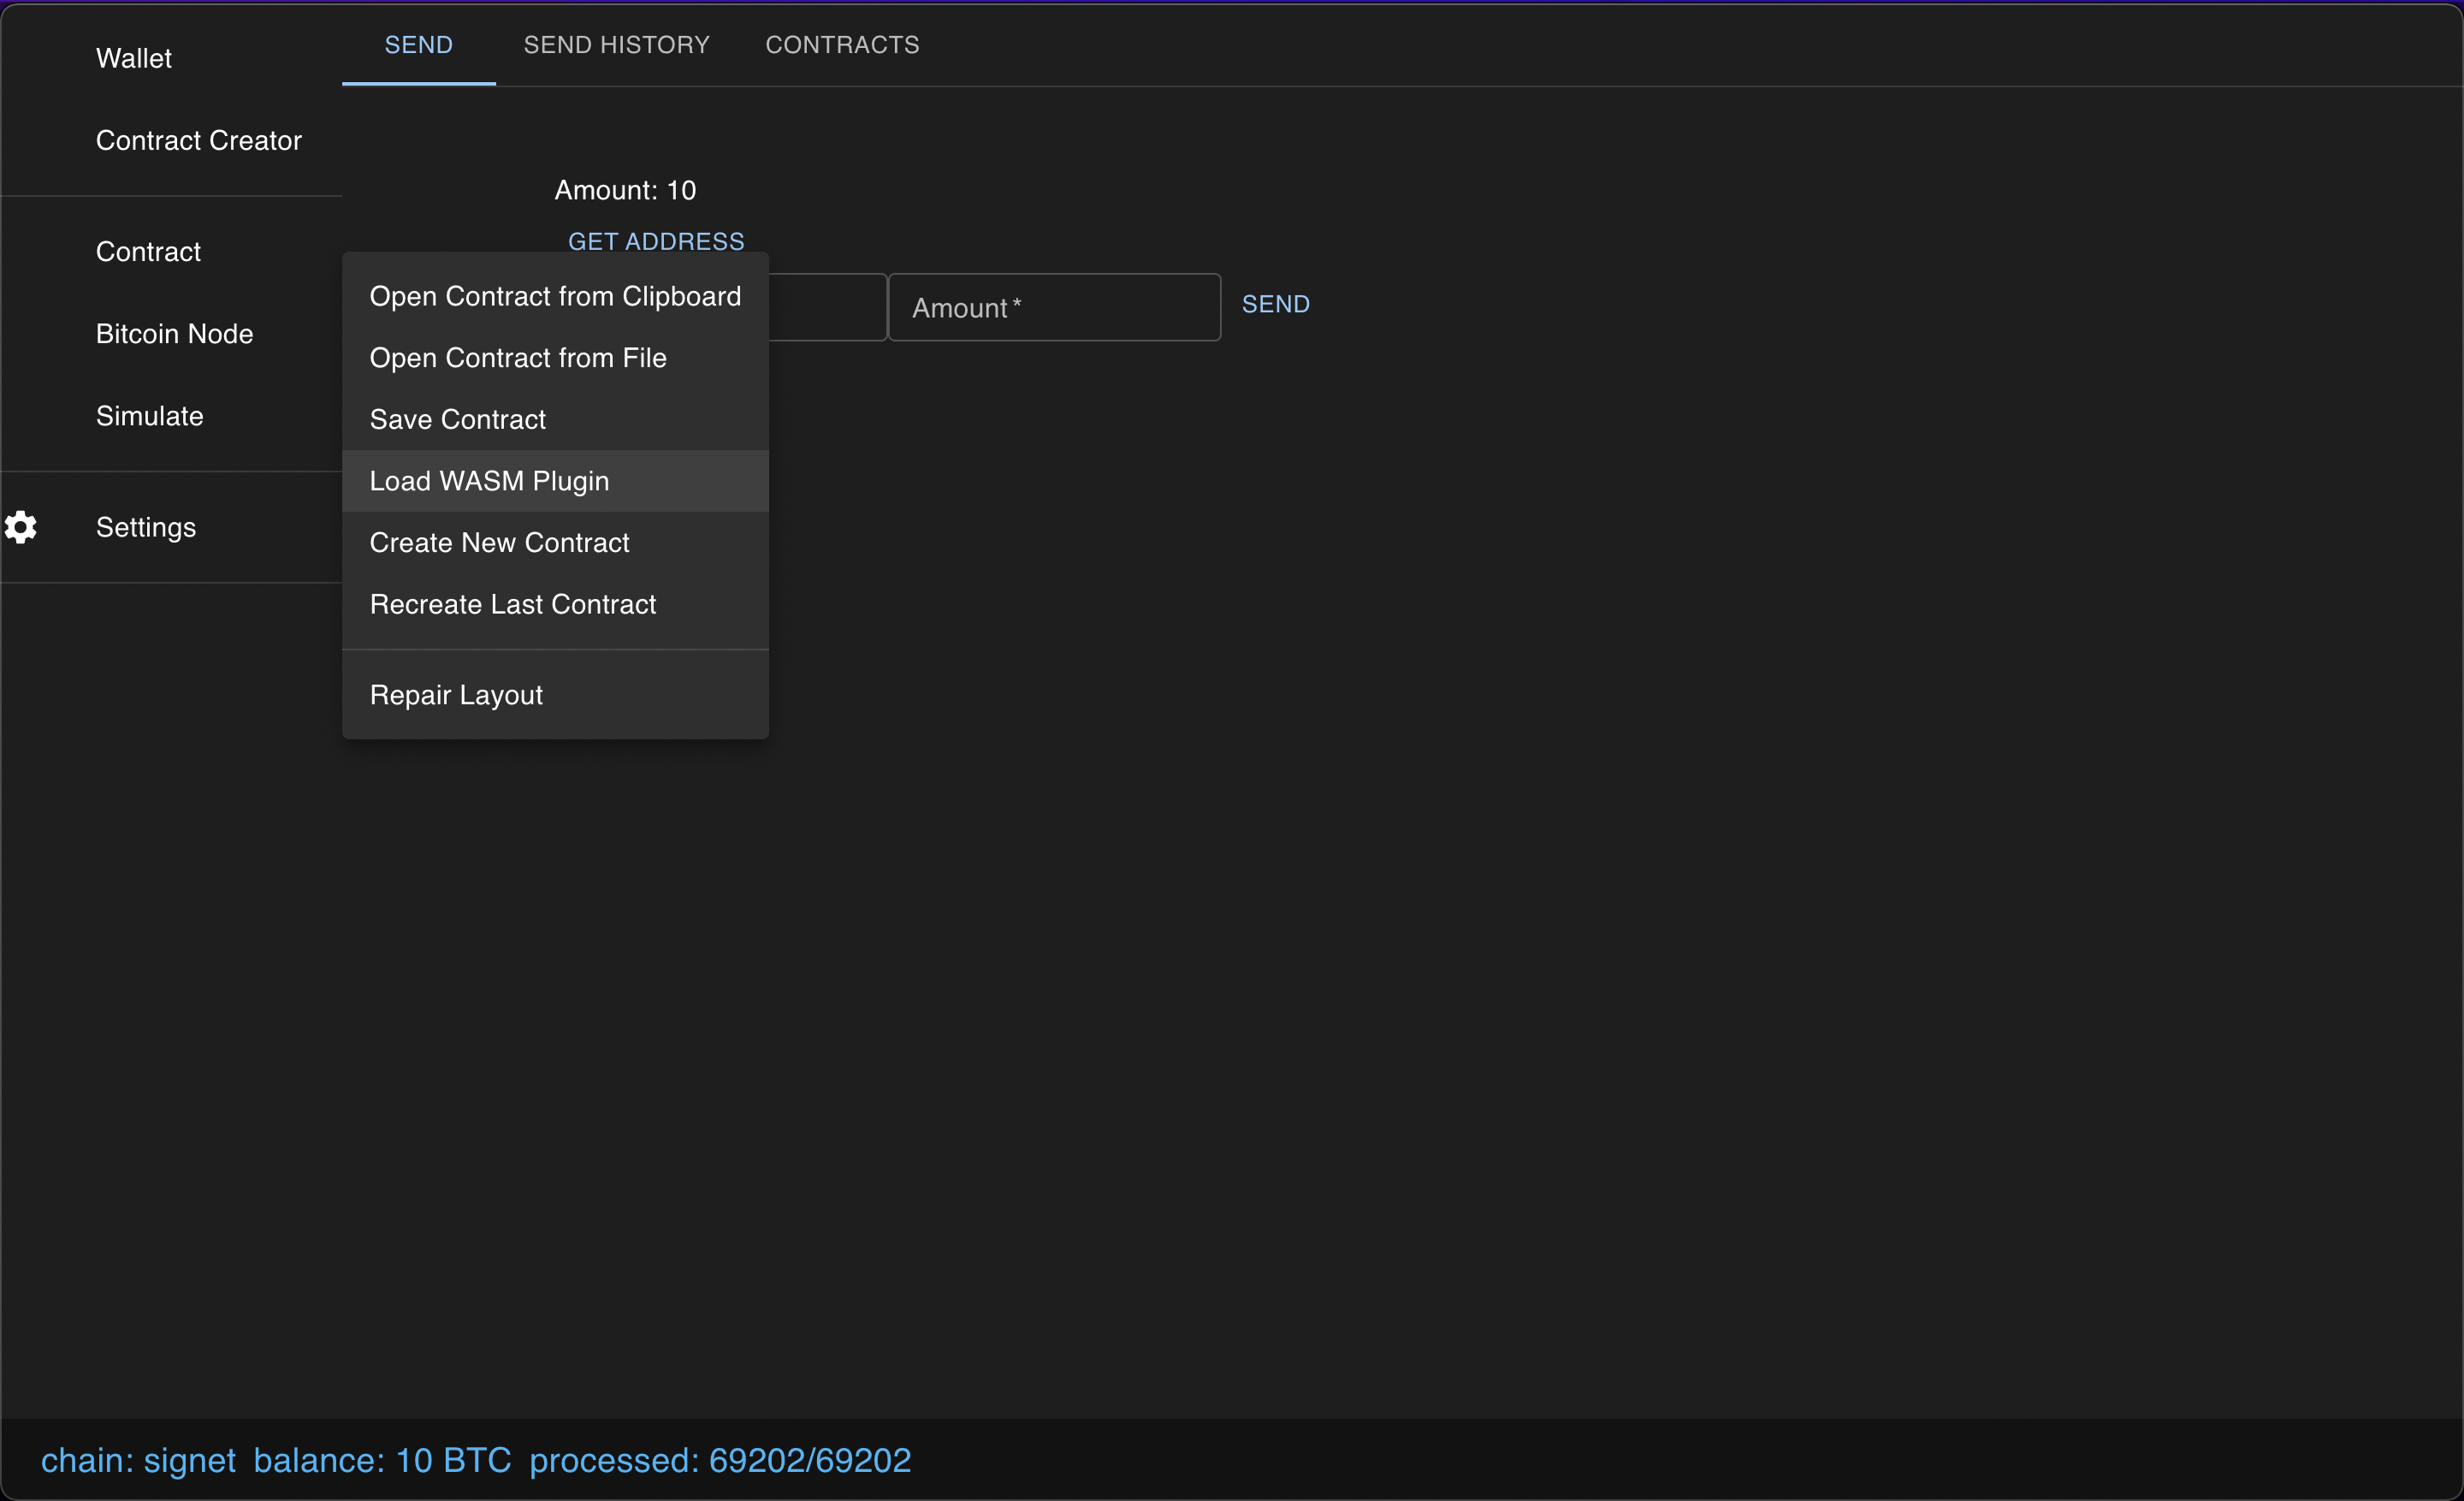
Next, click Create new contract.

You’ll see a little applet for the JameVault. Look at that handsome guy!

Next, we need to create some Taproot keys for this – gonna need some command line action:
./bitcoin-cli -signet getaddressinfo $(./bitcoin-cli -signet getnewaddress "vault_project" "bech32m")
and then copy the witness program. do this twice – one for cold one for hot.
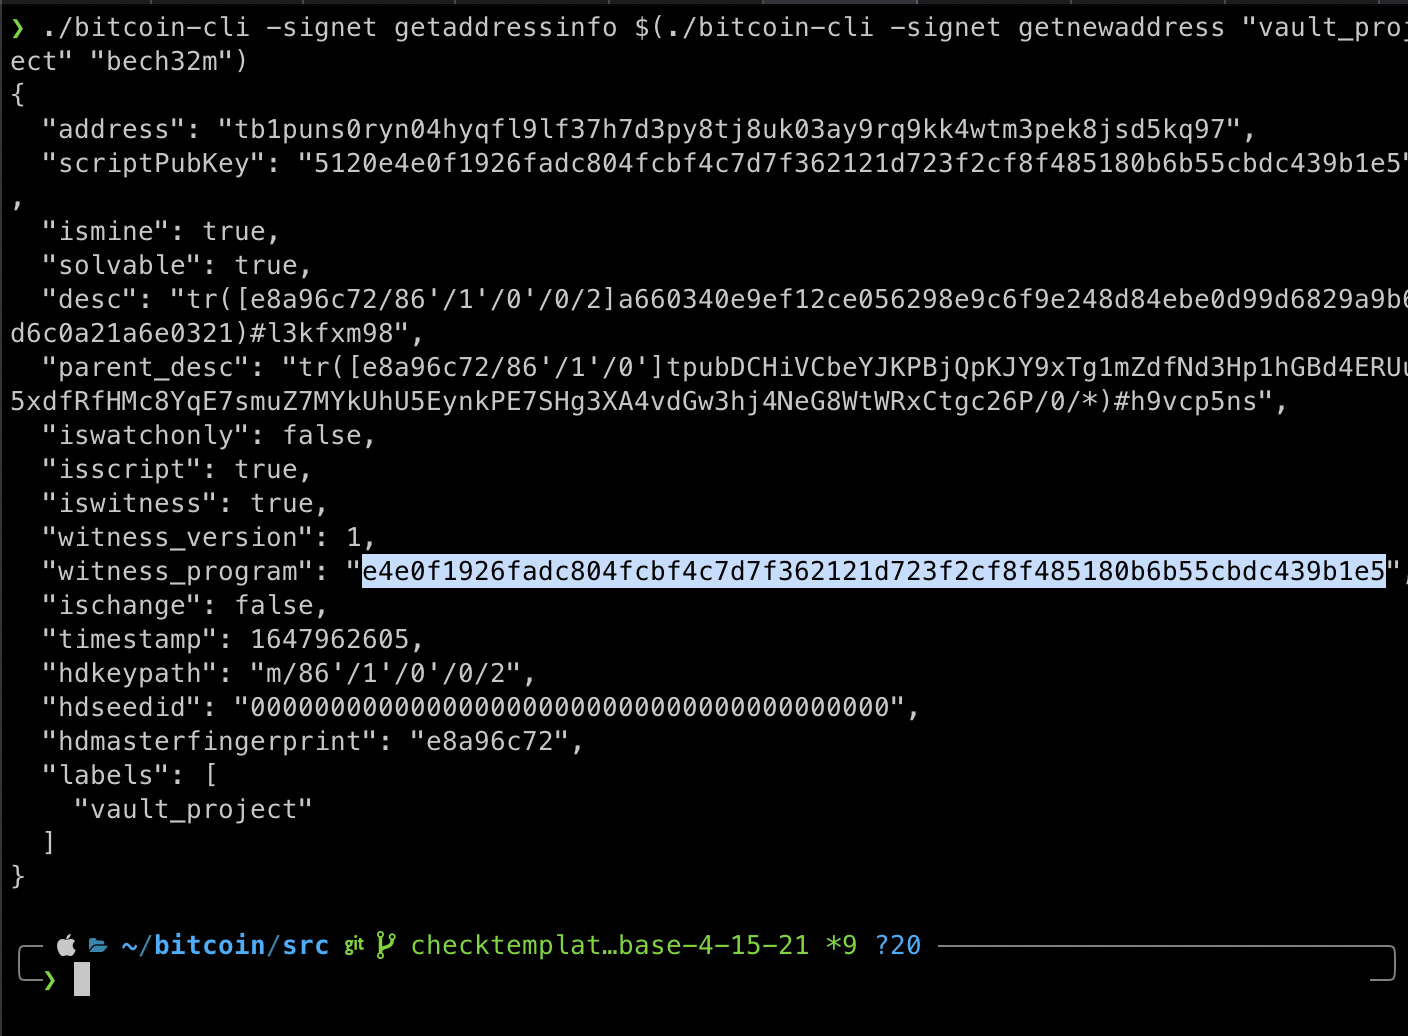
Now click on your applet and start filling it out. You can get new addresses by clicking on Bitcoin Node (just not keys yet)
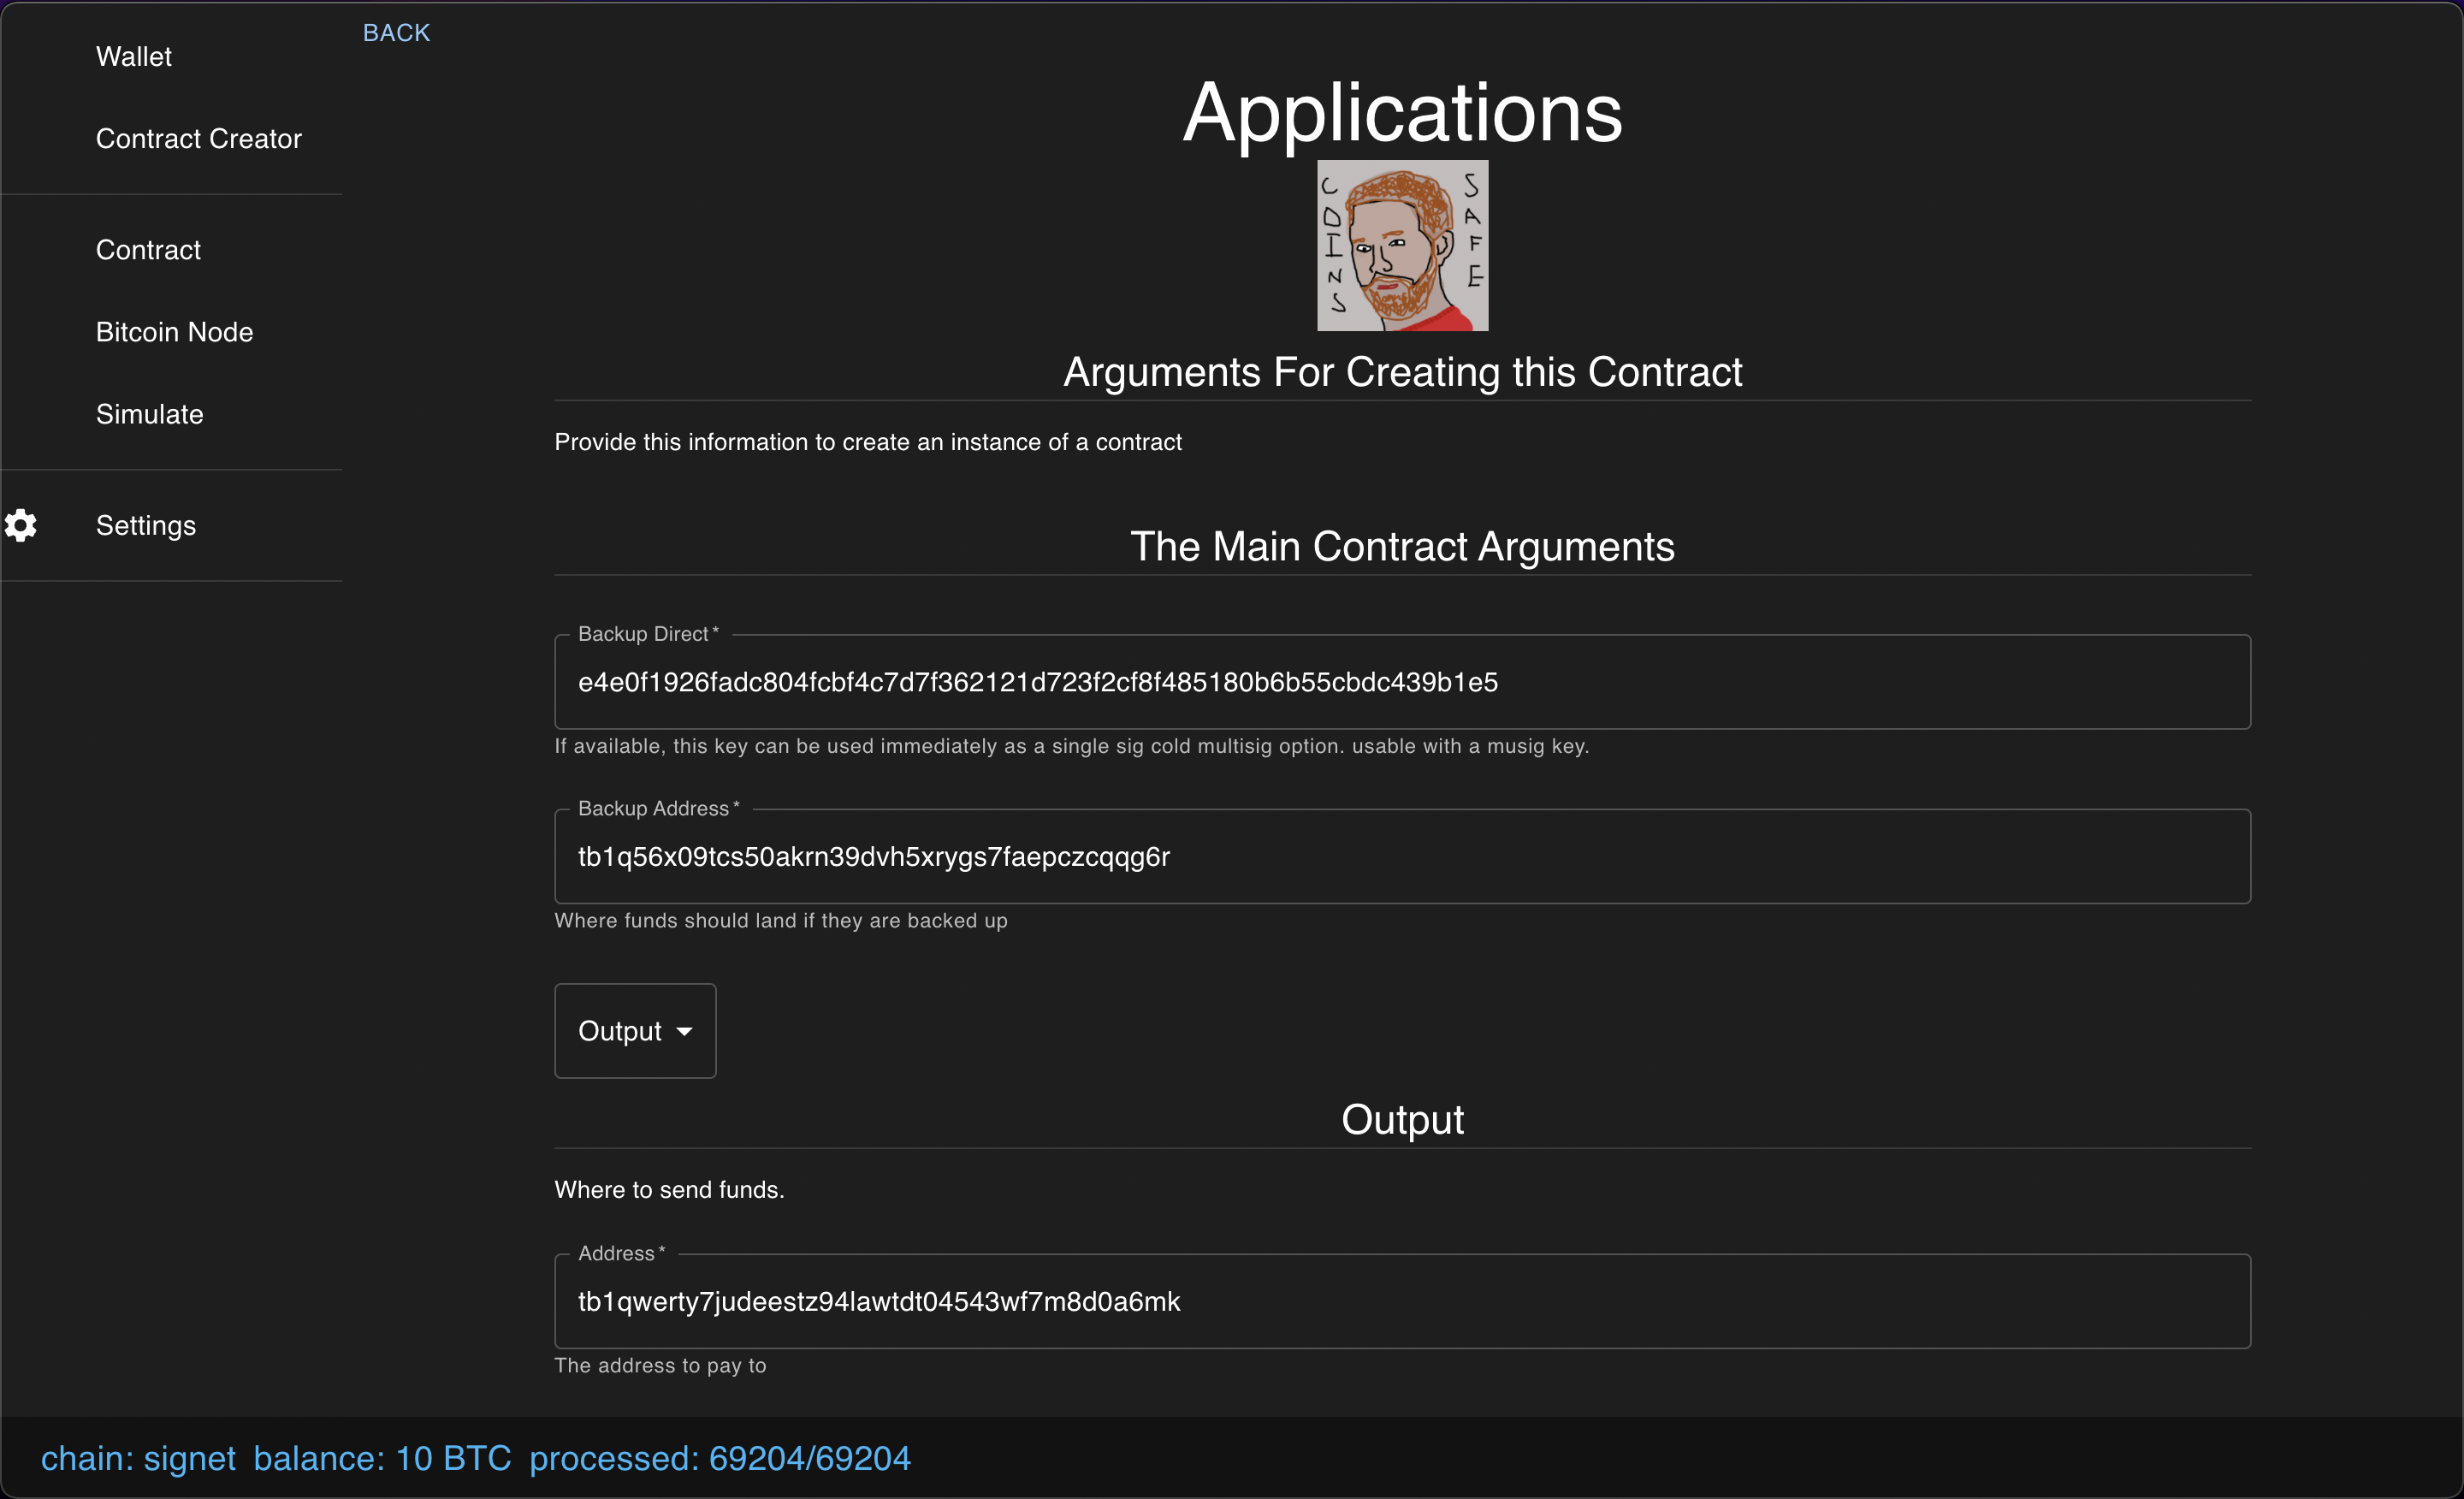 n.b. sometimes things are in btc, sometimes in sats. c’est la vie.
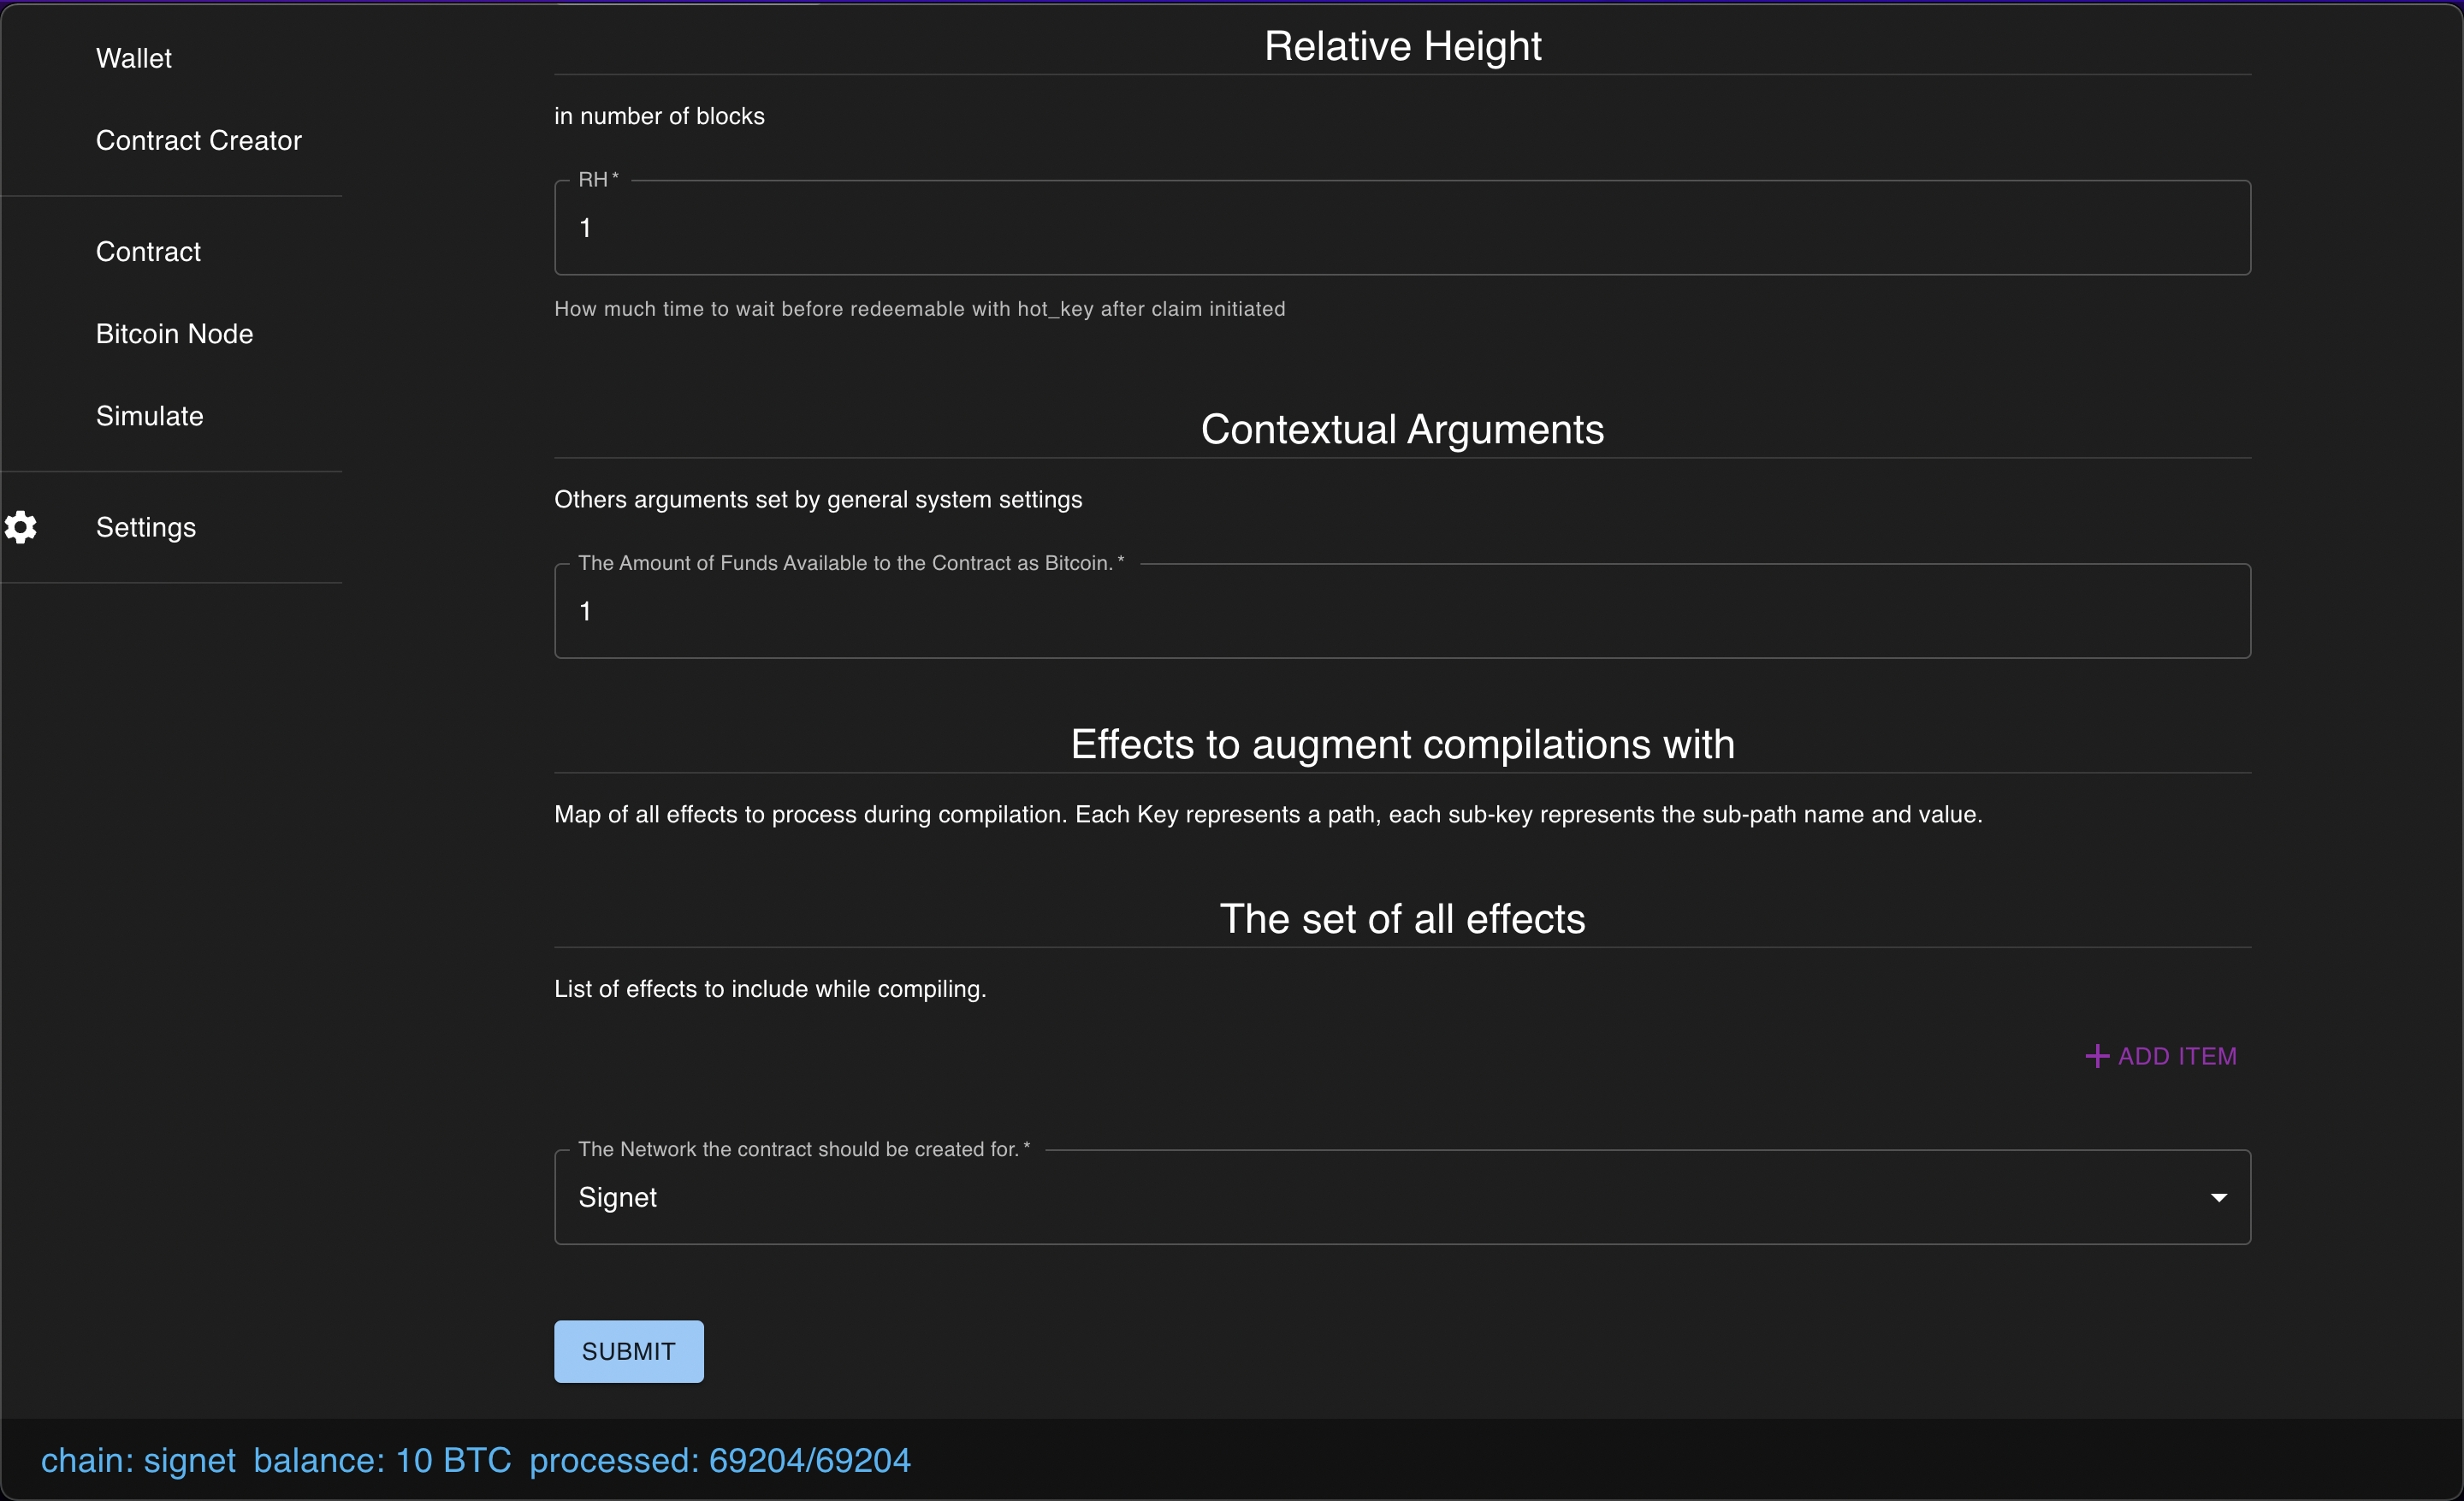
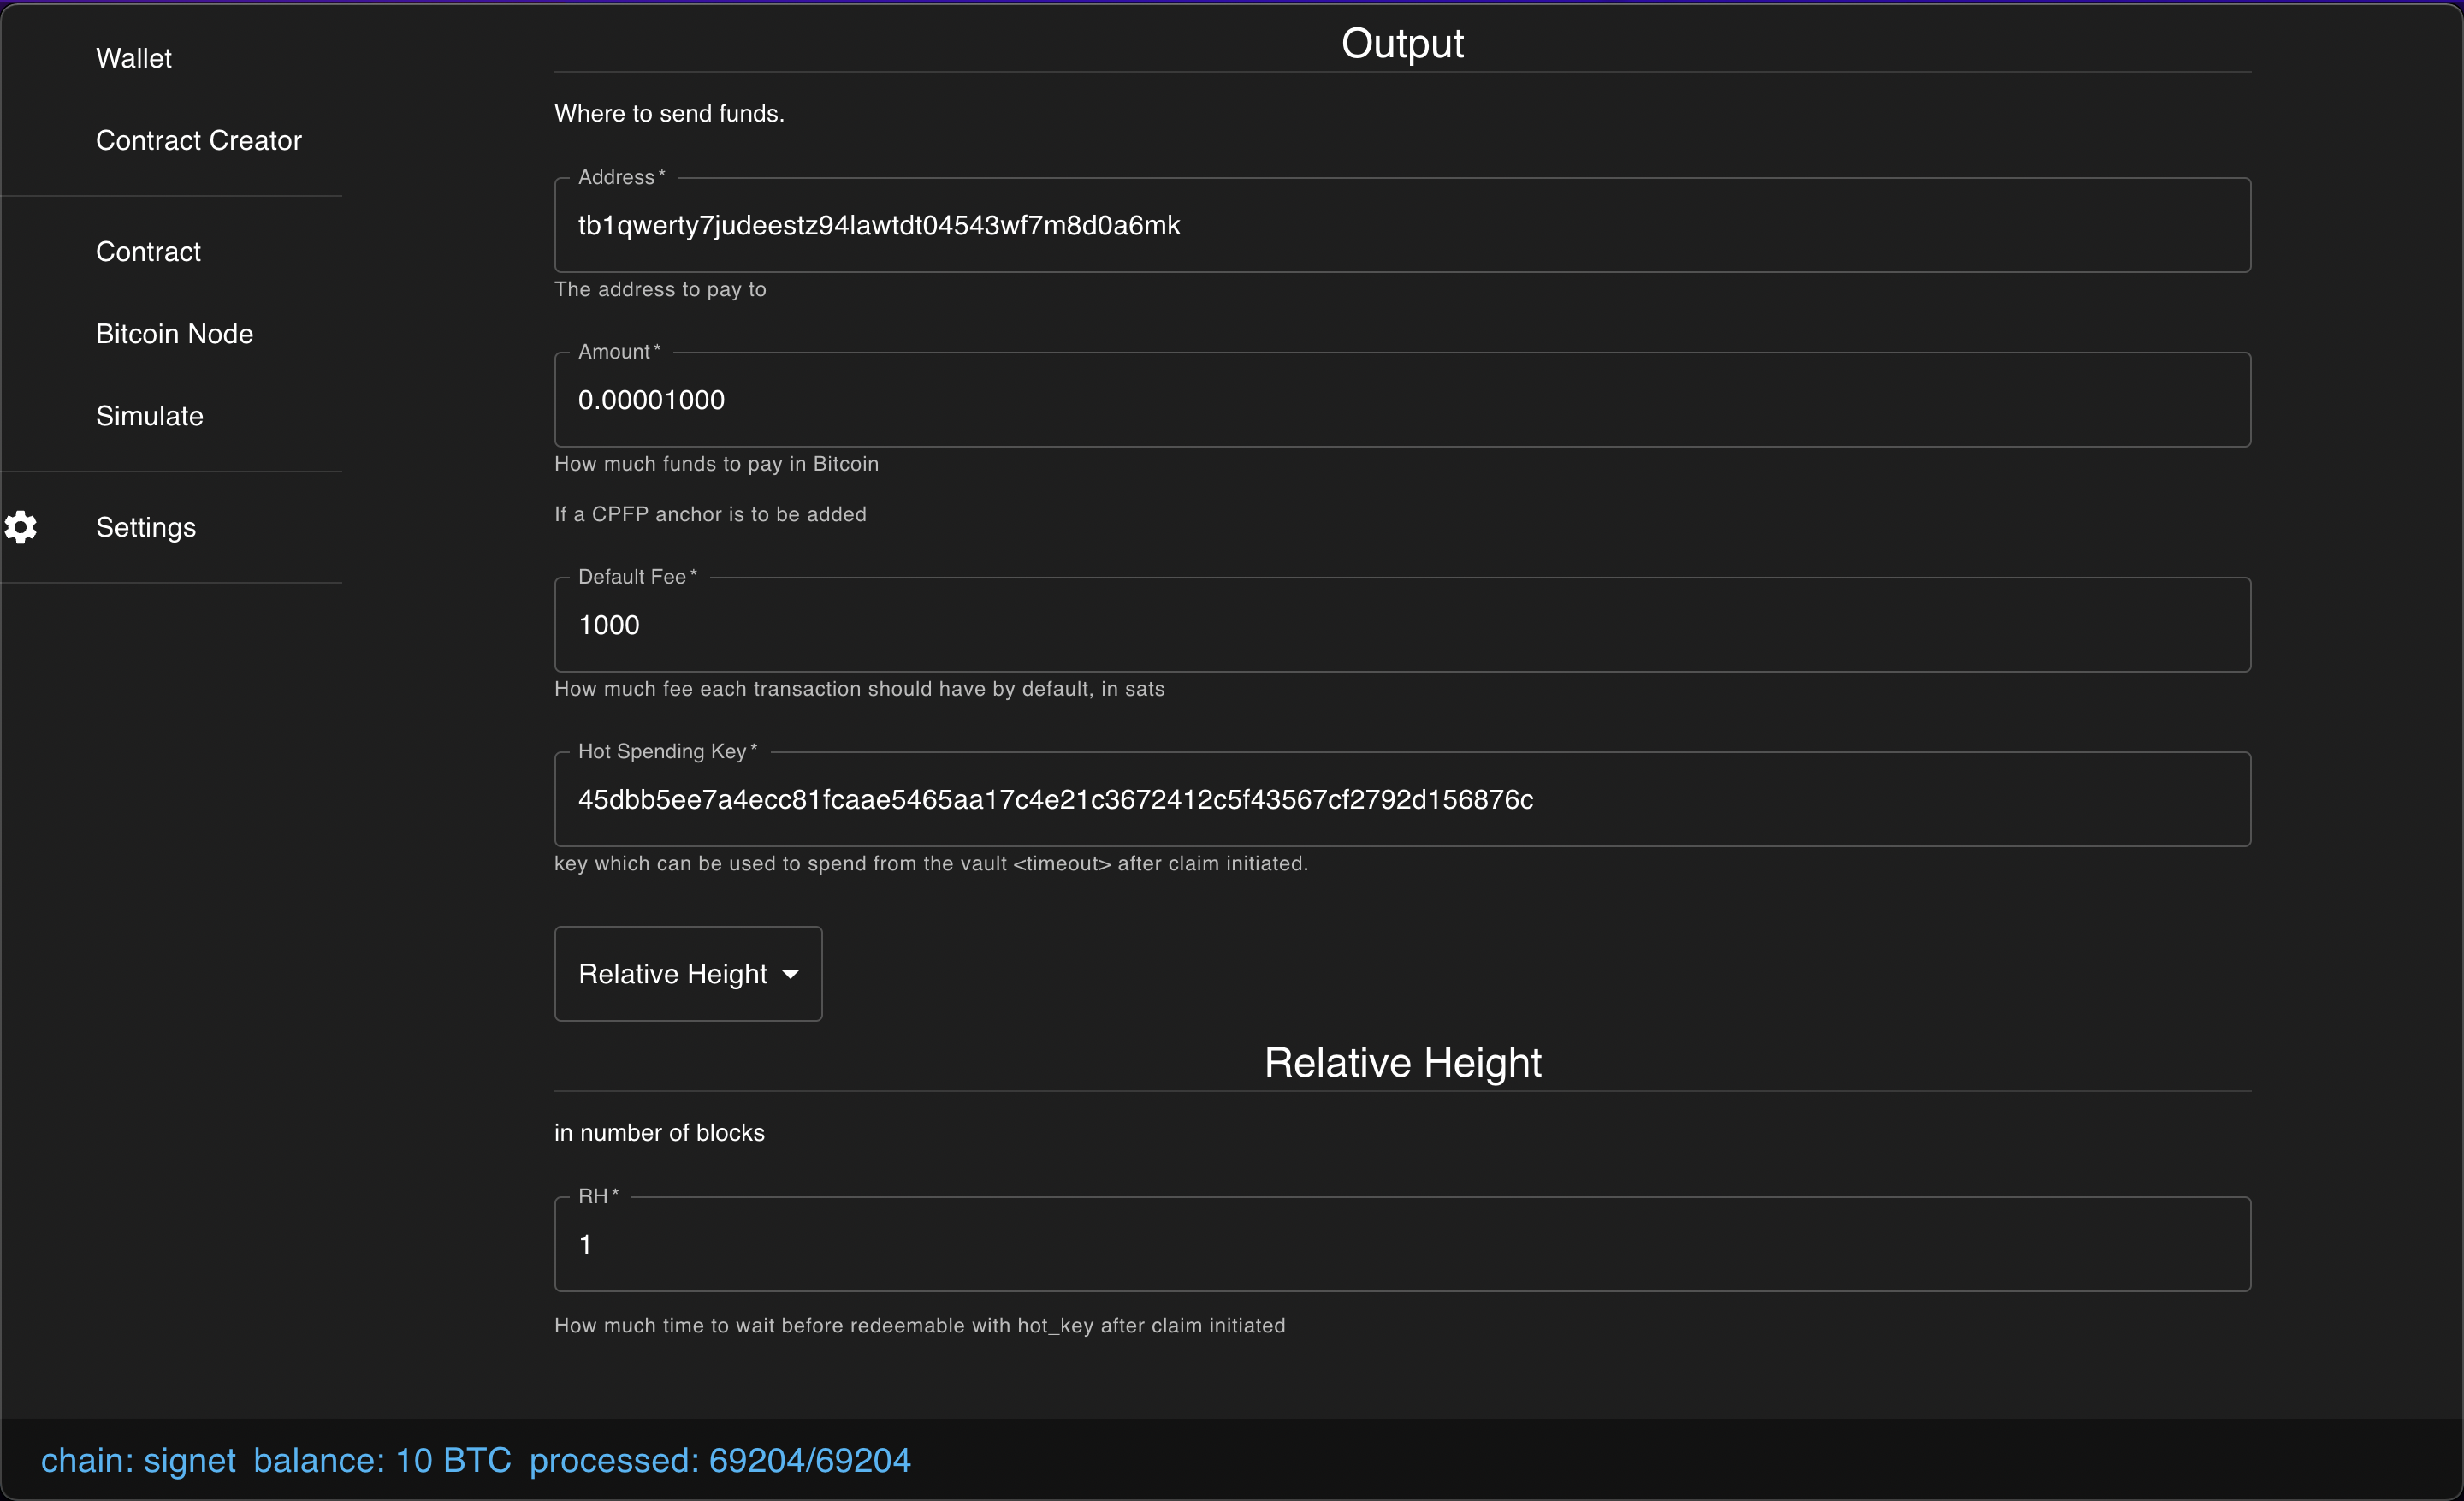 finish up and click submit
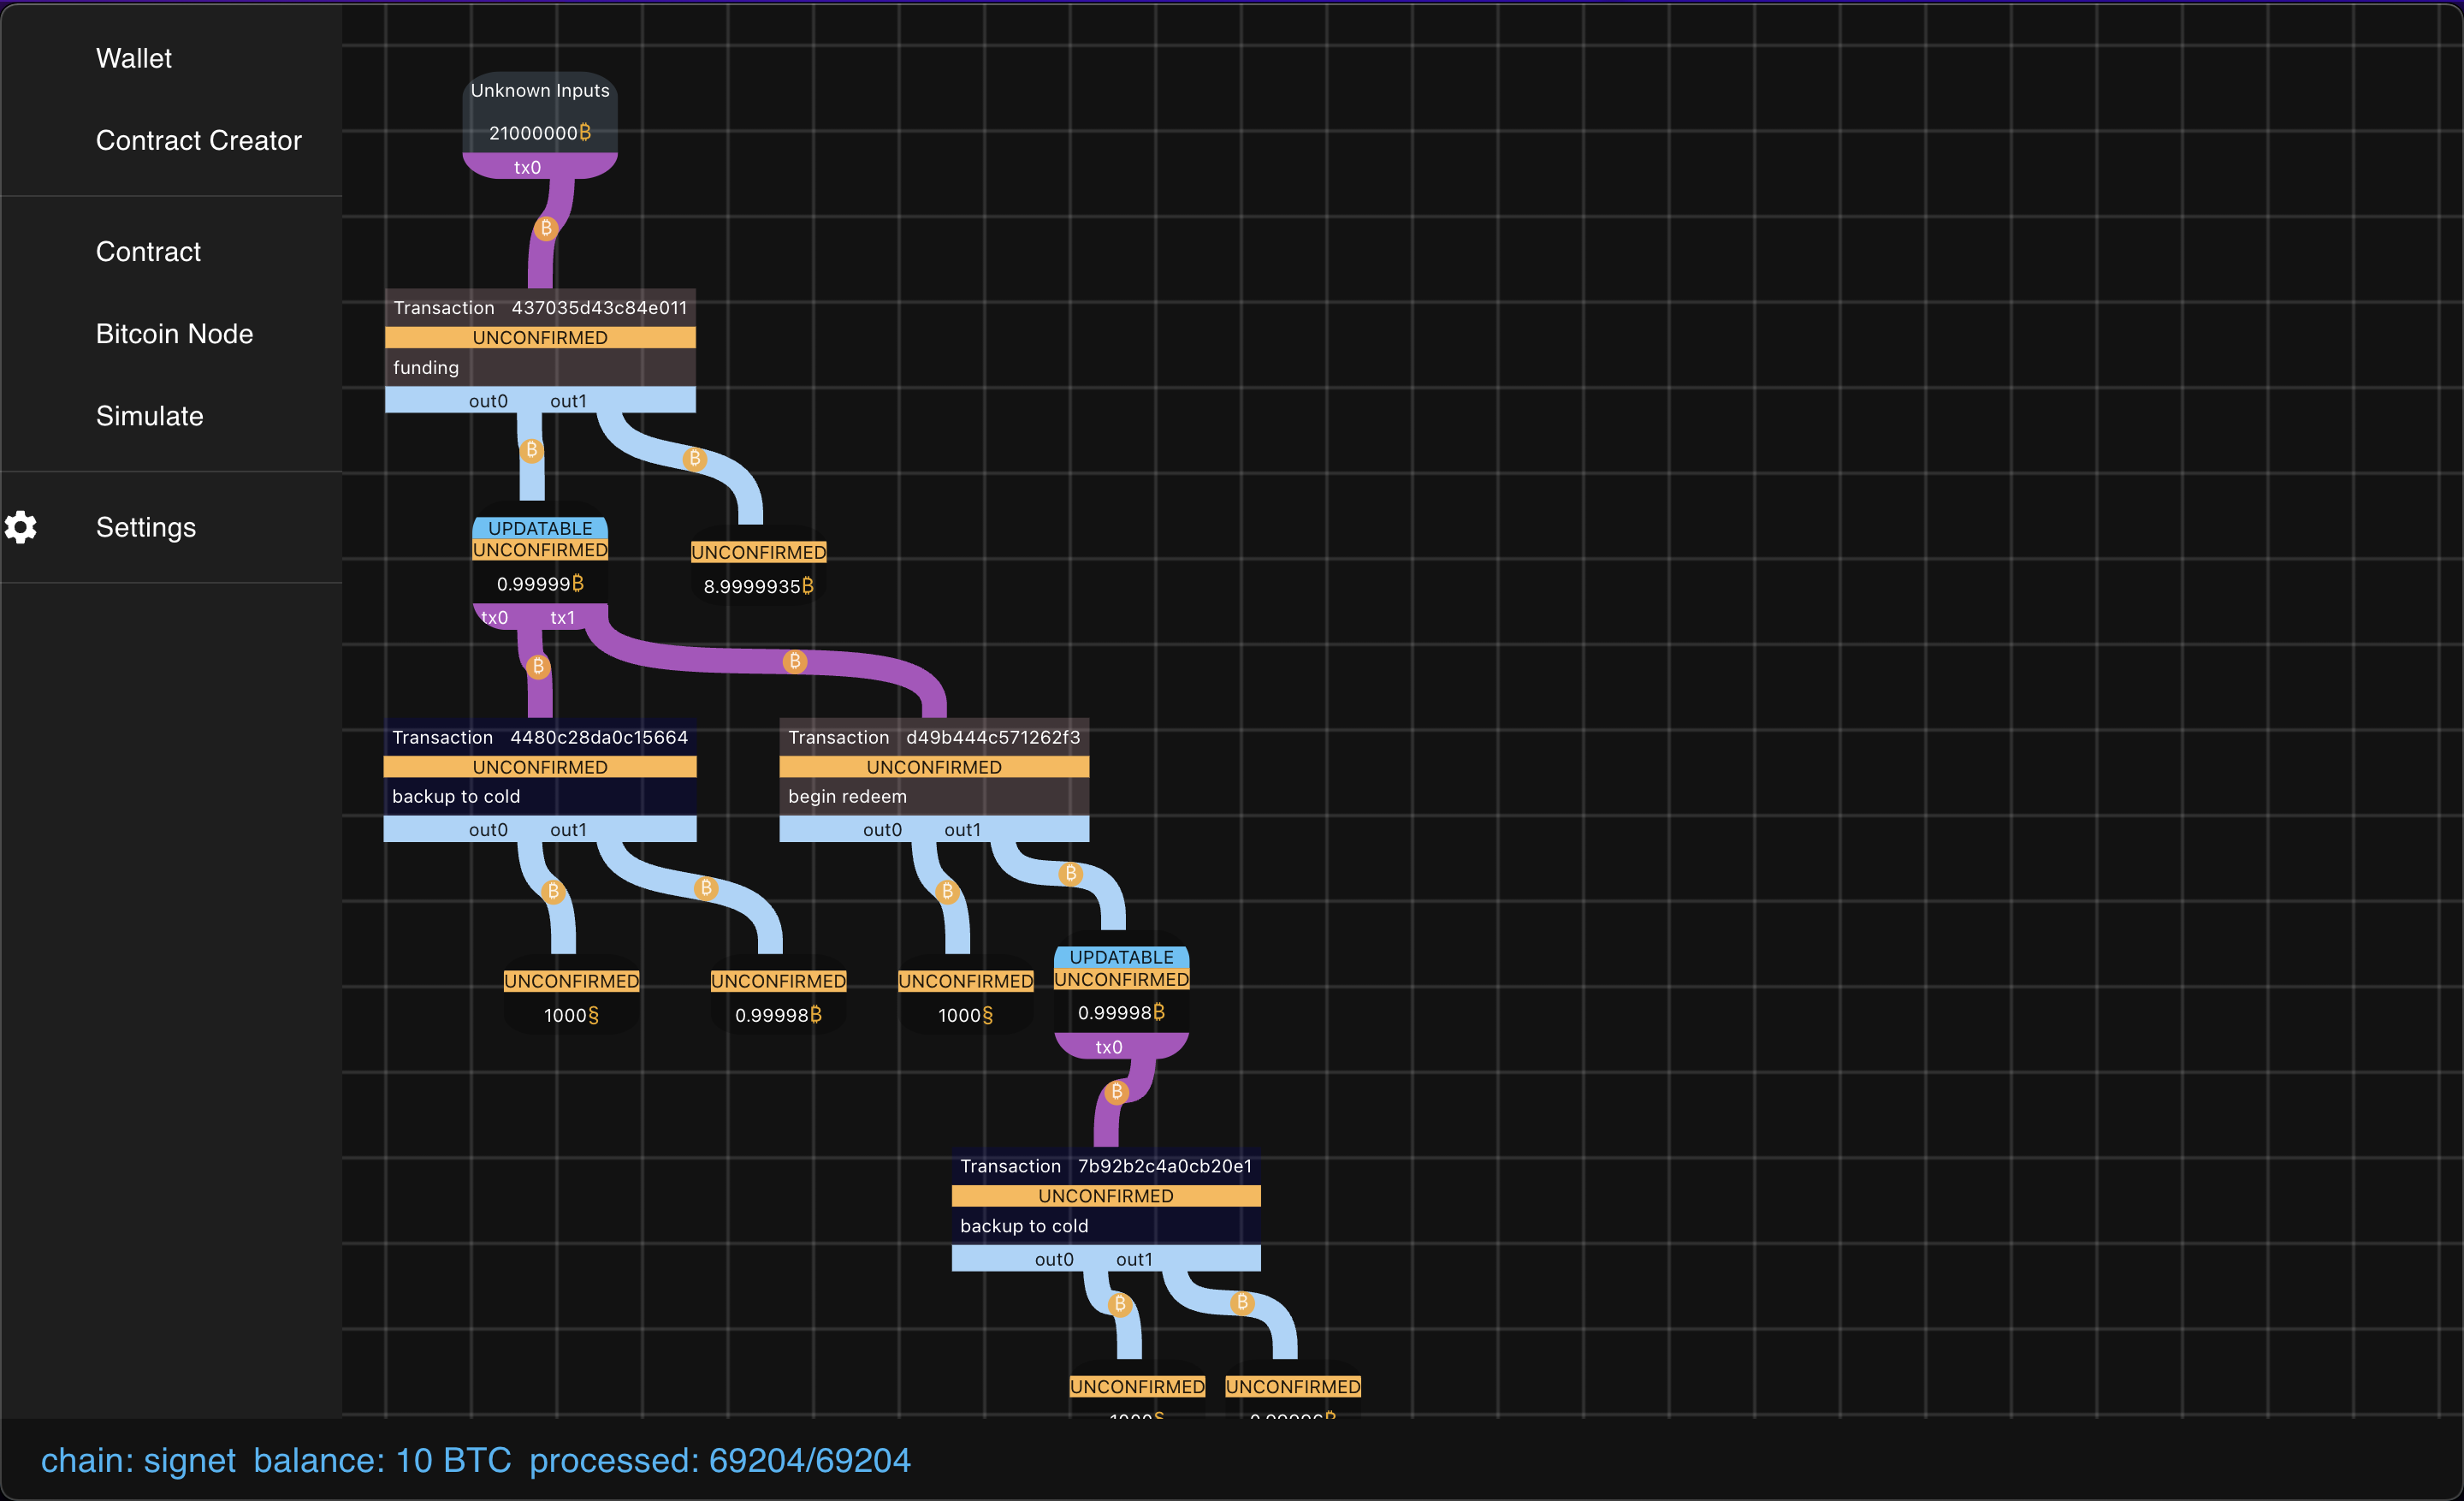
 If all is right, you should see a contract get created!
 To actually create it, click on the parent txn and then sign it…
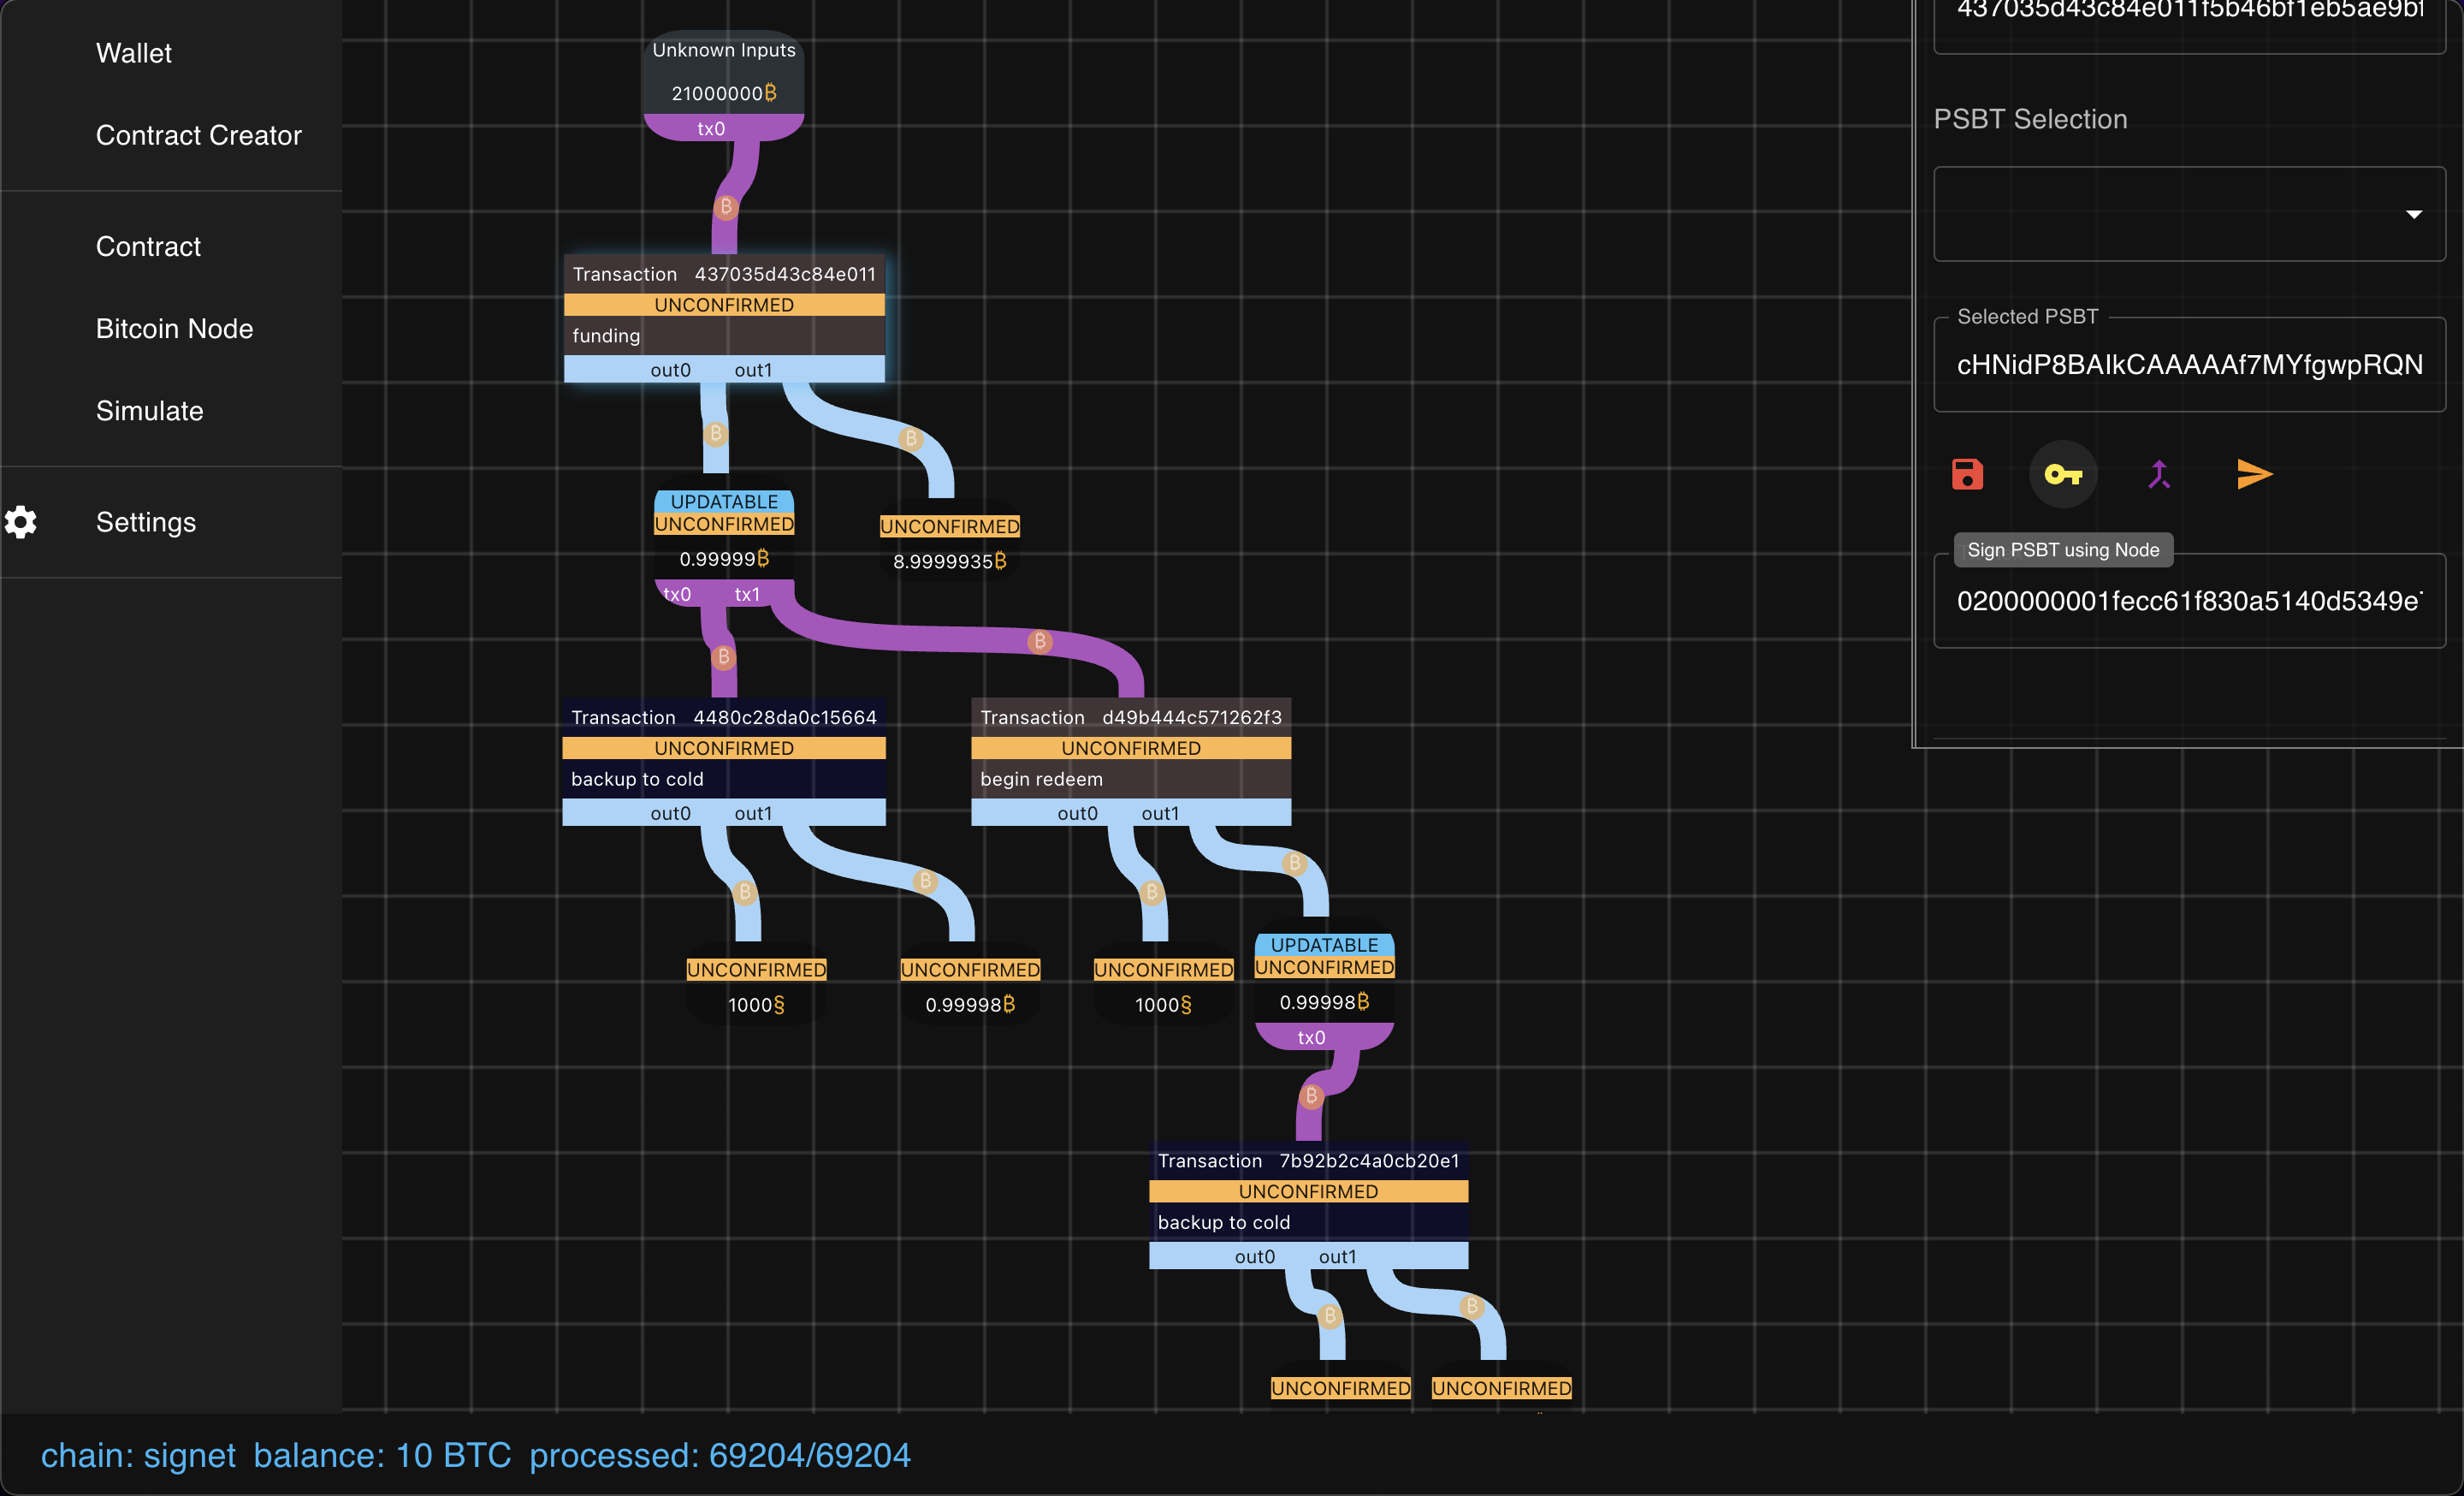
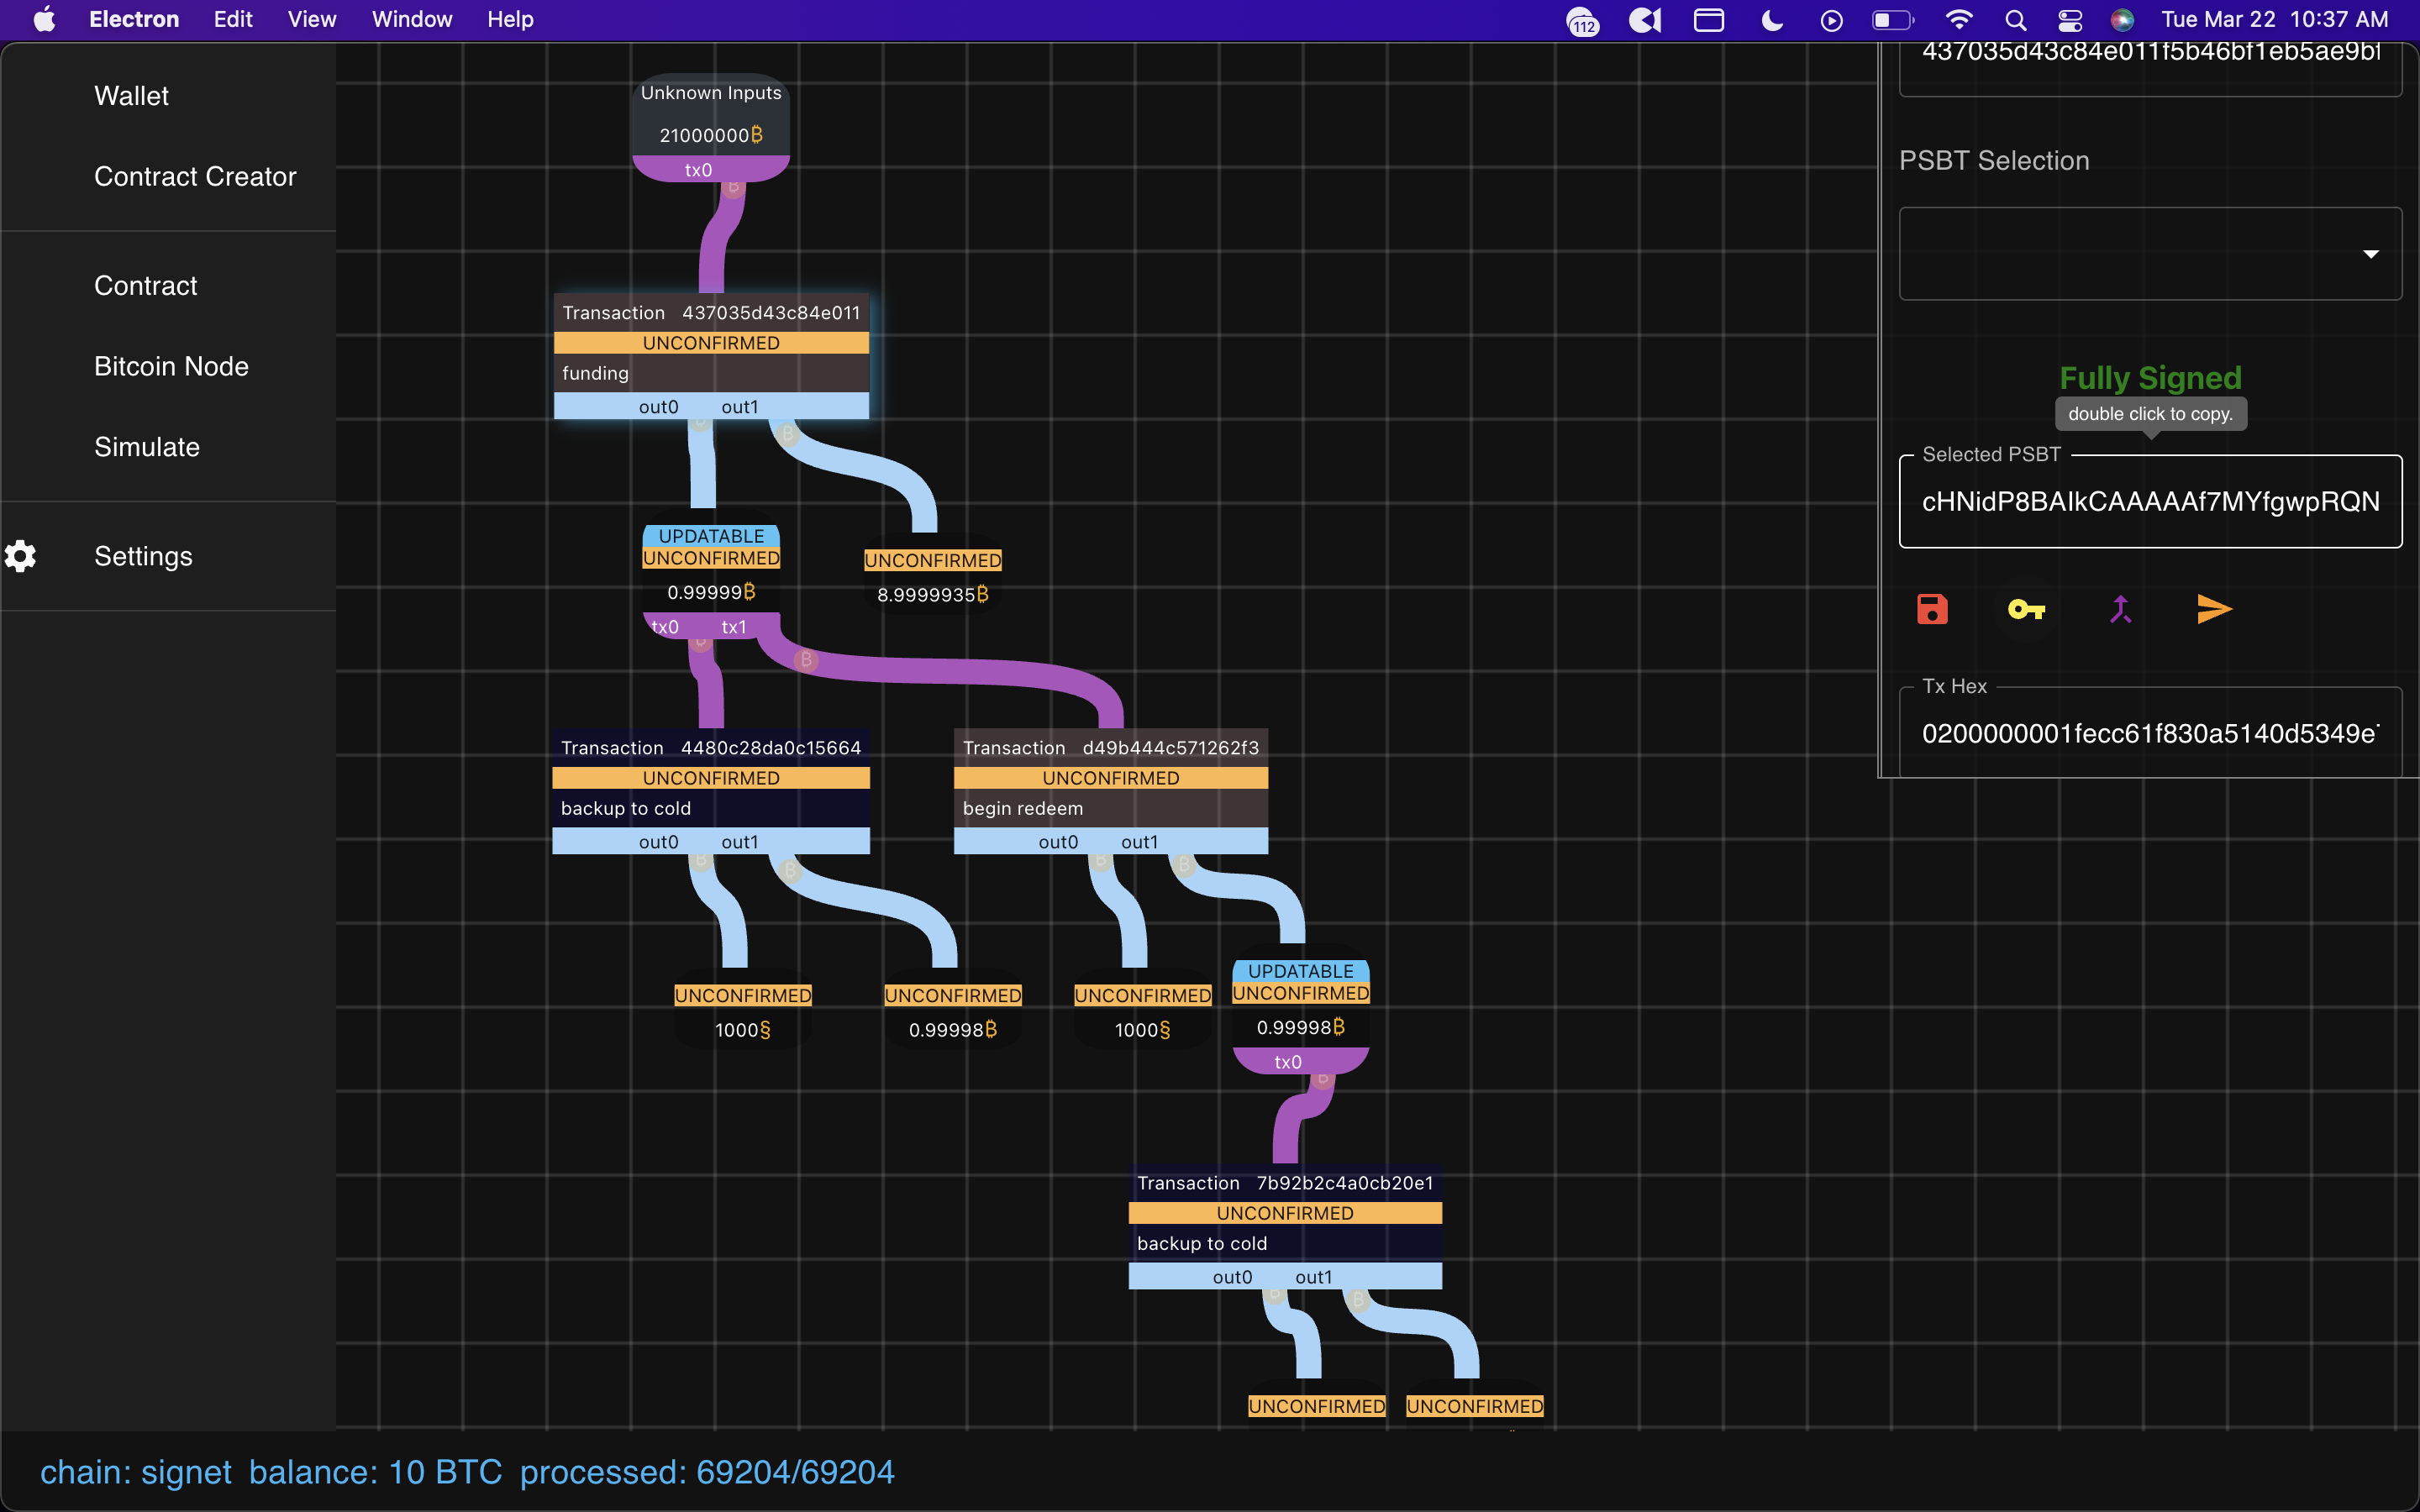 and then broadcast it (with real money you’ll want to verify before doing this)
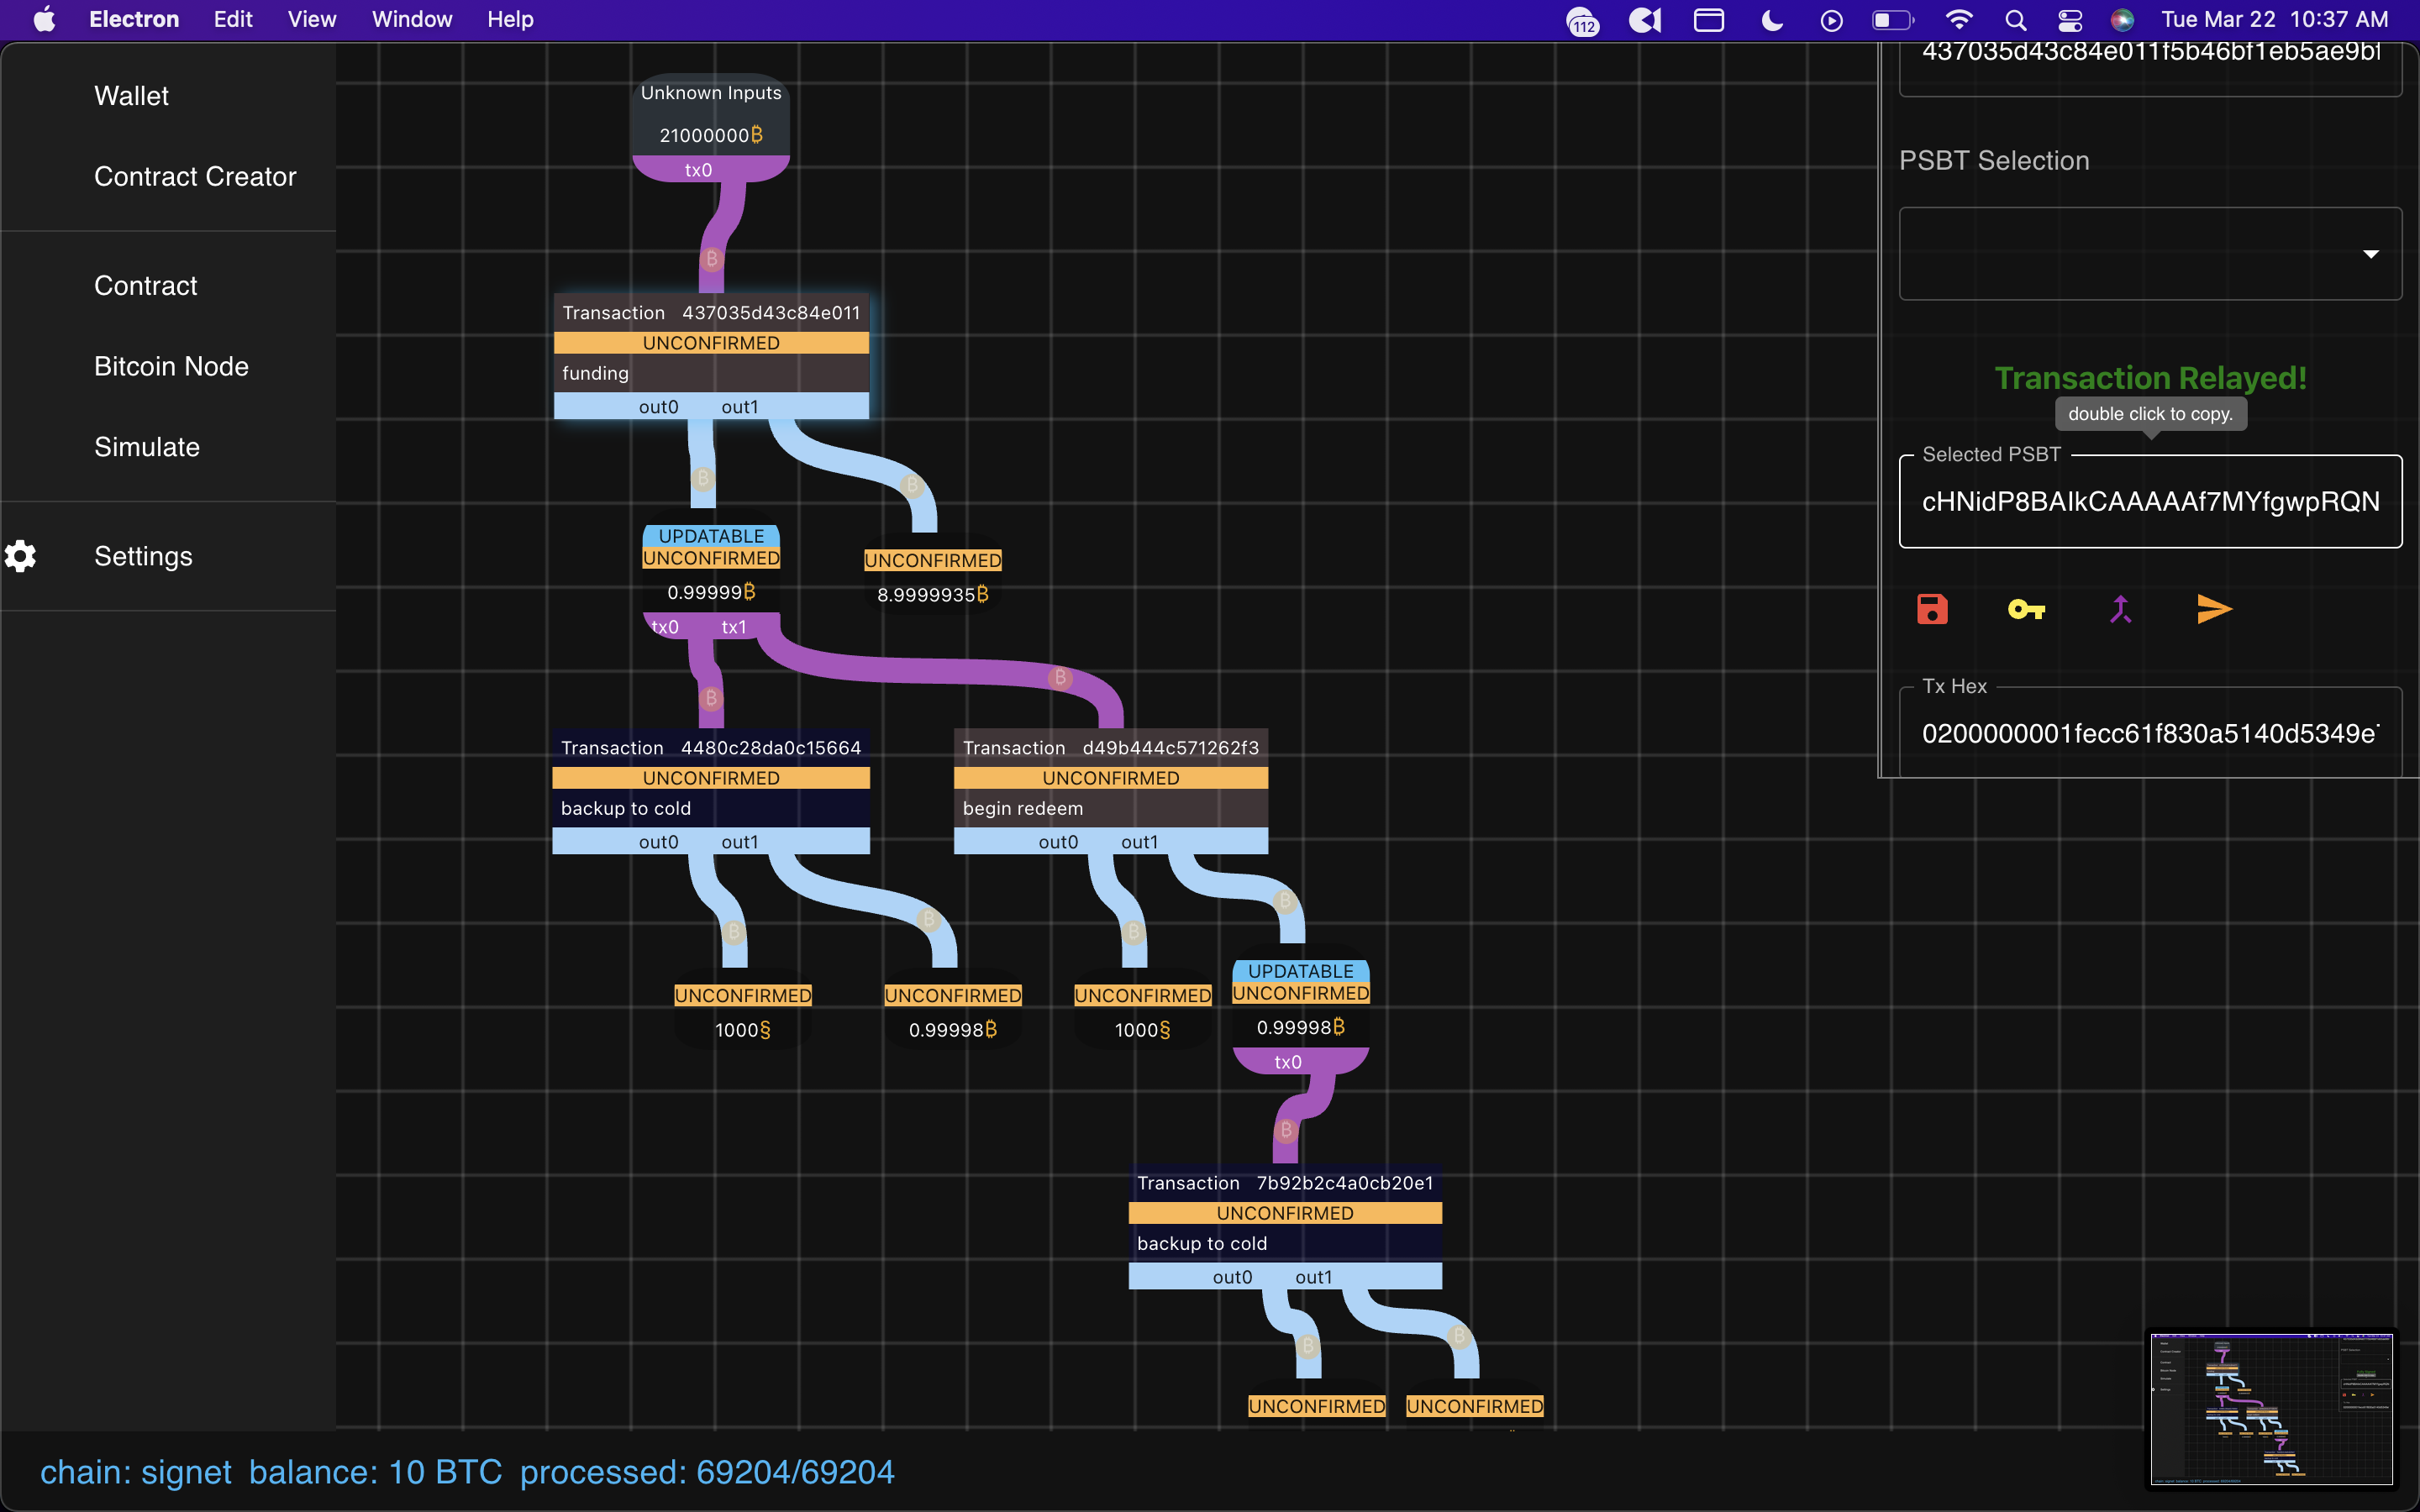 it’ll now pop up in the mempool.
n.b. BUG ALERT: the viewer on the right hand side is a little glitchy. before playing
with the psbts/txn signing logic, always close it and re-open by clicking on the txn
you want.
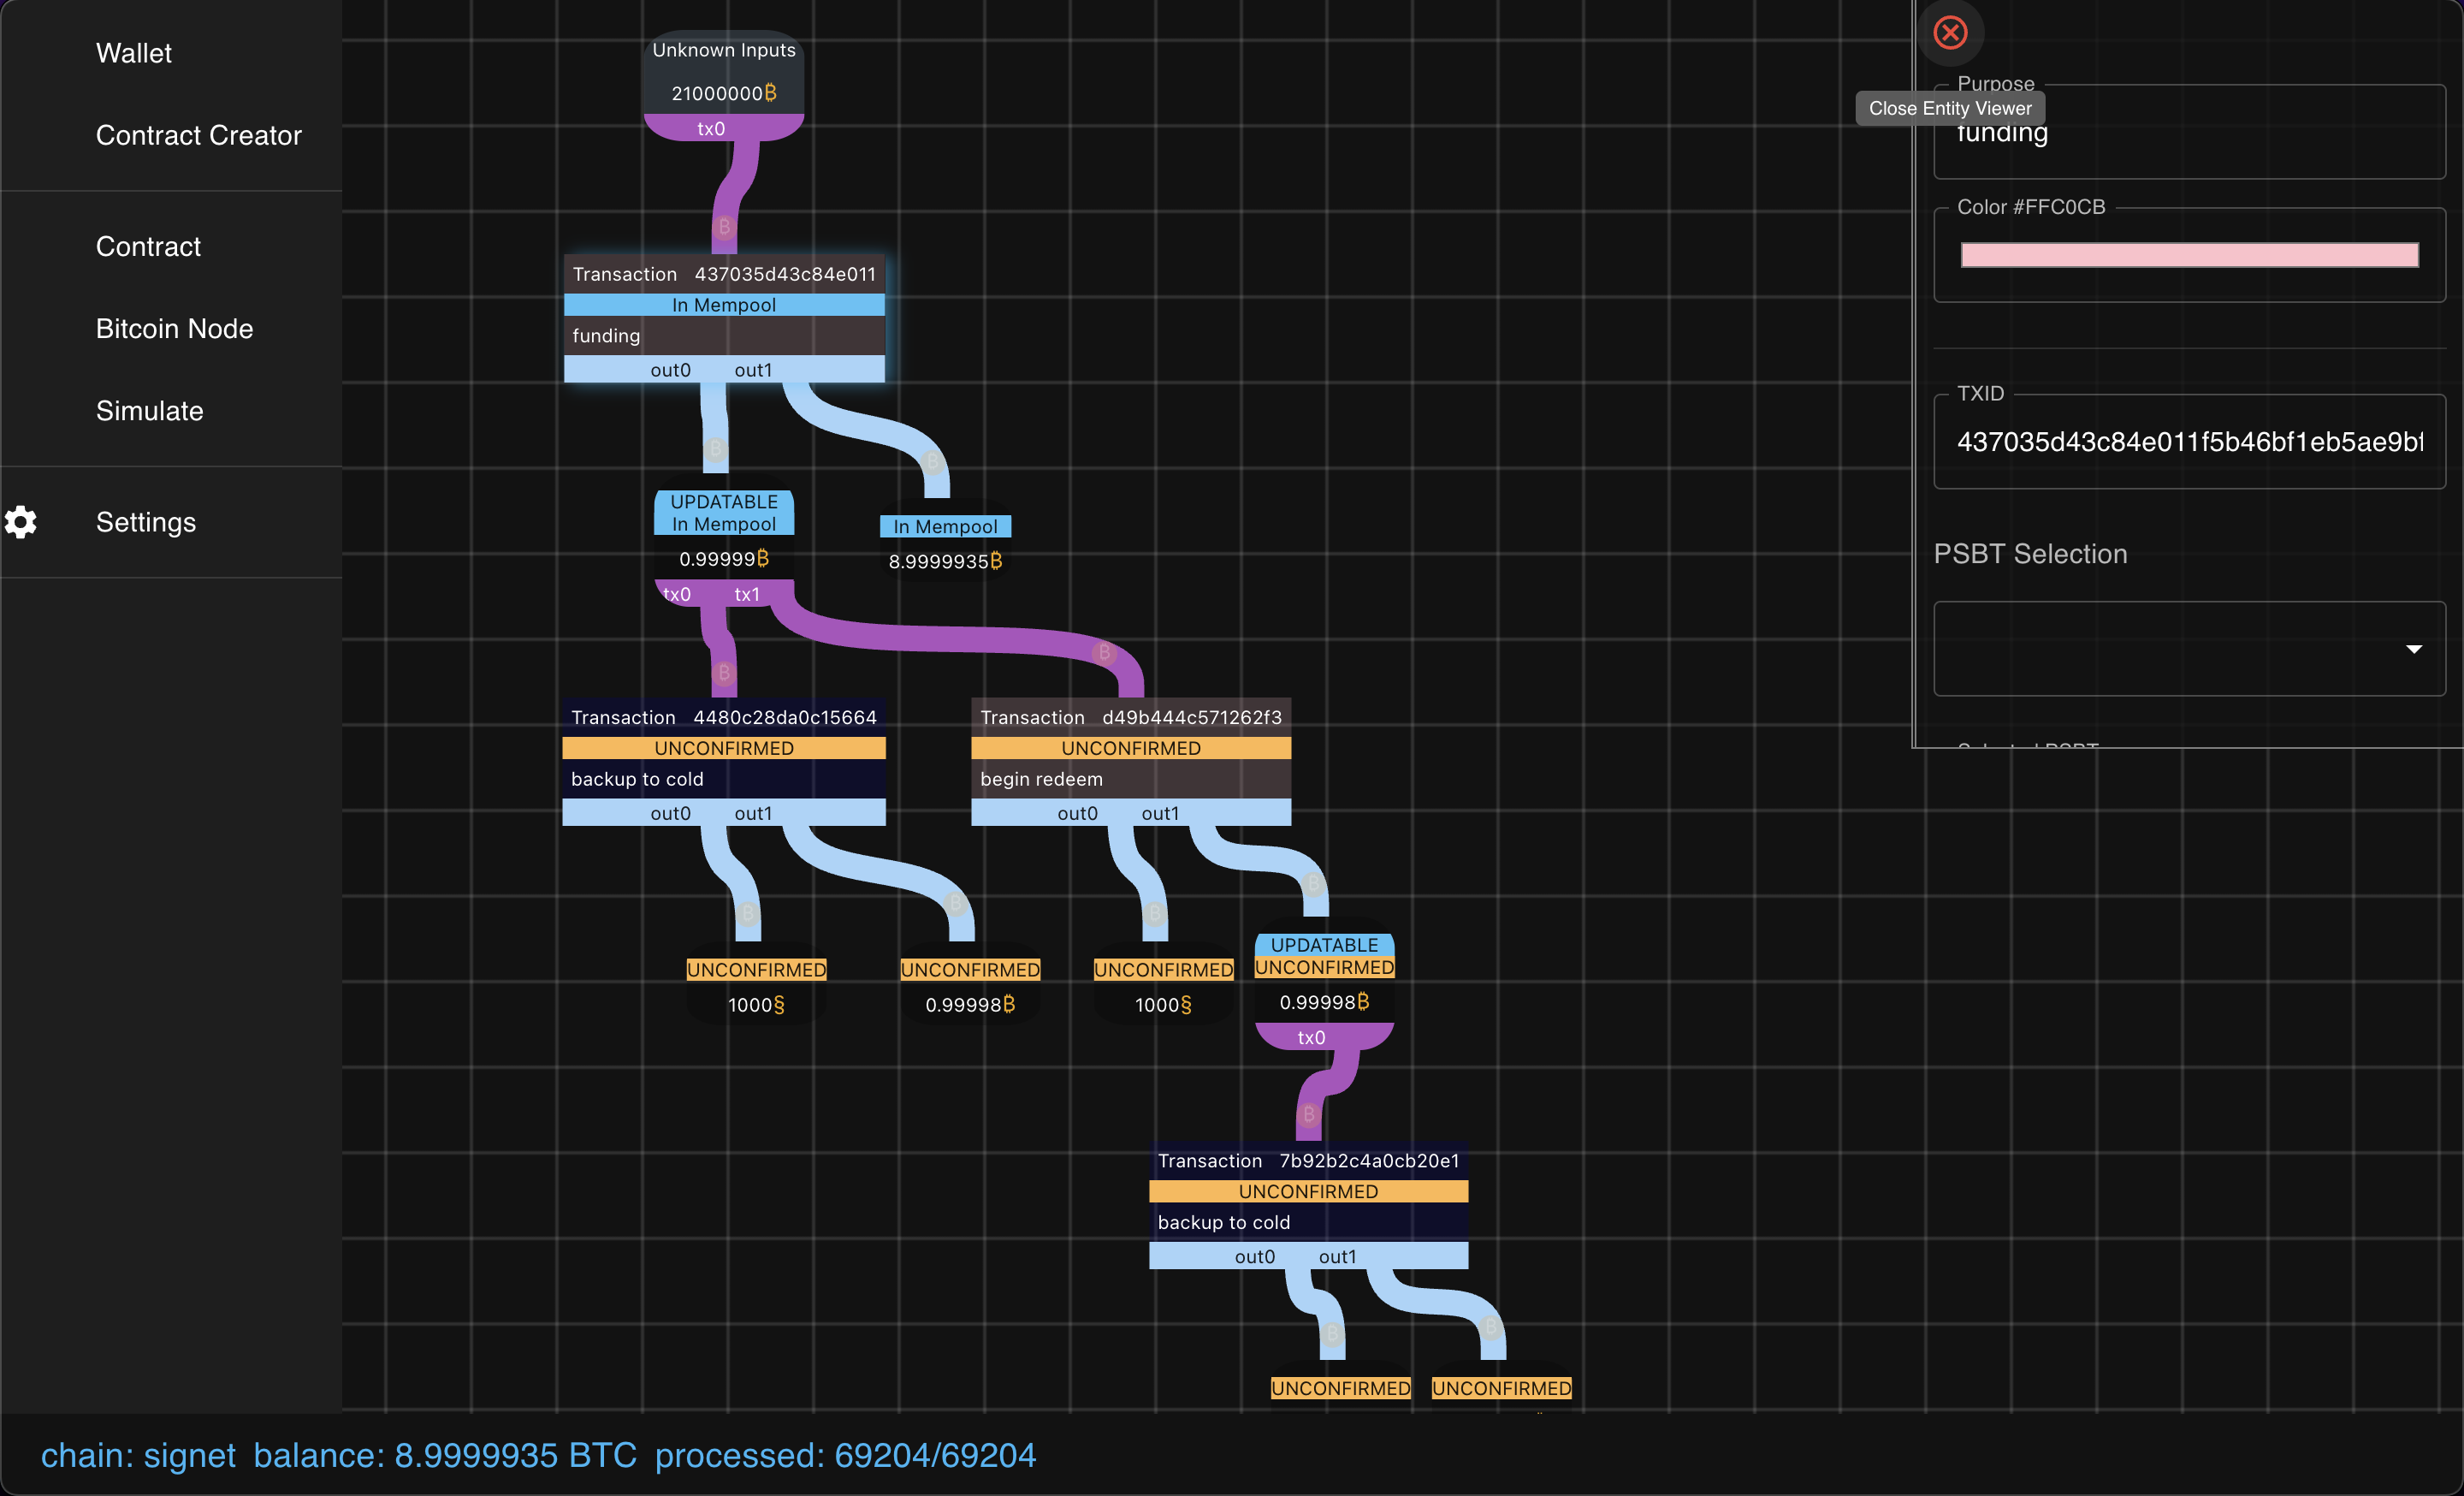
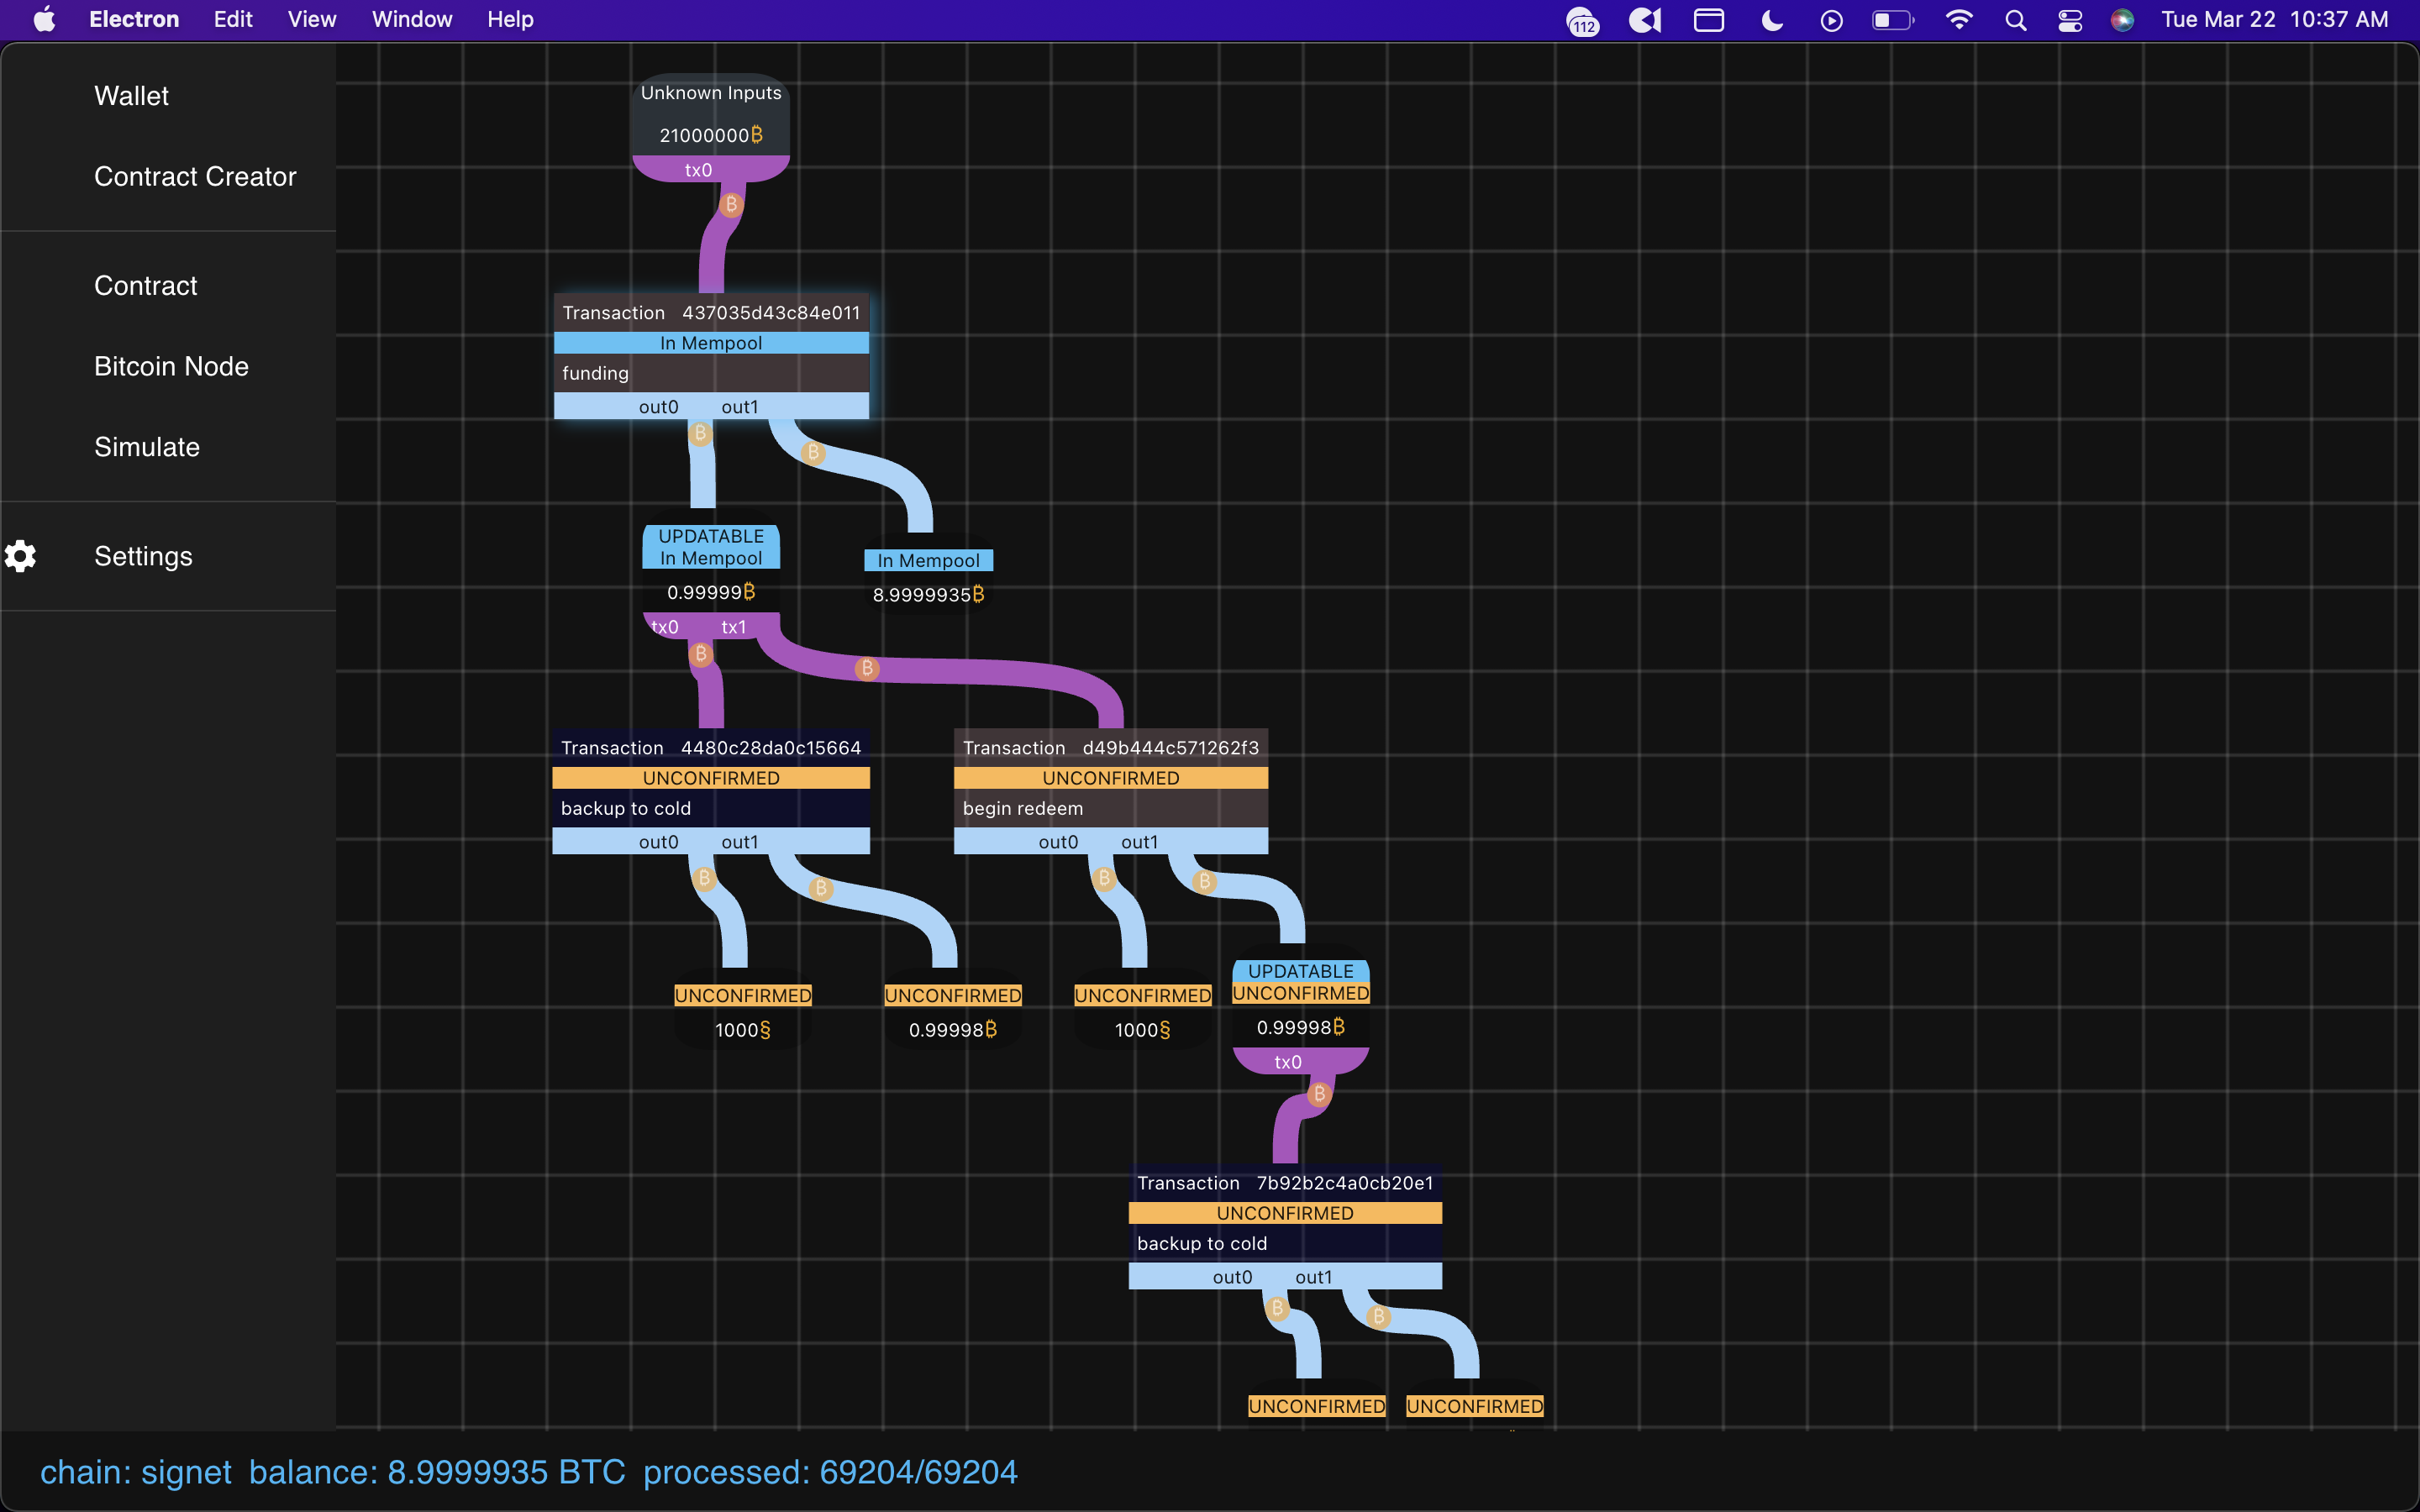 Now you can click on the begin redeem txn and broadcast and sign that one so it’s in the mempool
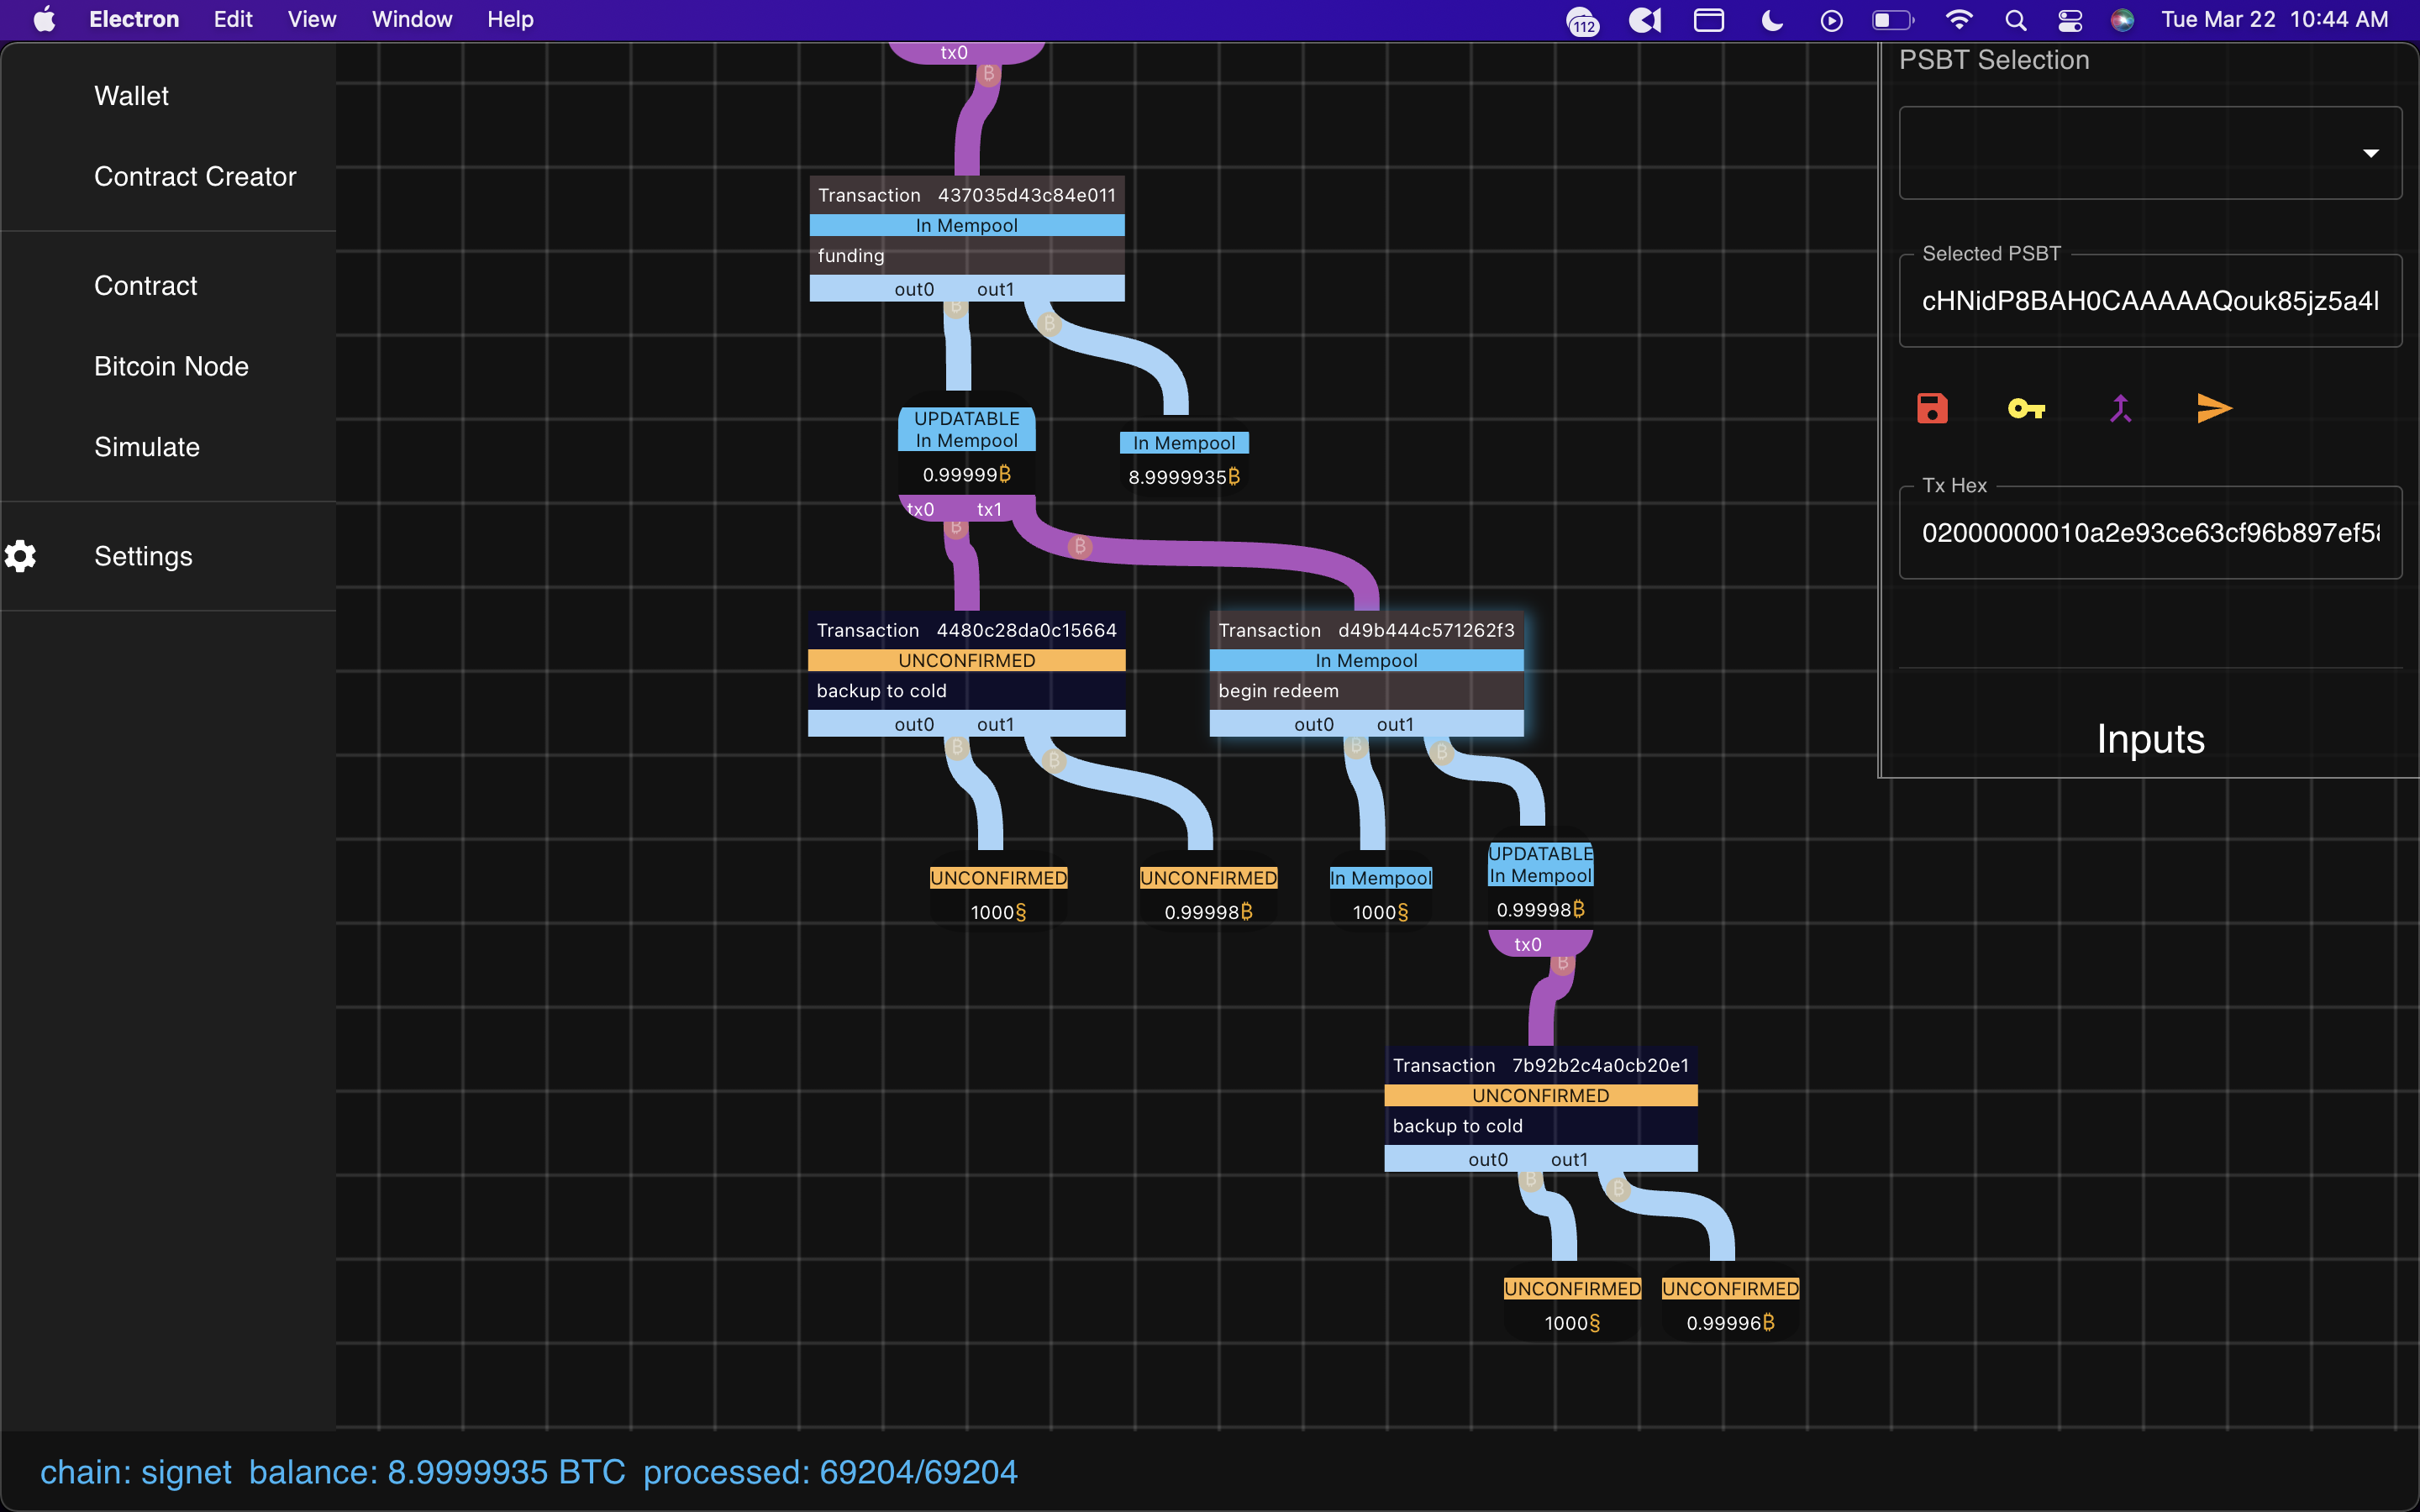 Click on the updatable output, and you’ll see some options.
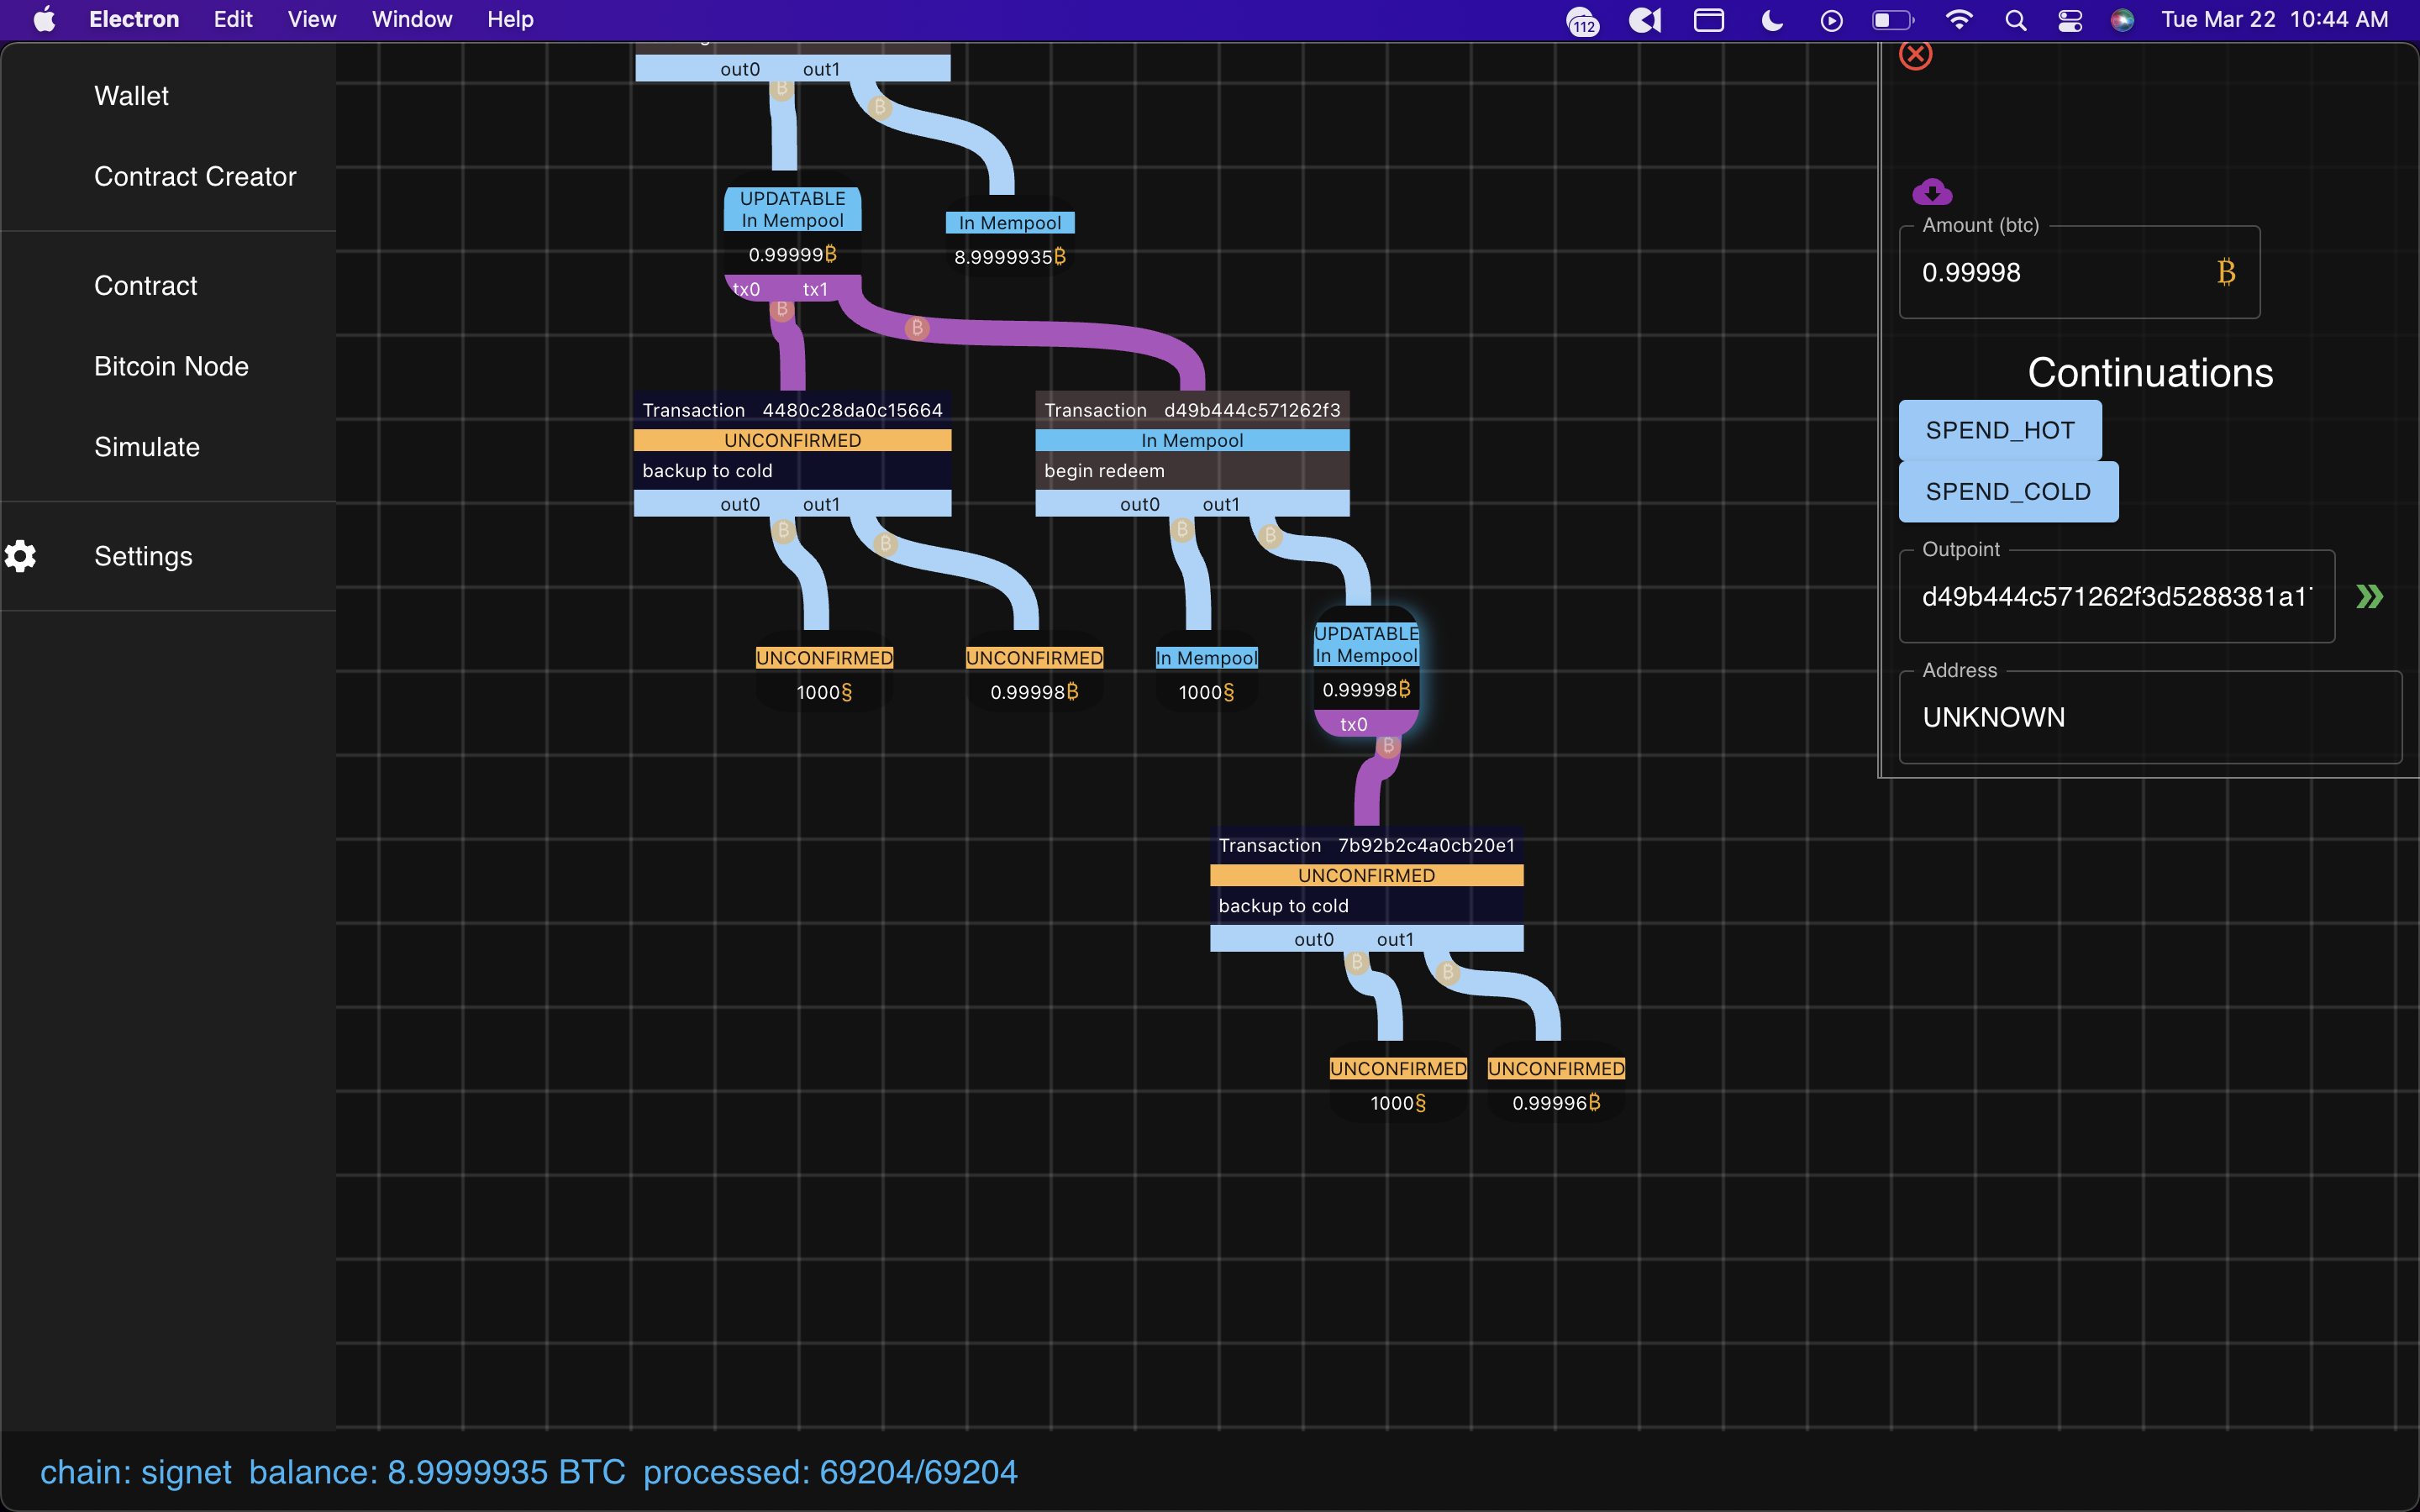
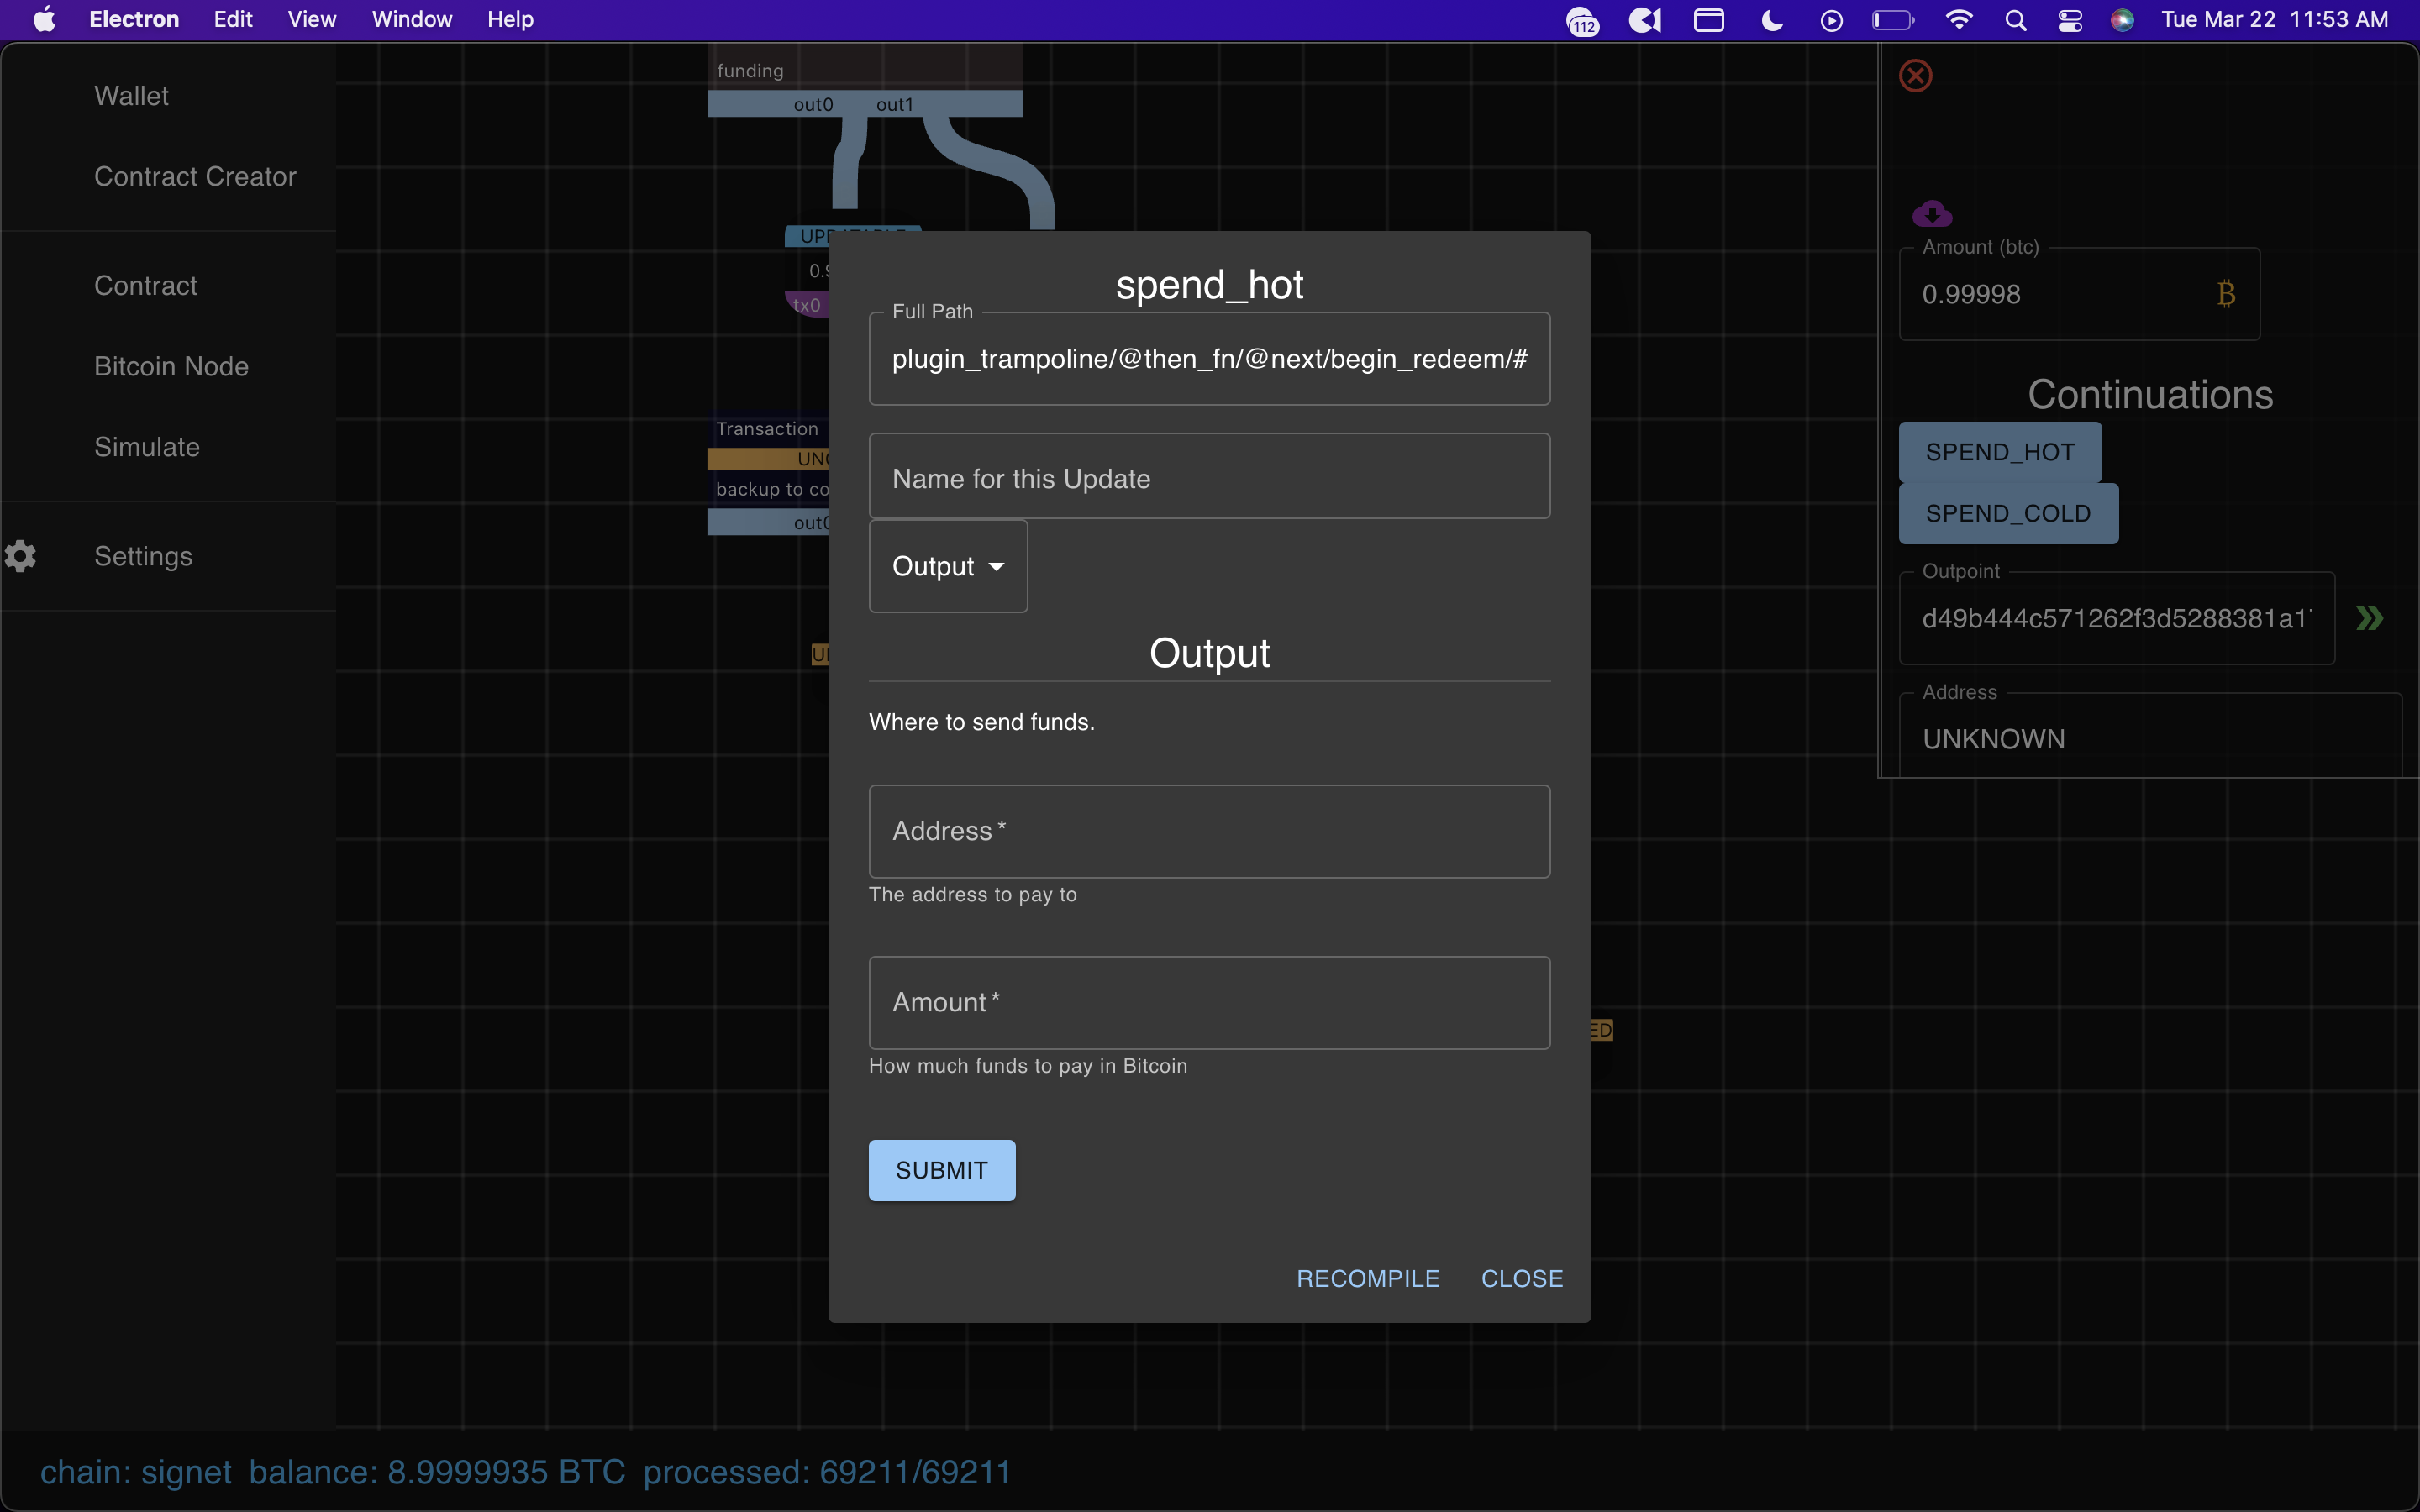
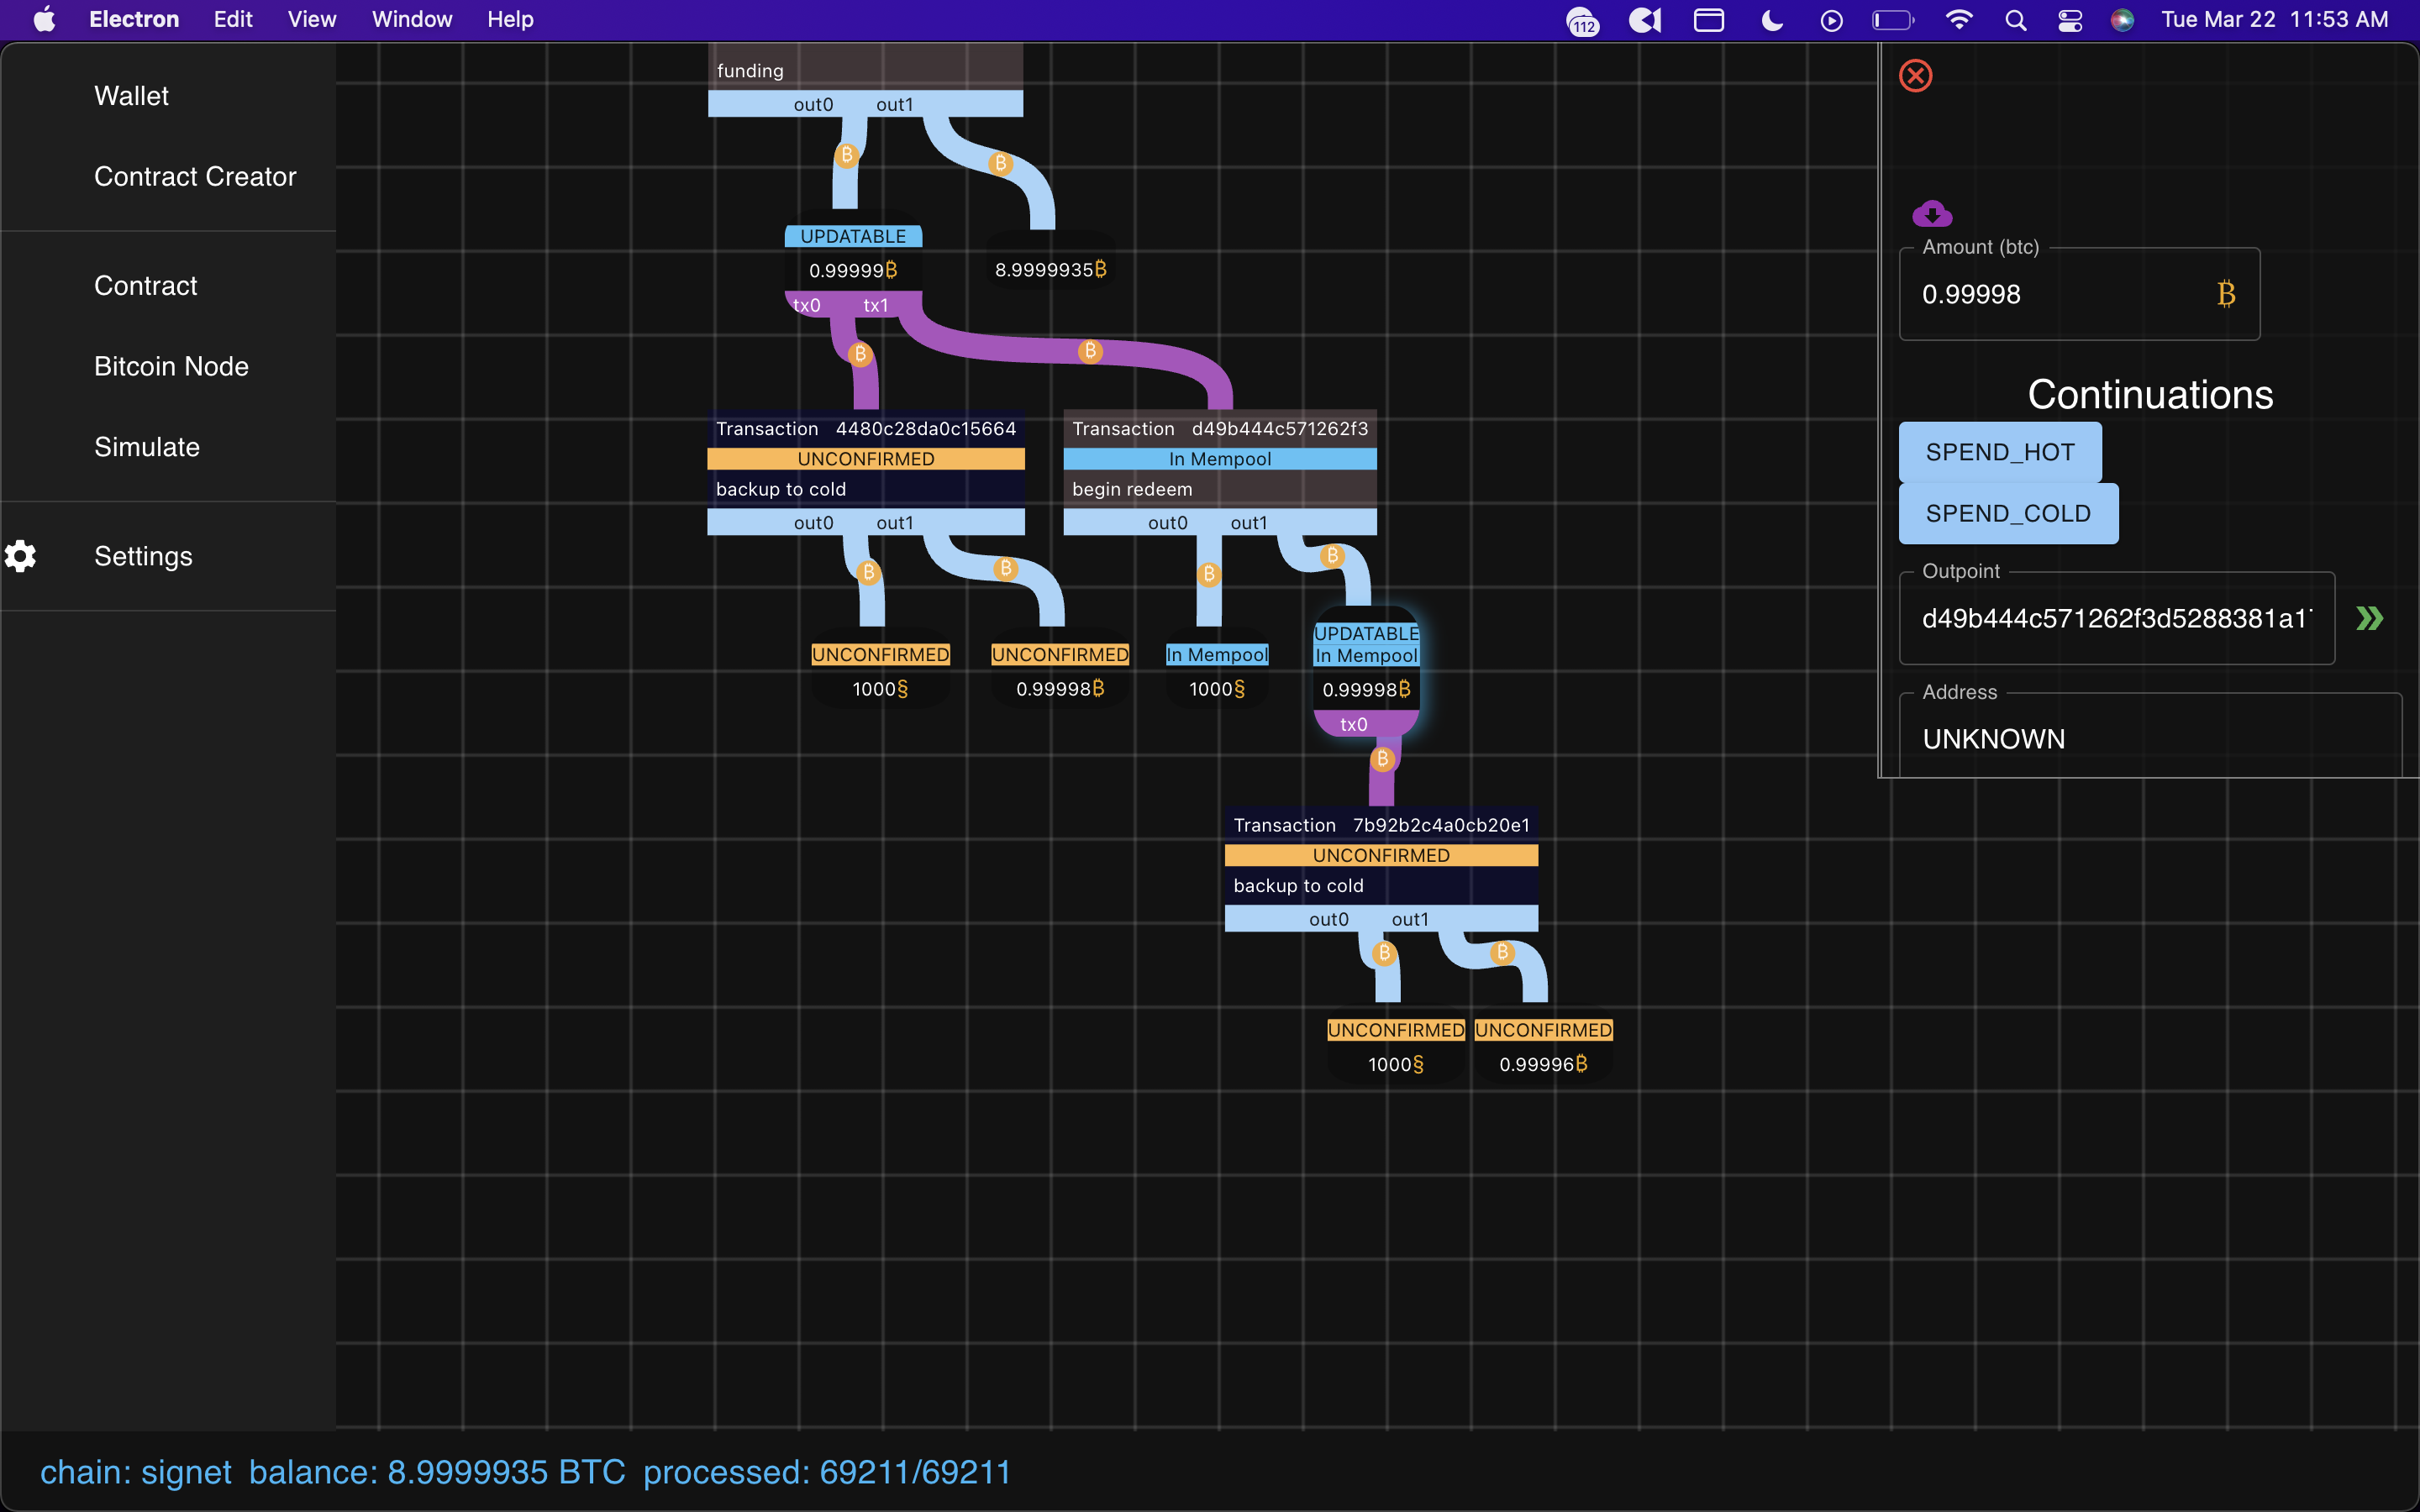 click on spend hot, and fill out the form. Hit submit, and then hit recompile.
Be sure to pick an amount that is amount in input - fee (todo: make this smarter!).
 if all is well, you’ll see a hot spend.
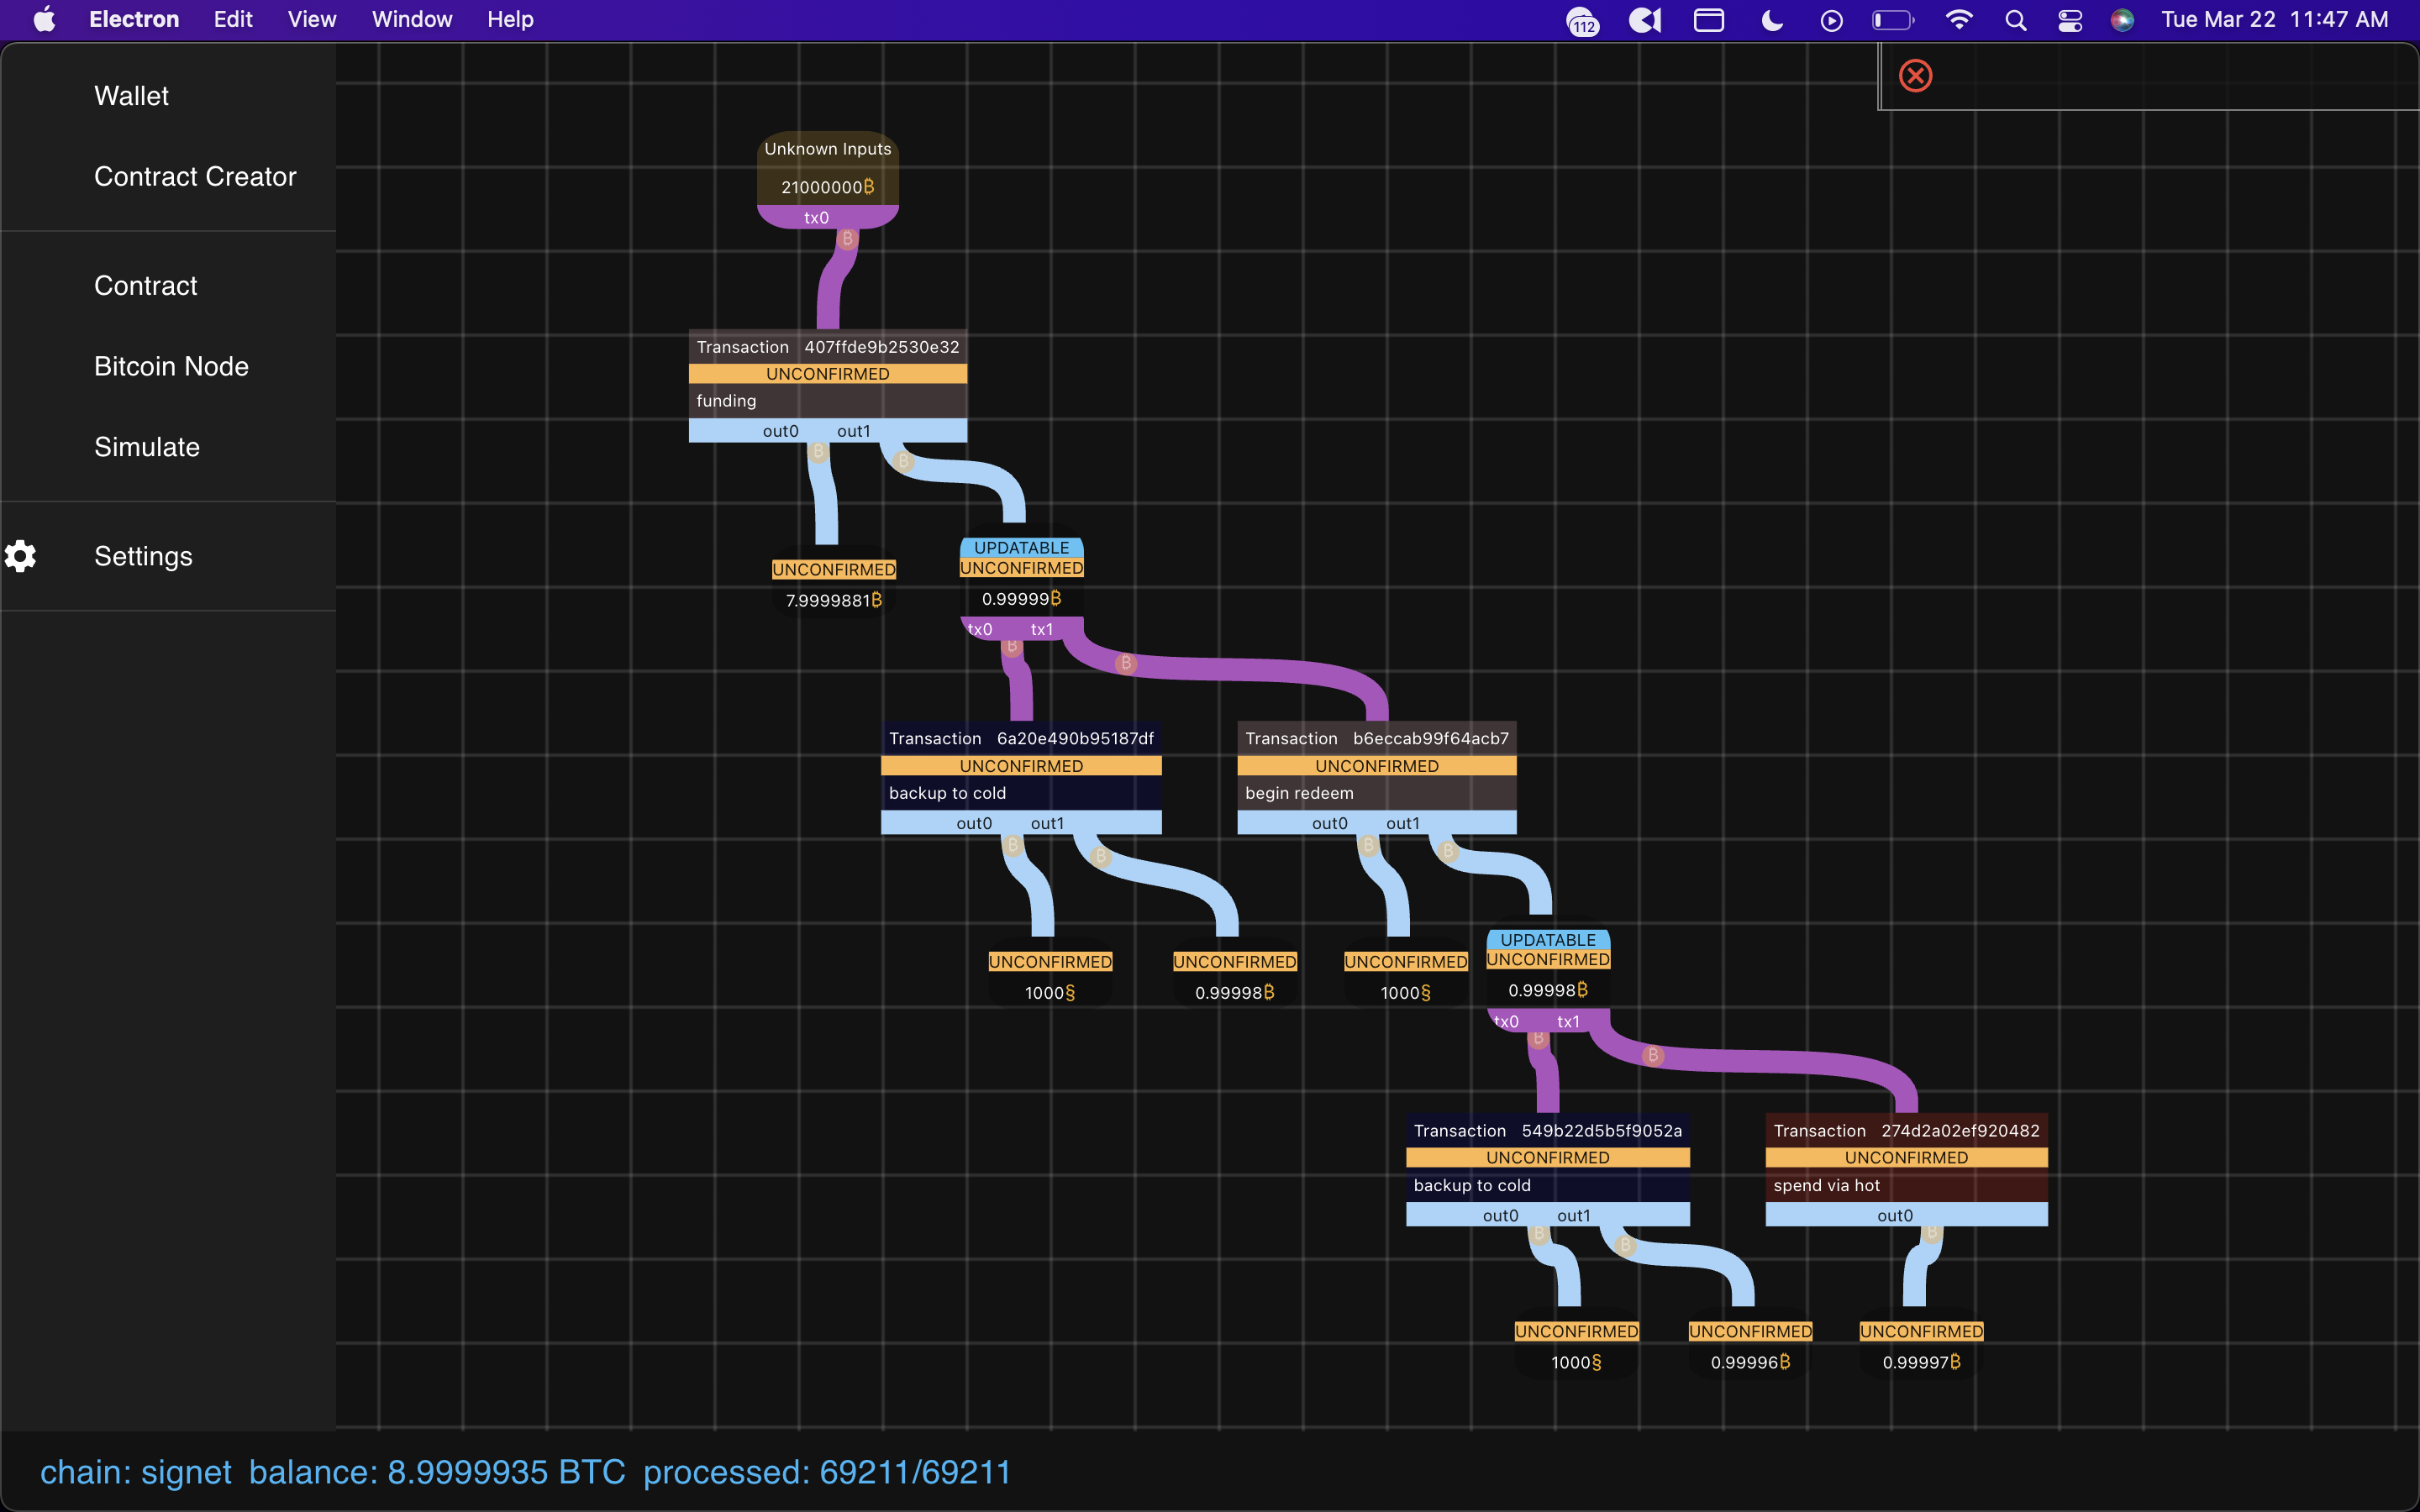
if you picked a relative timelock > 1 block, try playing with the simulate tab :D.
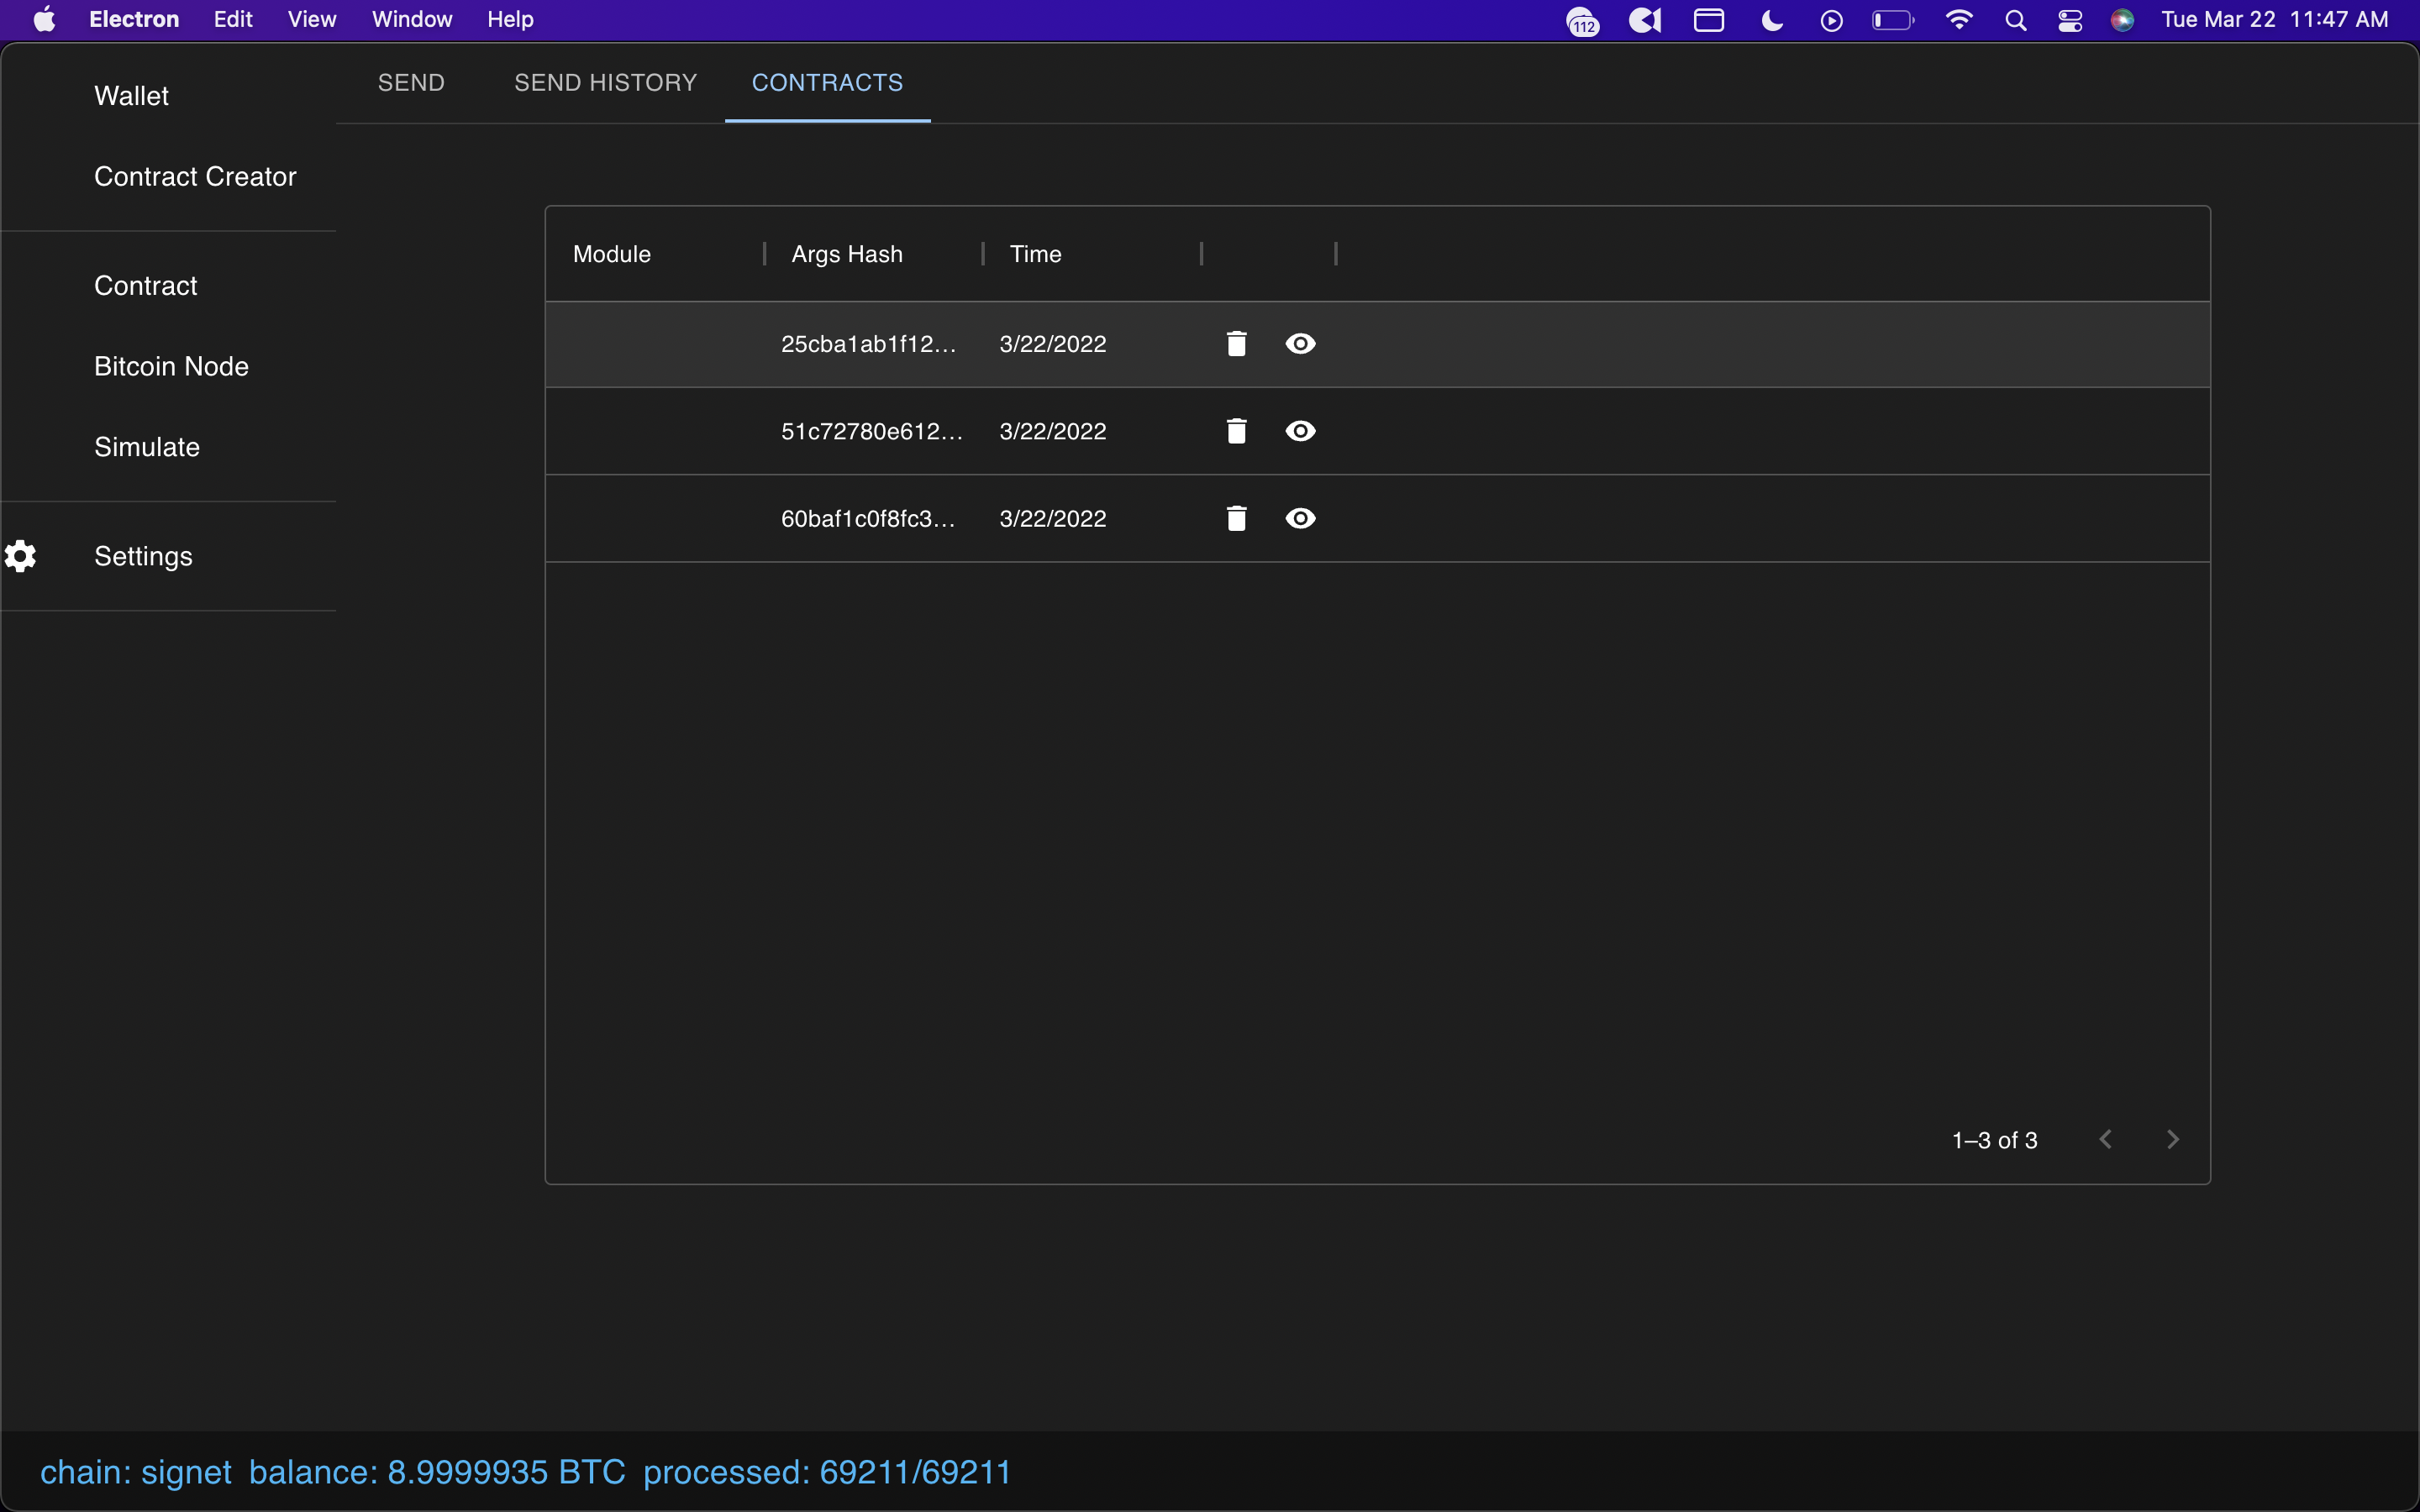
If you navigate back to the CONTRACTS tab you can pull up contracts you previously made /
recompilations with effects, even across sessions.
